Learn this Crochet Christmas Tree Keychain Pattern for Handmade Charm
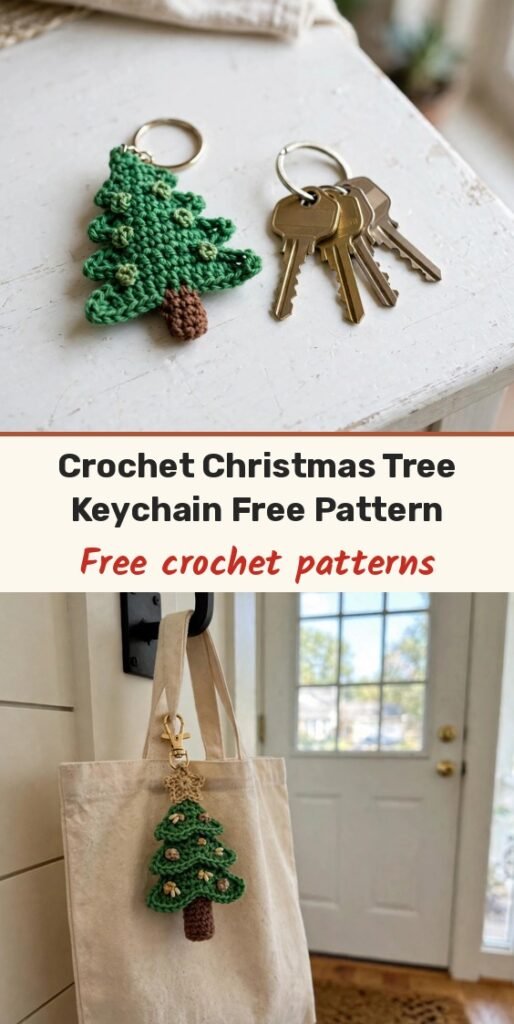
Table of Contents
Hi, I am Amy, and tiny festive makes like this Christmas tree keychain just make me happy. It is small enough to finish in an evening, sweet enough to gift, and it teaches you a really useful increase trick as you go.
The tree is built in rounds from a magic circle, widening with V stitches so the cone grows evenly. A little brown trunk, leafy textured edging, and optional mini eyes give it so much charm for its size. Clip it to keys, a backpack, or a gift bag and it spreads Christmas cheer everywhere it goes.
If you are comfortable with basic stitches and working in the round, you will fly through this one. Use a stitch marker from the start and counting stays easy.
Materials
- Cotton yarn in green
- Cotton yarn in white
- Cotton yarn in brown
- Black yarn, small amount, for the optional eyes
- Yellow yarn, small amount, for the optional top star
- 1.75 mm crochet hook
- Mini eyes, size 5, optional
- Hot glue gun, for attaching parts
- Stitch markers or pins
- Keychain ring
- Scissors
Abbreviations
- ch: chain
- sc: single crochet
- hdc: half double crochet
- dc: double crochet
- st: stitch
- sl st: slip stitch
- V: increase, 2 stitches in 1 stitch
- BLO: back loop only
Special Stitches
- Magic circle: create a closed loop by wrapping yarn around your fingers, crochet the initial stitches into this loop, then pull the tail to close.
- V stitch: crochet 2 single crochets into the same stitch, used to increase the number of stitches in a round.
- Back loop only (BLO): work stitches into the back loop of each stitch instead of both loops, for a textured ribbed effect.
Gauge & Size
- Skill level: beginner to intermediate, US crochet terms
- Gauge: 10 sc stitches across and 10 rows make a 2 x 2 inch square
- Finished size: approximately 3 inches tall and 1.5 inches wide
- Precise gauge is not crucial for this small project
Tree Body
Begin with a magic circle and work 6 sc into the circle. Pull the tail to close the loop tightly and secure with a slip stitch.
Row 1: Work 6 sc evenly in the round. Use a stitch marker to keep track of the first stitch in each row.
Row 2: Work in a 1 sc, 1 V pattern. Crochet 1 sc in the first stitch, then crochet 2 sc (increase) in the next stitch. Repeat this pattern until the end of the round. (9 stitches total)
Row 3: Work in a 1 sc, 1 sc, 1 V pattern. After every 2 normal stitches, crochet an increase.
Row 4: Work 3 sc, 1 V, repeating around.
Row 5: Work 4 sc, 1 V, repeating around.
Row 6: Work 5 sc, 1 V, repeating around.
Row 7: Work 6 sc, 1 V, repeating around. By this point your tree should have a triangular, cone-like shape.
Optional colour change: at the end of Row 7, switch to white yarn to create a decorative stripe around the tree.
If you like to crochet along, here is the video tutorial for this keychain:
Trunk
Attach brown yarn at the bottom of the tree.
Crochet 6 sc in the round for 4 to 5 rows to form the trunk.
Fasten off and weave in the ends.
Decorative Details
Leaf clusters: crochet leaf clusters along the edges of the tree. In each stitch, work 1 sc, 1 hdc, 1 dc, 1 hdc, 1 sc, sl st. Repeat this pattern all the way around to form textured, leafy edges.
Eyes (optional): create a small magic circle in black yarn and work 5 sc into the circle. Pull tight and fasten off. Attach safety eyes or sew the circle directly onto the tree.
Tree top star (optional): use yellow yarn to crochet a simple star, or attach a small pre-made embellishment on top of the tree.
Finishing & Assembly
Use hot glue to attach all the parts securely.
Add a keychain ring to the top of the tree.
Weave in all loose ends and check for any final finishing touches before gifting or hanging.
Tips
Use stitch markers to track the first stitch of every round.
Work tightly to maintain the clean structure of the little tree.
Customise the colours and decorations freely to make each keychain unique.
Make several in different greens for stocking fillers, party favours, and handmade gifts.
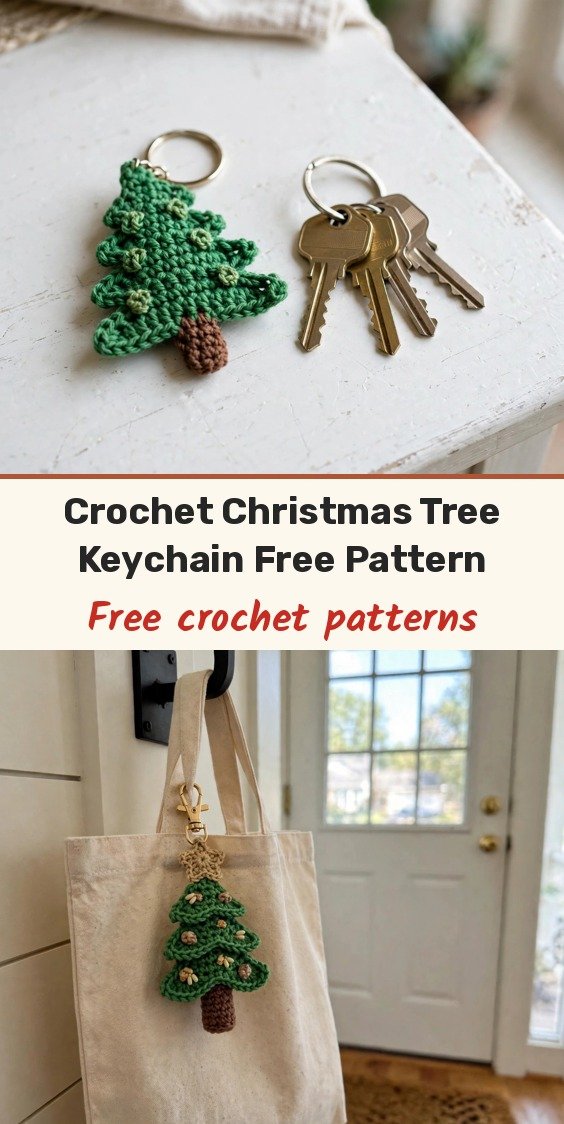
Learn this Crochet Christmas Tree Keychain Pattern for Handmade Charm
Materials
Steps
- Start a magic circle with 6 sc for the tree base
- Increase with V stitches through Row 7 to shape the cone
- Add an optional white stripe at the end of Row 7
- Crochet the brown trunk with 6 sc for 4 to 5 rows
- Add leafy edging clusters around the tree edges
- Make optional eyes and a top star
- Glue parts in place, add the keychain ring and weave in ends
- Use a stitch marker to track the first stitch of each round
- Work tightly so the small cone keeps a clean shape
- Gauge guide: 10 sc and 10 rows to 2 x 2 inches
- Customise colours and decorations for gifts and stocking fillers


