Crochet Christmas Tree Tutorial Free Pattern for Gift Toppers
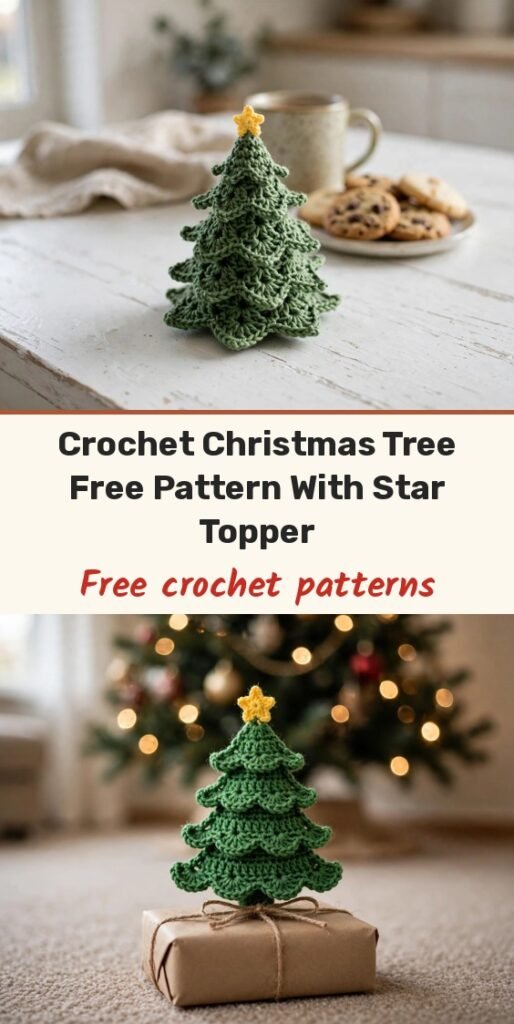
Table of Contents
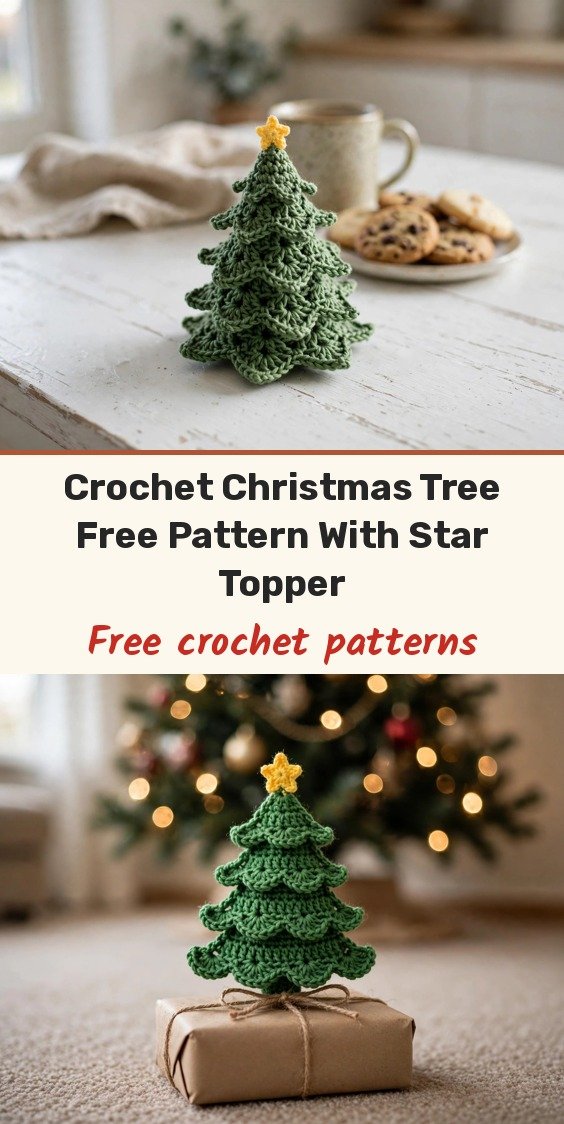
This tiny tree might be the most charming thing you crochet all season. It grows from a magic ring in neat double crochet rounds, finishes with a round of little shell branches that look just like pine needles, and gets a sweet five-point star popped right on top.
I adore how versatile this one is. Set it on the holiday table, hang it on the big tree, or tie it onto a wrapped gift as a topper someone gets to keep. The pattern below makes the largest, bottom layer in full; once you have the rhythm, smaller layers are easy to stack for a taller tree.
Materials
- Category 2 cotton yarn, such as Lensan or Cotton 125, in green
- Small amount of yarn in a star colour, such as yellow
- 2.5 mm crochet hook
- Scissors
- Yarn needle, for weaving in ends
- Stitch markers, optional
Abbreviations
- ch: chain
- sc: single crochet
- dc: double crochet
- sl st: slip stitch
- MR: magic ring
- inc: increase; work 2 stitches into the same stitch
Special Stitches
- Twist stitch: after making a single crochet, twist your yarn before making the next stitch into the magic ring, for a firm central knot.
- Shell (pine branch): 2 dc, ch 2, 2 dc in the same stitch.
Gauge & Size
- Gauge is not crucial for this project and will vary slightly with your yarn and hook; for a firmer tree, use a tighter gauge
- The largest base layer measures approximately 7 to 9 cm (2.75 to 3.5 inches) across
- The star measures approximately 3 cm (1.25 inches) wide
- Each round begins with a ch 1, which does not count as a stitch, and is joined with a sl st to the first actual stitch
- Count your stitches at the end of each round for accuracy, and use stitch markers if the start of the round is hard to spot
Christmas Tree Pattern
Tree Layer (Largest Layer)
Foundation: Create a magic ring. Work 1 sc into the ring, then 1 twist stitch, then 6 dc into the ring. Pull the ring tightly closed. Join with a sl st to the first stitch. (Total: 8 stitches, including 1 sc, 1 twist stitch, and 6 dc)
Round 1: Ch 1, then work 2 dc in each stitch around. Sl st to join. (16 dc total)
Round 2: Ch 1, then repeat [1 dc in next stitch, 2 dc in next stitch (inc)] to the end of the round. Sl st to join. (24 dc total)
Round 3: Ch 1, then repeat [1 dc in next stitch, 1 dc in next stitch, 2 dc in next stitch (inc)] to the end of the round. Sl st to join. (32 dc total)
Round 4: Ch 1, then repeat [1 dc in each of next 2 stitches, 1 dc in next stitch, 2 dc in next stitch (inc)] to the end of the round. Sl st to join. (40 dc total)
Round 5: Ch 1, then repeat [1 dc in each of the next 3 stitches, 2 dc in next stitch (inc)] to the end of the round. Sl st to join. (48 dc total)
Round 6: Ch 1, then repeat [1 dc in each of the next 4 stitches, 2 dc in next stitch (inc)] to the end of the round. Sl st to join. (56 dc total)
Round 7 (Branches Edge): Ch 1, then repeat around [1 sc in first stitch, shell (2 dc, ch 2, 2 dc) in the next stitch]. Sl st to the first single crochet to finish. Cut yarn, fasten off, and weave in the end.
Star Topper
Foundation and points (all in magic ring): Create a magic ring.
Repeat the following sequence 5 times into the ring: 1 sc, ch 1, 1 dc, ch 2, 1 sc into the side of the dc just made.
After completing 5 points, pull the ring tight to close. Sl st to the first sc to finish. Cut yarn, fasten off, and weave in the end.
Finishing & Assembly
Weave in all ends securely, leaving enough tail length to weave in well.
To build a fuller tree, create additional layers by omitting one increase round per smaller tier, following the same structure for each layer.
Stack the layers from largest to smallest to create the full tree effect, and secure them using sewing or a drop of glue between layers.
Affix the star to the tip of your completed tree using a yarn needle and a few stitches, or a dab of glue.
Tips
- Always begin each layer with a magic ring for a seamless base.
- Keep your tension consistent and follow the star repeat closely so all five points come out even.
- Use a small hook for precise stitches and a firm little star.
- Try different yarn colours, or add tiny beads as ornaments, to make each tree your own.
Crochet Christmas Tree Tutorial Free Pattern for Gift Toppers
Materials
Steps
- Work the magic ring foundation of 8 stitches
- Increase through Rounds 1 to 6 up to 56 dc
- Work the Round 7 shell branch edge and fasten off
- Crochet the five-point star topper in a magic ring
- Weave in all ends
- Stack layers if making more than one
- Sew or glue the star to the tip of the tree
- Begin every layer with a magic ring for a seamless base
- Count stitches at the end of each round for accuracy
- Keep tension even so the star points match