Crochet Bell Pattern Free Christmas Ornament With Ruffle Trim
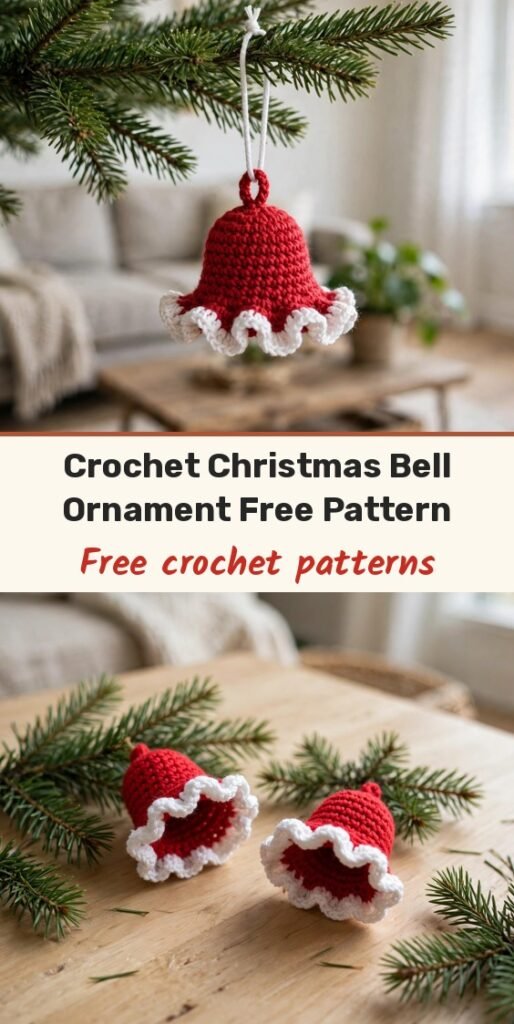
Table of Contents
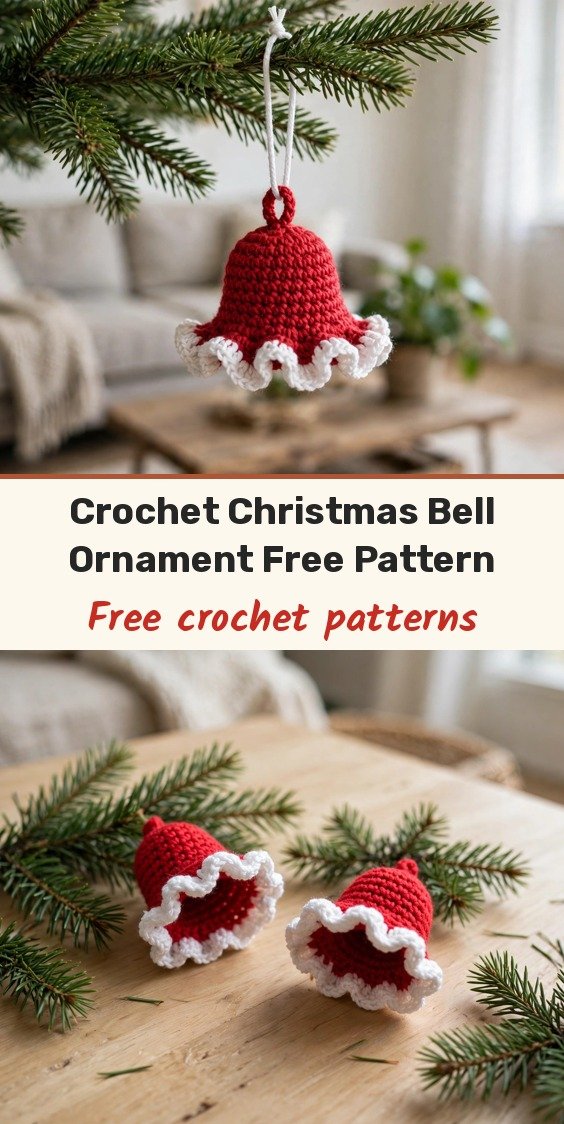
Hi, I’m Amy, and I just love a classic Christmas bell! This sweet ornament has a pretty flared shape and a white ruffle trim that zigzags around the rim, and you can finish one in under an hour using small scrap amounts of yarn.
The bell is built seamlessly from the top down in joined single crochet rounds. The body is wonderfully simple, and then one special ruffle round at the end gives it all its charm. Do not worry – I will walk you through that round step by step.
Make them in red and white like mine, try green with a red ruffle, or go gold for a little sparkle. They look beautiful on the tree and make lovely handmade gifts too.
Materials
- 4-ply cotton yarn in a main colour for the bell body (red in the sample)
- 4-ply cotton yarn in white for the ruffle trim and hanging cord
- 2.5 mm to 3 mm crochet hook
- Yarn needle for weaving in ends and attaching the hanging cord
- Scissors
- Optional: 1 small pearl bead for the clapper inside the bell
Abbreviations
- MR = magic ring
- ch = chain
- sl st = slip stitch
- sc = single crochet
- hdc = half double crochet
- inc = increase (2 sc in the same stitch)
Special Stitches
- Post stitch (for Round 14): insert your hook from front to back around the vertical body (post) of the stitch, rather than into the top loops, and work the stitch around the post.
Gauge & Size
- Hook: 2.5 mm to 3 mm
- Yarn: 4-ply cotton
- Finished size: small enough for a tree branch, dense enough to hold its shape without stuffing
- Join each round with a sl st into the first stitch, then ch 1 before the next round. The ch 1 does not count as a stitch.
- Rounds 1 to 4 build the flat top, Rounds 5 to 10 form the straight sides, Rounds 11 and 12 flare the mouth, and Rounds 13 and 14 add the white ruffle.
Bell Pattern
Round 1: Work 6 sc into a magic ring. Pull the tail to close the ring tightly. Join and ch 1. [6]
Round 2: Work 2 sc into every stitch around. Join and ch 1. [12]
Round 3: Sc in the next stitch, then inc in the following stitch. Repeat 6 times around. Join and ch 1. [18]
Round 4: Sc in each of the next 2 stitches, then inc in the following stitch. Repeat 6 times around. Join and ch 1. [24]
Rounds 5 to 10: Sc in each stitch around, with no increases. Join at the end of each round with a sl st and ch 1. Repeat for 6 rounds total. [24]
Round 11: Sc in each of the next 3 stitches, then inc in the following stitch. Repeat 6 times around. Join and ch 1. [30]
Round 12: Sc in each stitch around. Join and ch 1. Fasten off the main colour. [30]
Round 13: Join white yarn to any stitch along the bottom edge with a sl st and ch 1. Work 1 hdc in each stitch around. Join with a sl st into the first hdc and ch 1. [30]
Round 14: Work around the posts of the Round 13 hdc stitches, turning the edge with each post to create the ruffle zigzag.
- Turn the edge to the right and work 3 sc around the post of the next hdc, moving down the post.
- Turn the edge so it faces up and work 1 sc at the bottom of the chain space between this post and the next.
- Turn the edge to the left and work 3 sc around the post of the next hdc, moving up the post.
- Turn the edge so it faces up again and work 1 sc at the top of the chain space.
Repeat these 4 steps all the way around. Each repeat covers 2 hdc posts, for 15 repeats total across the 30 posts. Join with a sl st into the first sc and fasten off. Weave in all ends.
Finishing & Assembly
Hanging cord: Make a slip knot and ch 40. Sl st into every chain back along the full length to firm the cord. Fasten off, leaving a tail long enough to attach the cord to the bell top.
Thread the tail onto a tapestry needle and pass it through the top centre of the bell from outside to inside twice. Pull firmly, knot, and weave the tail through several inside stitches to secure. Trim close.
Optional clapper: Drop a small pearl bead or glass bead inside the bell before knotting the hanging cord. The bead will rest at the base and move when the ornament is touched.
Weave in yarn ends tightly inside the crown so the top sits flush against the hanging loop.
Tips
Read the Round 14 description before you begin – the post-stitch ruffle makes sense as soon as you try the first repeat.
Keep the slip stitches of the hanging cord even and not too tight, or the cord will kink.
For a larger bell, go up a hook size and use a heavier yarn weight – the stitch counts stay the same.
Avoid fuzzy or textured yarn, since it will obscure the ruffle detail in Round 14.
Crochet Bell Pattern Free Christmas Ornament With Ruffle Trim
Materials
Steps
- Work the bell top in increasing single crochet rounds
- Work the straight sides
- Flare the mouth of the bell
- Add the white half double crochet round
- Work the post-stitch ruffle round
- Make and attach the slip-stitched hanging cord
- Read Round 14 before starting the ruffle
- Keep cord slip stitches relaxed so it does not kink
- Use smooth yarn so the ruffle detail shows


