How To Crochet A Festive Star Garland For Christmas Decoration
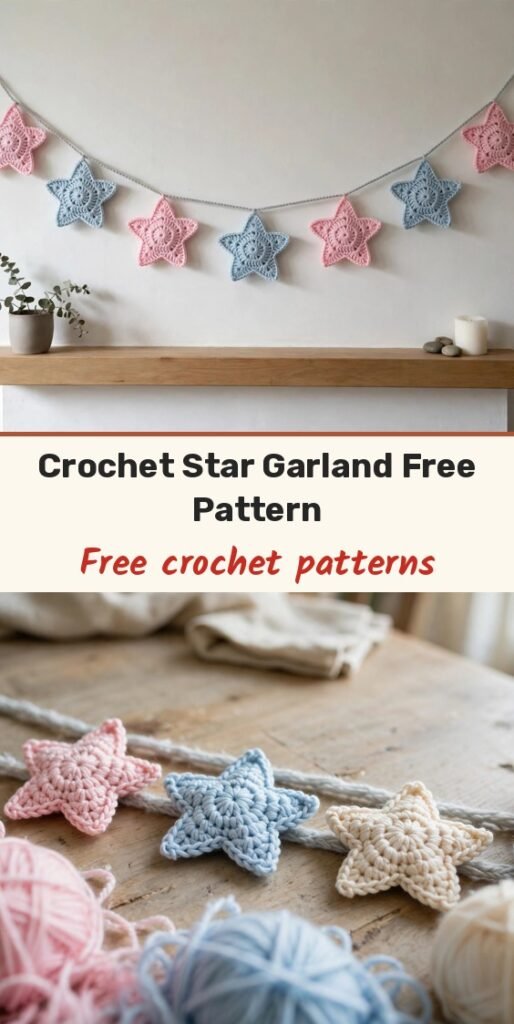
Table of Contents
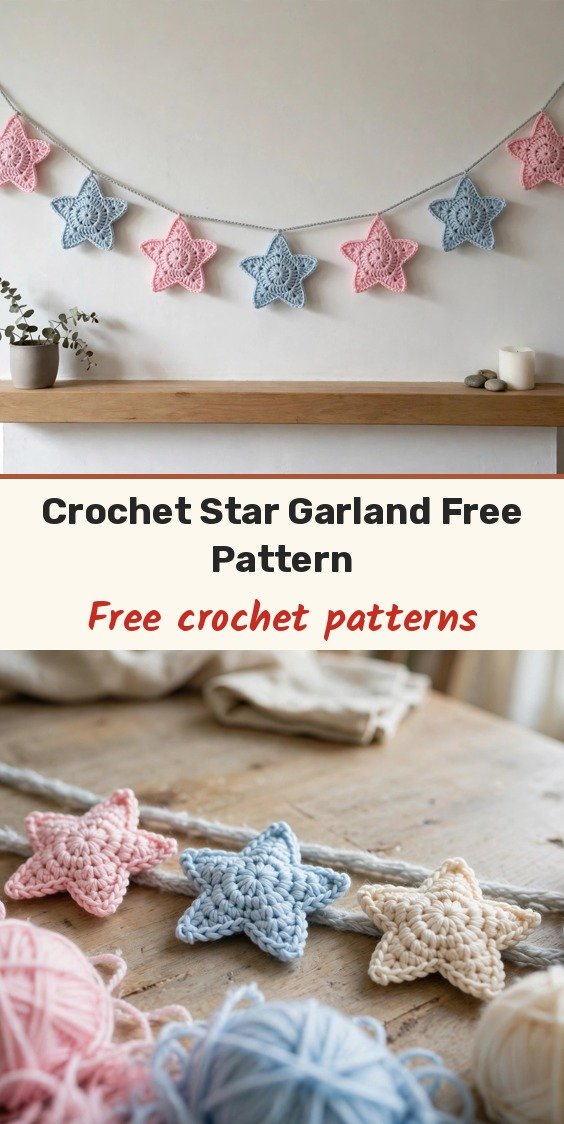
Hi, I am Amy, and if your mantel is looking a little plain this Christmas, this star garland is the sweetest fix. Each little star is only about 3.5 inches across, so you can make a handful in an evening, string them up, and watch the whole room cheer up.
Every star is worked in just three rounds, shaped with chain spaces, and then joined to a simple hanging strand. Make as many stars as your space needs and adjust the chain spacing between them to fit a mantel, a window, or the tree.
I love the soft pastel stars from the original garland, but red, green, and white give you a classic Christmas look, and a little sparkly metallic yarn is gorgeous too. Let us make some stars!
Materials
- Soft acrylic yarn in festive colours, such as pastel pink and light blue, for the stars
- Light gray or another contrasting yarn for the hanging strand
- 3.0 mm crochet hook for the stars
- 4.0 mm crochet hook for the hanging strand and assembly
- Tapestry needle
- Scissors
Abbreviations
- CH: chain
- SL ST: slip stitch
- SC: single crochet
- DC: double crochet
- ST(S): stitch(es)
- SP(S): space(s)
Gauge & Size
- Each finished star measures approximately 3.5 inches across
- Garland length is fully adjustable: add stars and change the chain spacing to fit your display
- Skill level: beginner-friendly
Star Pattern
Foundation ring: CH 5, then SL ST into the first CH to form a secure central ring. Make sure the ring has not twisted before you continue, and keep the joining stitch secure without pulling the ring too tight.
Round 1: CH 3 (counts as 1 DC), work 2 DC into the centre ring, then (CH 1, 3 DC into the ring) 5 times. Join with 1 SL ST to the top of the initial CH 3, then SL ST into the next 2 stitches to position the yarn inside the first CH 1 SP.
Checkpoint: After Round 1 you should have six groups of 3 DC arranged around the centre, with a CH 1 SP between each group.
Round 2: In the first CH 1 SP, CH 3, work 2 DC in the same SP, CH 3, then 3 DC in the same SP. Work (3 DC, CH 3, 3 DC) in each of the remaining 4 CH 1 SPS around. Join with 1 SL ST to the top of the initial CH 3, then SL ST into the next 2 stitches to move into the loop of the first point.
Checkpoint: Look for five evenly spaced point loops, each with a CH 3 space at its tip.
Round 3: In the first point CH 3 SP, CH 3, work 3 DC, CH 3, and 4 DC in the same SP. Work 1 SC in the space between the star points. Repeat (4 DC, CH 3, 4 DC in the point SP, followed by 1 SC between points) all the way around.
Finishing each star: Fasten off, leaving a short tail, then use the tapestry needle to weave in all loose ends neatly. Check that the star lies flat before assembly.
Make as many stars as you need for your garland before you build the hanging strand.
Finishing & Assembly
Hanging cord: Switch to the 4.0 mm hook. Create a slip knot and chain as many chains as desired for the initial hanging tail length.
Attaching the stars: Chain or slip stitch across the desired gap distance, then attach each crochet star securely along the garland chain at regular intervals.
End of cord: Finish with an equal length of chain at the final end for hanging, fasten off, and trim any remaining yarn tails.
Lay the finished garland flat before hanging it: the stars should face outward, the spaces should look intentional, and both ends should have enough chain for the way you plan to hang it.
Tips
Use the first gap between stars as your visual guide for all the rest; equal spacing gives a balanced garland, while uneven gaps give a more relaxed look.
Keep the SC of Round 3 in the space between points, not in a random stitch, because that placement creates the dips that make the star shape.
Make all of your stars first, in all of your colours, so you can arrange the colour order before you attach a single one.
How To Crochet A Festive Star Garland For Christmas Decoration
Materials
Steps
- Chain 5 and join into a ring for each star
- Work Round 1 with six groups of 3 double crochet
- Work Round 2 to shape five star points
- Work Round 3 to define the star edges
- Fasten off and weave in ends on every star
- Chain a hanging cord with the 4.0 mm hook
- Attach the stars at regular intervals
- Finish with a matching chain tail and hang
- Keep the Round 3 single crochet in the space between points
- Make all the stars before building the strand
- Use the first spacing gap as the guide for the rest
- Try red, green and white for a classic Christmas look


