Free Crochet Christmas Bauble Pattern With Sweet Festive Look
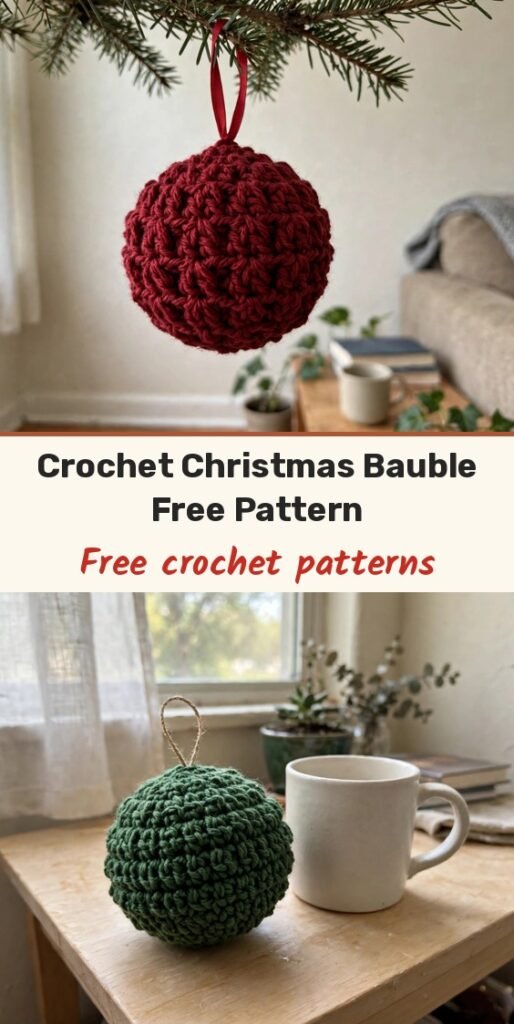
Table of Contents
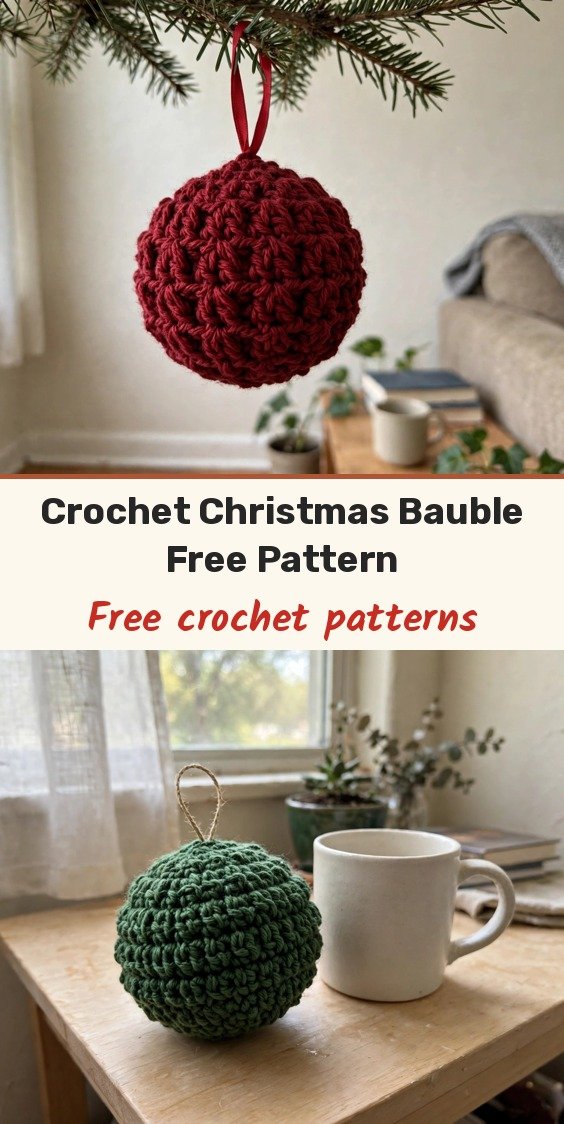
These soft, textured baubles are such a cozy change from glass ornaments. Instead of working in the round, you crochet a small ribbed rectangle, seam it into a tube, and gather it snugly around a foam ball. The alternating rows give it that lovely bumpy texture that catches the tree lights beautifully.
It is a genuinely beginner-friendly make: slip stitches, half double crochets, and one special stitch that is much easier than it sounds. Make one in an evening, then a whole set in every color you have in your scrap basket.
Materials
- Lanoso Alara Cotton, or a similar cotton-acrylic blend yarn
- 2.5 mm to 3.0 mm crochet hook
- 1 foam or plastic ball, 5 cm (approximately 2 inches), or fiberfill stuffing
- Scissors
- Yarn needle
- Ribbon for hanging (optional)
Abbreviations
- ch: chain
- st/sts: stitch/stitches
- sl st: slip stitch
- hdc: half double crochet
- yo sl st: yarn over slip stitch
- BLO: back loops only
Special Stitches
- Yarn Over Slip Stitch (yo sl st): Yarn over, insert the hook, yarn over and pull through all loops on the hook in one motion.
Gauge & Size
- Finished size: fits snugly around a 5 cm (approximately 2 inch) diameter ball
- Sample swatch: 16 chains and 26 rows fit snugly around a 5 cm diameter ball
- Gauge is not critical, but keep it tight enough to hold the ball or stuffing securely
- Adjust the stitch count for larger or smaller ornaments as desired
Bauble Pattern
Foundation Chain: Chain 16. This forms the base row for your rectangle panel.
Row 1: Start in the 2nd chain from the hook: work 1 sl st. Work 1 hdc in each of the next 13 chains. Finish with 1 sl st into the last chain. Ch 1, turn. (1 sl st, 13 hdc, 1 sl st)
Row 2: Work 1 sl st in BLO of the 2nd st from the hook. Work 1 yo sl st through both loops in each of the next 13 sts. Finish with 1 sl st in BLO of the last st. Ch 1, turn. (1 sl st BLO, 13 yo sl st, 1 sl st BLO)
Row 3 (Repeat of Row 1, worked in BLO): Work 1 sl st in BLO of the 2nd st from the hook. Work 1 hdc through both loops in each of the next 13 sts. Finish with 1 sl st in BLO of the last st. Ch 1, turn.
Row 4 (Repeat of Row 2): Work 1 sl st in BLO of the 2nd st from the hook. Work 1 yo sl st through both loops in each of the next 13 sts. Finish with 1 sl st in BLO of the last st. Ch 1, turn.
Rows 5-26: Repeat the odd rows (5, 7, 9, up to 25) as per Row 3: 1 sl st (BLO), 13 hdc, 1 sl st (BLO), chain 1, turn. Repeat the even rows (6, 8, 10, up to 26) as per Row 4: 1 sl st (BLO), 13 yo sl st, 1 sl st (BLO), chain 1, turn. Continue alternating until you have 26 rows in total.
Your finished fabric should be a slightly textured rectangle. Always join new rows with a chain-1 turn for consistent height and structure.
Finishing & Assembly
Flip the panel wrong side out and fold it in half, aligning the short edges. Sew the side edges together with the hook or yarn needle to close the seam, creating a tube, and leave a long yarn tail for gathering.
Close the bottom edge: weave the yarn tail through the edge and pull tight to gather, then secure with a knot.
Insert the base: place the 5 cm foam or plastic ball into the tube. If using fiberfill instead, stuff firmly.
Close the top edge: weave the yarn through the top edge, pull tight, and secure with a knot.
Attach a ribbon as a hanging loop for your tree, if desired, stitching or tying it securely.
Tips
- Repeat the stitch rows exactly as written for a balanced, symmetrical ornament.
- Metallic or sparkly cotton blends make the texture catch the light on the tree.
- These baubles also work as window hangings or as gift toppers on wrapped presents.
Free Crochet Christmas Bauble Pattern With Sweet Festive Look
Materials
Steps
- Chain 16 for the foundation
- Work row 1 with slip stitches and half double crochets
- Work row 2 with yarn over slip stitches
- Alternate rows 3 and 4 up to 26 rows total
- Fold the panel and sew the side edges into a tube
- Gather and close the bottom edge
- Insert the 5 cm ball or stuff firmly
- Gather and close the top edge and add a ribbon loop
- Keep gauge tight so the ball or stuffing stays secure
- Always chain 1 to turn for consistent row height
- Adjust stitch counts to fit larger or smaller balls


