Crochet Miniature Christmas Gift Box Ornament Pattern
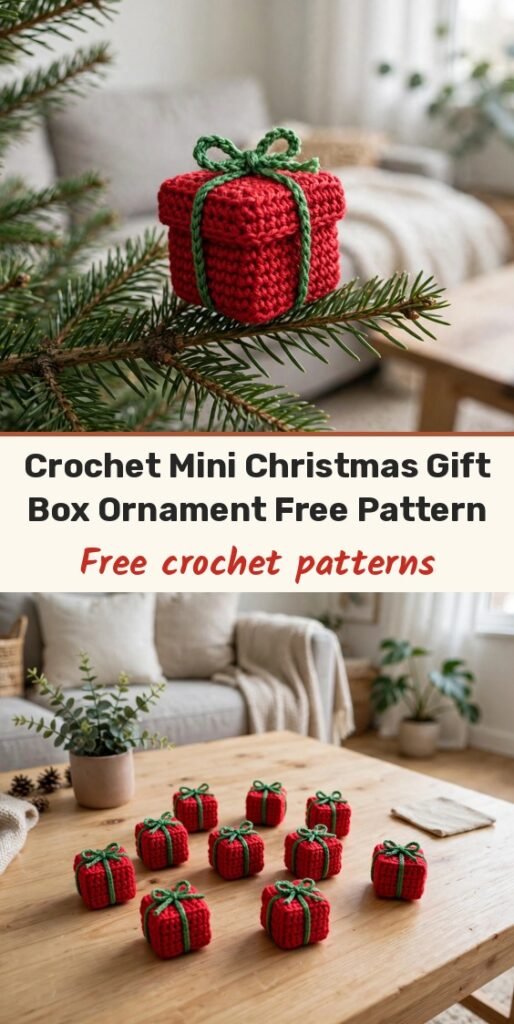
Table of Contents
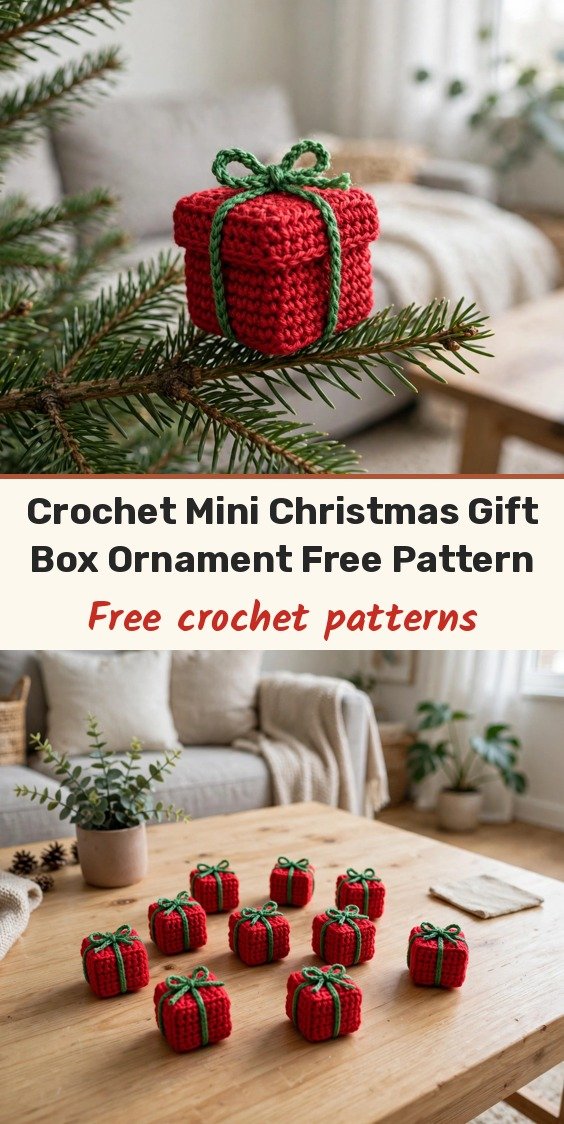
Hi, I’m Amy, and these miniature gift boxes are pure Christmas joy in the palm of your hand. A neat red 3D box, a fitted lid, and a green ribbon cross with a little bow on top — they are beginner-friendly, quick to stuff and finish, and perfect as tree ornaments, keychains, bag charms, or gift toppers.
The clever part is the back-loop round. Working in the back loop only turns the flat square base upward into crisp box walls, and the same trick gives the lid its little lip so it sits snugly on top. Make one, and I promise you will want a whole pile in different colours.
Materials
- 4-ply yarn in red for the box base and lid
- 4-ply yarn in green for the ribbon
- 2.0 mm crochet hook
- Tapestry needle
- Scissors
- Stitch marker
- Polyfill stuffing
Abbreviations
- MR — magic ring
- CH — chain stitch
- SC — single crochet
- SL ST — slip stitch
- BLO — back loop only
Gauge & Size
- Skill level: Beginner-friendly
- The base reaches 20 stitches at Round 4, and the walls are built on that 20-stitch round
- Use a stitch marker to mark the first stitch of the base
Gift Box Base
Round 1 (red): Start with a magic ring, ch 1, work 4 SC into the ring and mark the first stitch. (4 stitches)
Round 2: Work 3 SC in each stitch around. (12 stitches)
Round 3: Work 3 SC in each stitch around. (12 stitches)
Round 4: Work 4 groups of (2 SC, 3 SC in the next stitch, 2 SC) to establish the square corners. (20 stitches)
Round 5 (BLO): Ch 1, working in the back loop only, work 1 SC in every stitch around with no increases. (20 stitches)
Rounds 6–11: Work 1 SC in every stitch around for 6 rounds to build the height of the box. (20 stitches per round)
Round 11 Finish: Sl st to join, cut the yarn leaving a long tail, thread the tail on a tapestry needle and whip stitch through the loops to secure, weave inside and trim, then gently pinch the four bottom corners to square out the box shape.
Box Lid
Rounds 1–4 (red): Follow the exact same instructions as the Gift Box Base Rounds 1 to 4 to create a flat square top. (20 stitches)
Round 5 (BLO): Ch 1, working in the back loop only to turn the edge downward, work 1 SC in each stitch around. (20 stitches)
Round 6: Work 1 SC in every stitch around. (20 stitches)
Round 7 Finish: Sl st to join, cut the yarn leaving a long tail, use the tapestry needle to invisibly join and finish the edge, weave in the tail, and pinch the four corners to form a square lid that fits over the base.
Finishing & Assembly
Lightly stuff the box base with a small amount of polyfill so it holds its square shape nicely, then place the lid on top.
Ribbon (green): Take a long strand of green yarn and wrap it vertically and horizontally around the gift box to mimic a wrapped present, crossing it tightly in the centre of the top lid.
Create a small neat bow with the green yarn ends right on top of the lid, secure with a tight knot, trim the excess tails, and tuck in any loose threads.
Add a split ring or ribbon loop if you want to use your box as a keychain, bag charm, or tree ornament.
Tips
Pinch and shape the corners after both the base and the lid — that little squeeze is what gives you those crisp, boxy edges.
Stuff lightly rather than firmly, so the lid still fits snugly over the base.
Swap the colours — a green box with a red ribbon looks just as festive.
Crochet Miniature Christmas Gift Box Ornament Pattern
Materials
Steps
- Crochet the box base to 20 stitches
- Work the BLO round and build the walls to Round 11
- Crochet the lid using the same first rounds plus a short lip
- Lightly stuff the base and place the lid on top
- Wrap green yarn as a ribbon cross
- Tie a small bow on top
- Pinch the corners to get crisp boxy edges
- Stuff lightly so the lid still fits
- Swap box and ribbon colours for variety


