Crochet a Stunning Snowflake Pattern – Step-by-Step Guide
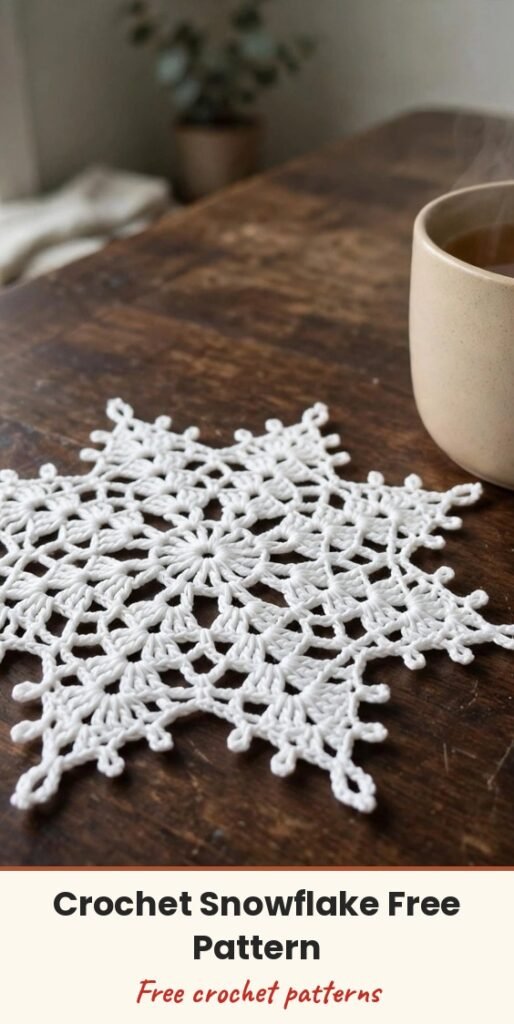
Table of Contents
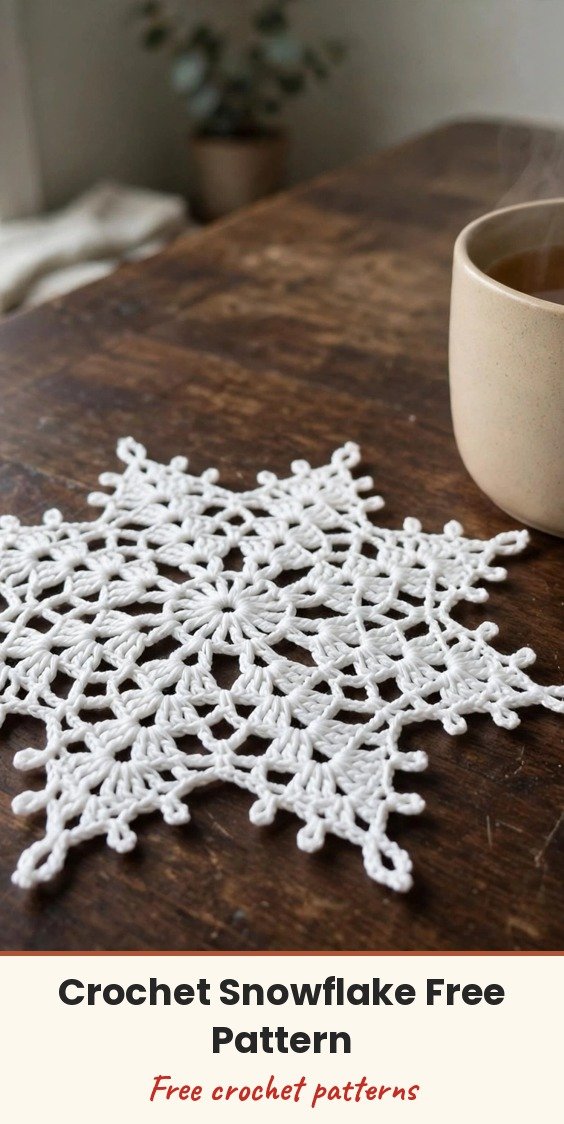
I just love a snowflake that works as hard as this one does! This delicate crochet snowflake is eye-catching and versatile: hang it as an ornament, use it as a coaster, or string several together into a pretty winter garland.
We will build it in five rounds from a simple chain ring, with pairs of double crochet, little chain spaces, and sweet picot tips in the final round that give it those pointed, frosty edges. It is a lovely project for beginners and experienced crocheters alike, and blocking at the end really makes the shape sing.
Use a lightweight cotton yarn for a crisp, elegant finish, or add a sparkly yarn for a festive look. Every finished piece comes out uniquely yours!
Materials
- Lightweight or lace weight cotton yarn
- 3.5mm crochet hook, or an appropriate size for your yarn
- Scissors
- Tapestry needle for weaving in ends
Abbreviations
- ch: chain
- sc: single crochet
- dc: double crochet
- sl st: slip stitch
Special Stitches
- Picot (as worked in Round 5): chain 5, then slip stitch into the 2nd chain from the hook to form the pointed tip
Gauge & Size
- Gauge: not critical for this pattern; a gauge swatch is only needed if you want a specific size
- Finished size: approximately 5 inches in diameter
- Construction: worked in rounds from a chain ring, finished with picot tips and blocked to shape
- Skill level: Beginner friendly
Snowflake Pattern
Foundation: Ch 6, join with sl st to form a ring.
Round 1: Ch 3 (counts as 1 dc), dc into ring. Ch 1, (2 dc into ring, ch 1) repeat 5 more times. You should have 6 pairs of dc separated by ch 1. Join with sl st to top of starting ch 3.
Round 2: Sl st into next ch 1 space. Ch 1, (1 sc, ch 3, 1 sc) in the next ch 1 space, repeat 5 more times. Join with sl st to first sc.
Round 3: Sl st into next ch 3 space. Ch 3 (counts as dc), 2 dc into same space. Ch 3, 3 dc into next ch 3 space, repeat 5 more times. Join with sl st to top of starting ch 3.
Round 4: Sl st into next dc. Ch 3 (counts as dc), ch 3, 1 dc into same stitch. Sl st into next dc, ch 3, sl st into next dc. Ch 3, 1 dc into next dc, ch 3, repeat from there around. Join with sl st at the top of starting ch 3.
Round 5 (tip formation): Sl st into next ch 3 space. Ch 1, 1 sc into same space. Ch 5, sl st into 2nd ch from hook (picot formed), ch 3, sc into next ch 3 space. Repeat around. Join with sl st to first sc.
Finishing & Assembly
Fasten off and weave in the ends with your tapestry needle. Block your snowflake to maintain its shape, pinning each point out gently, and let it dry completely before you use it for decorations or gifts.
Tips
Keep your stitches consistent for even snowflake edges, and try a contrasting colour for a more striking look.
Can this snowflake be made with different types of yarn? Absolutely! Thinner yarns like thread create delicate, intricate snowflakes, while thicker yarns result in bolder designs. Just adjust your hook size as needed for the best results.
String a row of these along a length of twine or ribbon and you have the prettiest winter garland for a mantel or window.
Crochet a Stunning Snowflake Pattern – Step-by-Step Guide
Materials
Steps
- Chain 6 and join into a ring
- Work Round 1 with 6 pairs of double crochet separated by chain 1
- Work Round 2 with single crochet and chain 3 loops
- Work Round 3 with groups of 3 double crochet and chain 3
- Work Round 4 to build the open points of the snowflake
- Finish with the Round 5 picot tips, fasten off and block to shape
- Keep stitches consistent for even, crisp points
- Block the finished snowflake and pin every point out while it dries
- Use thread for a delicate snowflake or thicker yarn for a bold one
- String several together for a winter garland


