How to Crochet a Mini Santa Hat Pattern – DIY Crafts
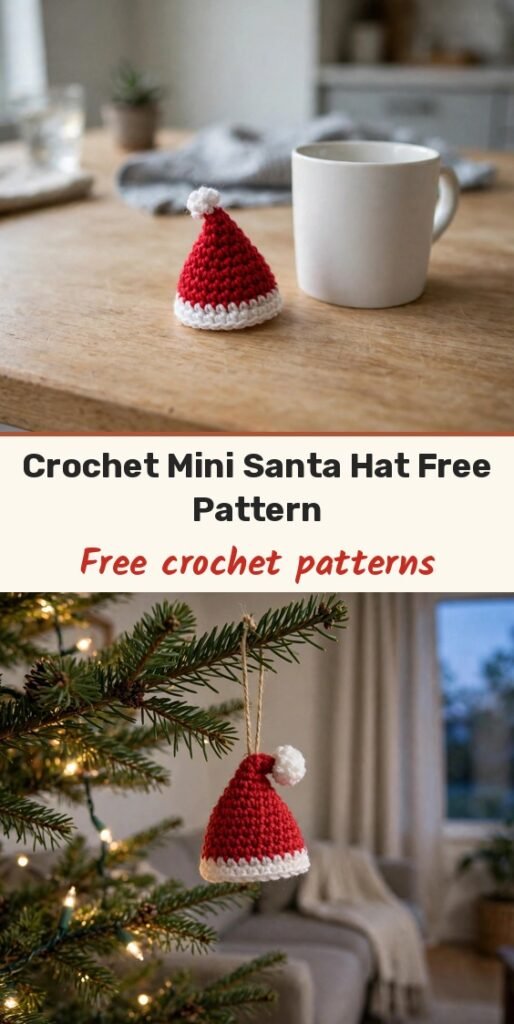
Table of Contents
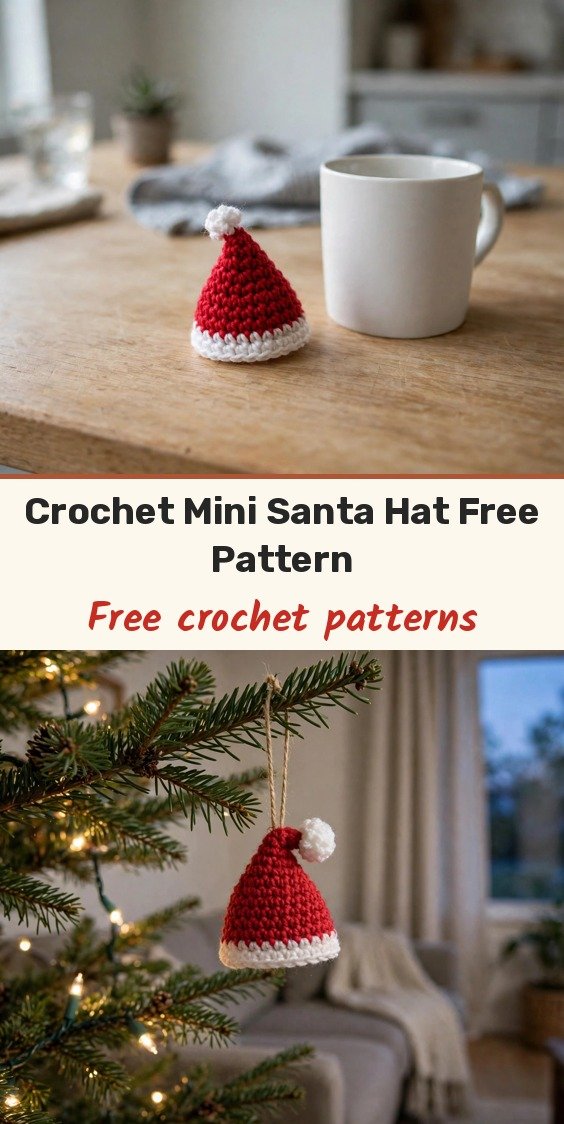
Hi, I am Amy, and sometimes the smallest make brings the biggest smile. This mini Santa hat is only a few centimetres tall, but pop it on a tree, a bottle, a gift, or a favourite little plushie and the whole thing turns instantly festive.
It is beginner-friendly, quick to finish, and a brilliant way to use up red and white yarn scraps. The red cone grows with gentle increases, the white brim is one cosy round of half double crochet, and the tiny pompom is just a little crocheted circle cinched into a ball.
Make one for a tree ornament or a whole row of them as gift toppers and keychain charms. They work up so fast you will want a little production line going.
Materials
- Bernat Premium #4 worsted (medium) weight yarn in red
- Bernat Premium #4 worsted (medium) weight yarn in white
- 5.0 mm crochet hook
- Yarn needle or tapestry needle
- Scissors
Abbreviations
- st / sts: stitch / stitches
- ch: chain
- sl st: slip stitch
- sc: single crochet
- hdc: half double crochet
Gauge & Size
- Terminology: US crochet terms
- Finished height: 7 cm (about 2.75 in)
- Finished width: 5 cm (about 2 in)
- Joining: each round ends with a slip stitch to the first stitch
- Colour change: switch colours at the end of Round 8 during the final slip stitch
Hat Body
Work the hat body in red yarn.
Round 1: Make a magic circle, ch 1. Work 4 sc into the circle. Join with a sl st to the first sc. (4 sts)
Round 2: Ch 1. (2 sc in 1st st, 1 sc in next st), repeat around. Join with a sl st. (6 sts)
Round 3: Ch 1. (1 sc in 1st st, 2 sc in next st), repeat around. Join with a sl st. (8 sts)
Round 4: Ch 1. Make 1 sl st in each of the first 4 sts, then 1 hdc in each of the next 4 sts. Join with a sl st. (8 sts)
Round 5: Ch 1. (2 sc in 1st st, 1 sc in next 3 sts), repeat around. Join with a sl st. (10 sts)
Round 6: Ch 1. (1 sc in next 2 sts, 2 sc in next st, 1 sc in next 2 sts), repeat around. Join with a sl st. (12 sts)
Round 7: Ch 1. (2 sc in 1st st, 1 sc in next 5 sts), repeat around. Join with a sl st. (14 sts)
Round 8: Ch 1. (1 sc in next 3 sts, 2 sc in next st, 1 sc in next 3 sts), repeat around. Change to white yarn on the final sl st and tie off the red yarn. (16 sts)
Hat Brim
Work the brim in white yarn.
Round 9: Ch 1. Work 1 hdc in each of the 16 sts, hiding yarn tails as you work. Join with a sl st. (16 sts)
Fasten off and weave in the ends.
Mini Pompom
Work the pompom in white yarn.
Pompom round: Create a magic circle, ch 1, and work 6 sc into the circle. Join with a sl st. (6 sts)
Cut the first yarn tail short. Fasten off, leaving a 15 cm (about 6 in) long yarn tail for assembly.
Thread the long yarn tail through a needle, weave through the outer edges of the circle, and pull tight to form a small sphere.
Finishing & Assembly
Position the pompom at the top of the hat.
Use the long white yarn tail and your needle to stitch the pompom securely to the hat.
Fasten off and trim any excess yarn. Your mini Santa hat is ready to hang, gift, or perch on a plushie.
Tips
For a seamless colour change, pull the new colour through on the final slip stitch or last pull-through of the old colour instead of tying a knot.
Tuck yarn tails in as you go by crocheting over them, or weave them in later with a needle so nothing unravels.
Attach a keychain ring to turn the hat into a bag charm, or use the ring to hang it as an ornament on the tree.
The hat also makes a sweet wine bottle topper. Tie it around the neck of the bottle for a snug fit.
How to Crochet a Mini Santa Hat Pattern – DIY Crafts
Materials
Steps
- Work the red hat body, Rounds 1 to 8, increasing to 16 sts
- Change to white on the final slip stitch of Round 8
- Work the white brim in Round 9 with 1 hdc in each stitch
- Make the mini pompom from a 6 sc magic circle
- Cinch the pompom into a sphere and stitch it to the top of the hat
- Weave in all ends
- Pull the new colour through on the final slip stitch for a seamless colour change
- Crochet over yarn tails as you go to save weaving in later
- Add a keychain ring to wear it as a bag charm or hang it as an ornament
- Use it as a wine bottle topper or a hat for mini plushies and dolls


