How to Crochet a Mini Christmas Stocking for Holiday Décor – DIY Crafts
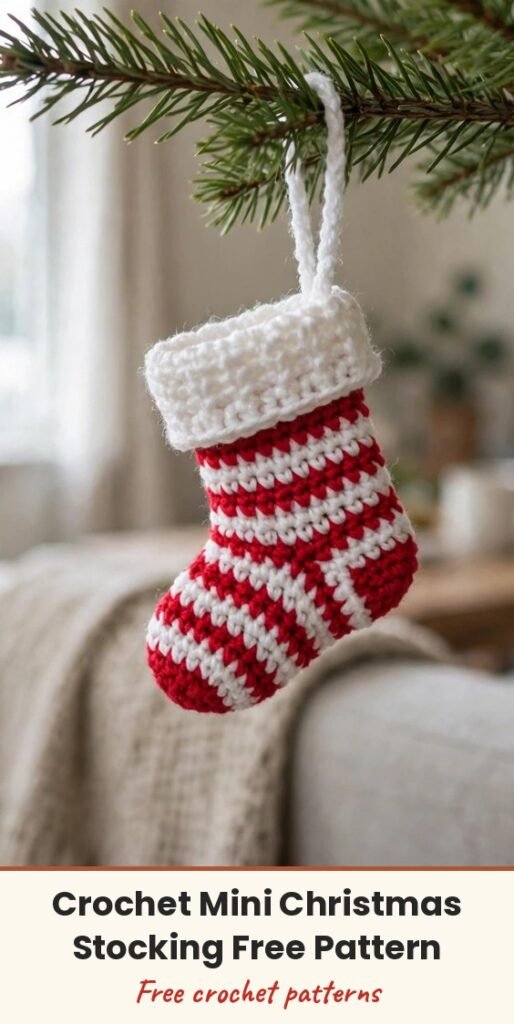
Table of Contents
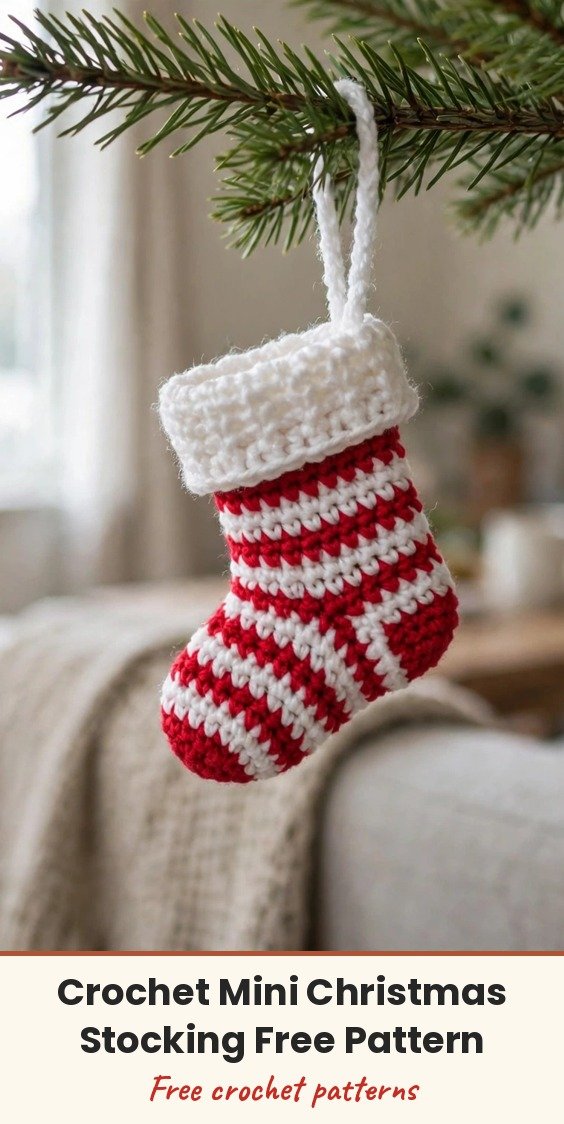
Hi, I’m Amy, and I just love a tiny make that brings a big smile. This mini Christmas stocking is only about 3 inches tall, but it has all the charm of a full-size stocking — neat red-and-white stripes, a sweet folded cuff, and a little hanging loop so it can live right on your tree.
I like these for tucking in a candy or a folded gift note, and they are wonderful to make in a little batch for friends. We work in joined rounds, carry the non-working colour inside, and change colour on the final yarn over so the stripes stay clean.
Materials
- 4-ply cotton yarn in red
- 4-ply cotton yarn in white
- 2.0 mm crochet hook
- Yarn or tapestry needle
- Scissors
- Keychain ring or small jingle bell (optional)
Abbreviations
- MR — magic ring
- ch — chain
- sl st — slip stitch
- sc — single crochet
- hdc — half double crochet
- dc — double crochet
- inc — increase, 2 sc in one stitch
- dc inc — 2 dc in one stitch
- FLO — front loop only
Special Stitches
- 2-dc cluster (dc2tog over 2 stitches): Work a dc in the next stitch and leave the last loop on the hook, work a dc in the next stitch and leave the last loop on the hook, yarn over and pull through all loops on the hook.
Gauge & Size
- Finished size: approximately 2.5–3 inches tall (6–7 cm)
- Skill level: Beginner to Intermediate
- Work in rounds and join each round with a sl st unless noted
- Change colour on the final yarn over of the last stitch of the round
Stocking Toe
Round 1 (red): Make a magic ring, ch 2 (does not count as a stitch), work 15 dc into the ring, pull tight, sl st to first dc to join. (15 sts)
Round 2: Ch 1, work 1 sc in each stitch around, changing to white on the final yarn over of the 15th sc, sl st to first sc to join. (15 sts)
Foot and Striped Body
Round 3 (white): Ch 1, repeat (2 sc, inc, 2 sc) 3 times, switching to red on the final yarn over of the last stitch, sl st to join. (18 sts)
Round 4 (red): 18 sc around, switch to white on the last stitch, sl st to join. (18 sts)
Round 5 (white): 18 sc around, switch to red on the last stitch, sl st to join. (18 sts)
Round 6 (red): 18 sc around, switch to white on the last stitch, sl st to join. (18 sts)
Round 7 (white): 18 sc around, switch to red on the last stitch, sl st to join. (18 sts)
Round 8 (red): 18 sc around, do not change colour, sl st to join. (18 sts)
Stocking Heel
The heel is worked in rows across the next 9 stitches, then turned.
Round 9, Heel Row 1 (red): Across the next 9 stitches work sc, hdc, 2 dc, dc inc, 2 dc, hdc, sc, ch 1, turn. (uses exactly 9 stitches)
Round 10, Heel Row 2: Work back across with sc, hdc, 2 dc, 2-dc cluster over the middle 2 dc, hdc, sc, changing to white on the final yarn over of the last stitch.
Leg and Cuff
Round 11 (white): Work 18 sc evenly around the entire top opening, combining stitches along the heel edge and the remaining unworked stitches from Round 8, switch to red on the last stitch, sl st to join. (18 sts)
Round 12 (red): 18 sc, switch to white. (18 sts)
Round 13 (white): 18 sc, switch to red. (18 sts)
Round 14 (red): 18 sc, switch to white. (18 sts)
Round 15 (white): 18 sc, switch to red. (18 sts)
Round 16 (red): 18 sc, switch to white. (18 sts)
Round 17 (white): 18 sc, keep white for the cuff. (18 sts)
Round 18, Cuff Ridge (white): Work 18 sc in FLO only, sl st to join. (18 sts)
Rounds 19–22 (white): Work 18 sc in both loops for 4 rounds, fasten off and weave in the end. (18 sts per round)
Fold Rounds 19–22 downward over the ridge from Round 18 to create the folded cuff.
Finishing & Assembly
Hanging loop (red): Attach red yarn to one of the unworked back loops of Round 18 at the back of the stocking, ch 5, sl st into the adjacent stitch of Round 18 to form a loop, fasten off and weave the tails inside.
Adjust the white cuff so it lies neatly folded, hide all loose ends inside with a tapestry needle, and attach a keychain ring and optional jingle bell through the loop if you like.
Tips
Use a stitch marker to mark the beginning of each round and count your stitches as you finish a round — it keeps the stripes and heel shaping aligned.
Carry the non-working yarn along the inside and crochet over it instead of cutting at every stripe, and block the finished stocking lightly if it curls.
Try green and gold, burgundy and cream, or pastel pink or blue instead of red and white for a different look.
How to Crochet a Mini Christmas Stocking for Holiday Décor – DIY Crafts
Materials
Steps
- Make the toe with 15 dc in a magic ring
- Work the striped foot and body to 18 stitches
- Shape the heel in two short rows
- Work the striped leg to Round 17
- Add the FLO cuff ridge and 4 white cuff rounds
- Fold the cuff down
- Add the red hanging loop and weave in ends
- Change colour on the final yarn over for clean stripes
- Carry the unused yarn inside instead of cutting it
- Count stitches every round to keep shaping even


