How To Craft A Stunning Crochet Christmas Ball Ornament
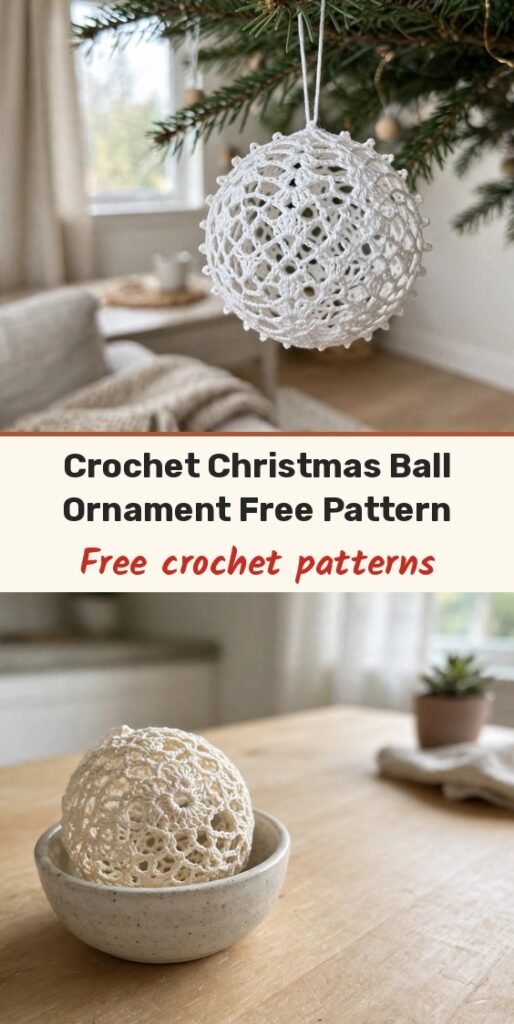
Table of Contents
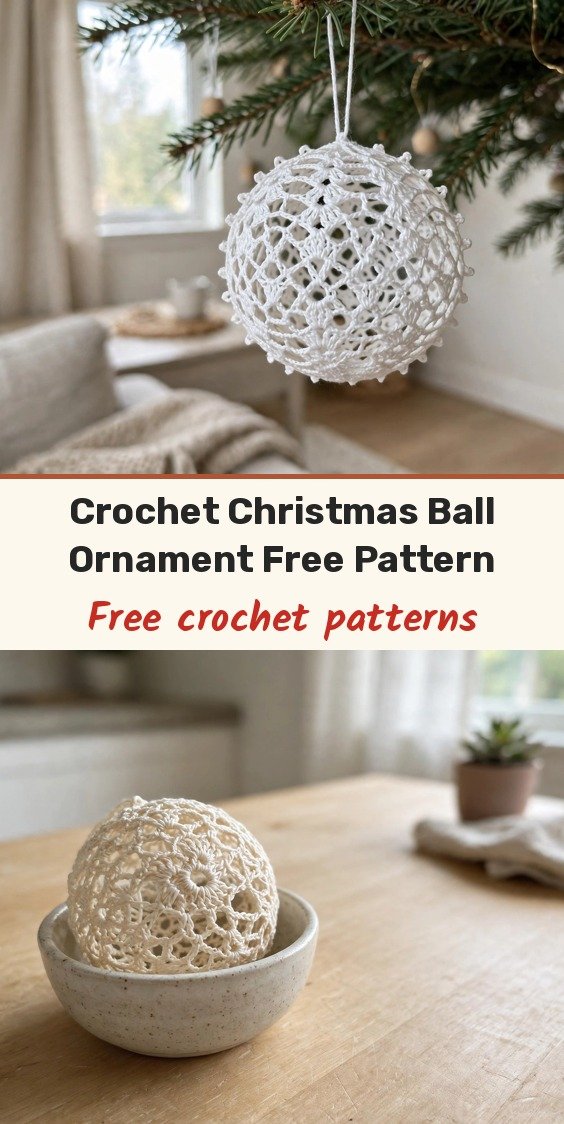
Hi, I am Amy, and this delicate lace Christmas ball is such a special ornament. Instead of a solid stuffed sphere, you crochet two matching openwork hemispheres, join them, stiffen them, and shape them around a balloon until they hold a perfect round form.
Do not rush the shaping stage, my friend. The crochet rounds create the pretty structure, and the stiffening and balloon do the rest. Take it step by step and check the shape as you go, and you will be so proud of the result.
Materials
- 1 ball of YarnArt Violet, 50 g / 282 m, or any similar fine-weight cotton thread
- 1 crochet hook, 1.5 mm
- 1 small round-bottomed balloon, for shaping
- Potato starch and boiling water, for the stiffening solution
- 1 pair of scissors
- 1 darning needle, for sewing and hiding yarn ends
- Optional: ribbon or a hanging loop
Abbreviations
- ch: chain
- sl st: slip stitch
- sc: single crochet
- dc: double crochet
- tr: treble crochet
- 2 dc tog: two double crochets worked together as a decrease
- 3 dc tog: three double crochets worked together as a decrease
Special Stitches
- Picot: ch 3, sl st into the first chain to form a small decorative loop
Gauge & Size
- Finished size: approximately 6 to 8 cm in diameter, depending on your tension and the balloon size
- Gauge: the fine thread and small hook are important for the delicate openwork; substitute only with a similar fine-weight cotton
- Note: yarn thickness and tension affect both the look and how easily the fabric stretches over the balloon
Hemisphere Pattern
Make two identical hemispheres with this pattern. The instructions below are for one hemisphere.
Round 1: Ch 8, join into a loop with sl st. Work 16 dc into the circle. Sl st into the 3rd chain at the start. Check that the foundation circle lies reasonably flat before you continue.
Round 2: Work (2 dc tog, ch 5) 8 times around. Sl st into the top of the combined decrease at the start of the round. The round will look loose and open, and that is expected.
Round 3: Sl st under the nearest loop created by the ch-5 spaces. Into each ch-5 loop, work 5 dc, ch 3, sl st. Complete the round.
Round 4: Into the middle ch-3 loop of each arch, work (1 tr, ch 3, 1 tr). Repeat in all loops. Sl st to finish.
Round 5: Into the middle loop of the arch, work (1 tr, ch 3) 3 times, then finish with 1 tr, ch 3. Sl st to complete the round.
First hemisphere finish: Check that the arches repeat consistently, the centre loops are clearly formed and no chain space has been skipped. Break the yarn and hide the central yarn tails. Do not stiffen it yet.
Second hemisphere: Repeat the complete hemisphere instructions to make an identical second piece. Place the two together and compare: similar size, matching arch positions, similar edge spacing and no obvious twisting.
Finishing & Assembly
Joining edge: Attach yarn to the edge of the second hemisphere. Under each chain, except the centre, work 1 sc, picot, 1 sc. Under the central chain, work 1 sc, picot, 1 sc, ch 3, 1 sc, picot, 1 sc. Repeat around.
Join as you go: During the last round of the second hemisphere, connect it to the first hemisphere with ch 1 and sc stitches: ch 1, 1 sc under the first hemisphere central chain, then ch 1 and continue the sc and picot stitching around the second hemisphere. Finish the round, cut the yarn and hide the ends. Check the join is even, not puckered or twisted.
Stiffen: Prepare a thick solution of potato starch and boiling water. Submerge the joined piece fully for approximately 5 minutes. Do not wring it completely dry; leave some solution in the fibres.
Shape: Insert a round-bottomed balloon into the wet crochet and inflate it gradually until the crochet takes on the final rounded shape. Tie the balloon tightly. Check from several angles that the ball is round, both hemispheres sit evenly, the picots face outward and nothing has folded inward.
Dry: Allow the ornament to dry completely for approximately 24 hours with the balloon inside. Then deflate the balloon and remove it carefully. Add a ribbon or hanging loop at the top if desired.
Tips
Treat stiffening and drying as part of the pattern, not an afterthought. Removing the balloon too early, even if the surface feels dry, can let the ball lose its round shape.
Before hanging, check that the ball holds its shape, the hemispheres are joined securely, the picots are visible and not folded inward, the surface is fully dry, no ends are showing, and the hanging loop is secure.
For variations, try metallic or glitter yarn, alternate colours between rounds, or add beads. Make several in coordinated colours for a matching tree display.
How To Craft A Stunning Crochet Christmas Ball Ornament
Materials
Steps
- Crochet the first hemisphere in 5 rounds
- Repeat for an identical second hemisphere
- Join the hemispheres with sc and picot edging
- Soak in potato starch solution for 5 minutes
- Shape around an inflated balloon
- Dry 24 hours, remove balloon and add hanging loop
- Make both hemispheres match closely before joining
- Do not remove the balloon before the ornament is fully dry
- Keep picots facing outward while drying


