Festive Crochet Christmas Tree Pattern To Brighten Your Home
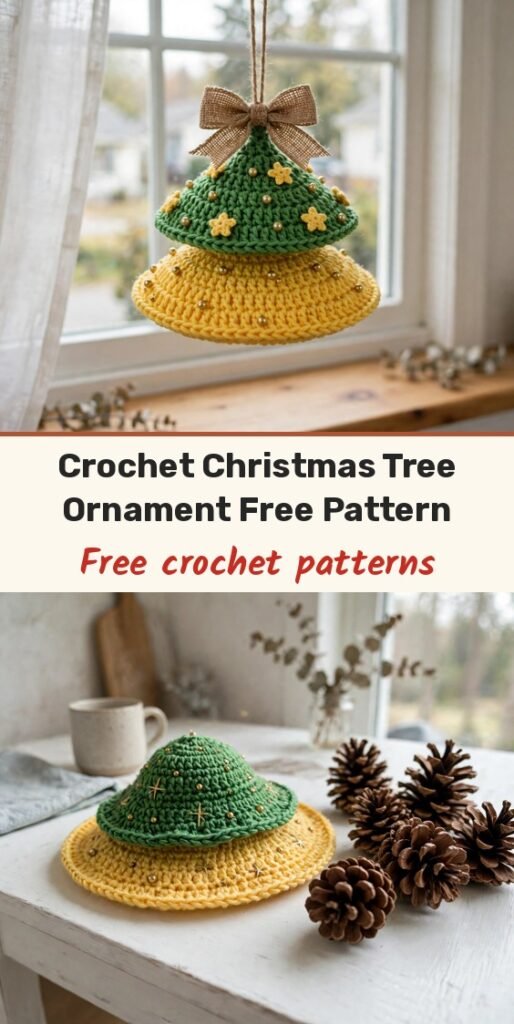
Table of Contents
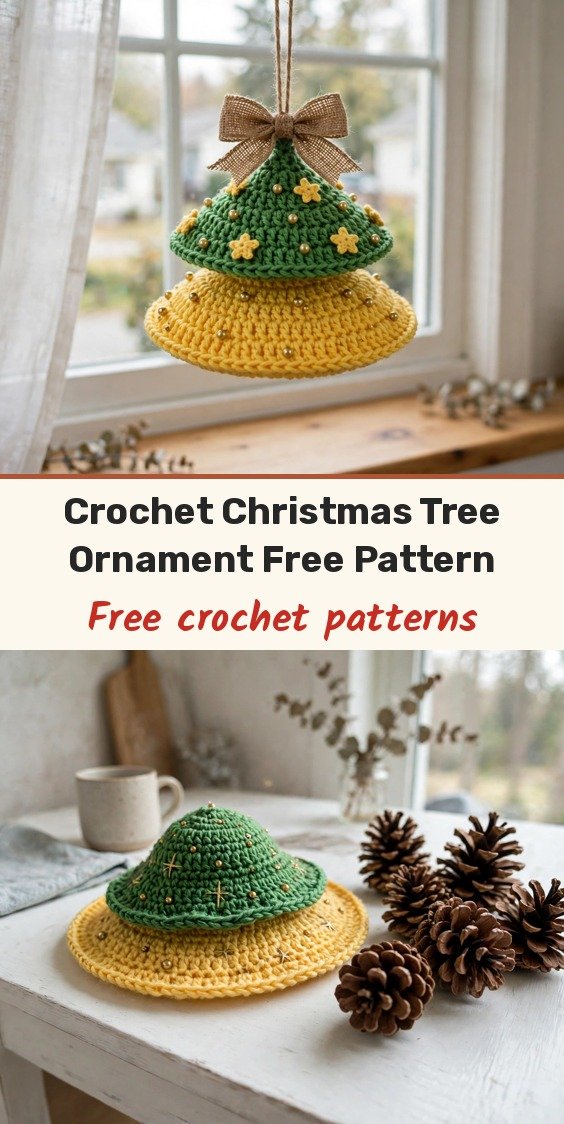
Hi, I’m Amy, and this festive tree ornament is such a joyful stack — a smaller green tier sitting over a larger yellow tier, finished with scalloped edges, gold chains, tiny stars, beads, and a bow on top. It looks lovely hanging up and makes a sweet handmade gift, too.
We make each tier separately in single crochet, increasing in neat rounds so the counts do the shaping for us. Take your time with the assembly and glue, and your ornament will hold together beautifully.
Materials
- Yarn in green
- Yarn in yellow
- Yarn in gold
- Yarn in red (optional, for variation)
- 2.5 mm crochet hook
- 2.0 mm crochet hook for finer details and chains
- Ready-made decorative bow
- Assorted beads for embellishment
- Craft glue or fabric adhesive
- Scissors
Abbreviations
- sc — single crochet
- hdc — half double crochet
- dc — double crochet
- sl st — slip stitch
- ch — chain
- inc — increase, 2 sc in one stitch
Gauge & Size
- Component A finishes at 24 stitches before its scalloped edge
- Component B finishes at 40 stitches before its scalloped edge
- Check stitch counts at the end of every round
Green Base Component A
Round 1 (green): Start with a magic ring and work 8 sc into the ring. (8 sc)
Round 2: Work 8 sc around. (8 sc)
Round 3: Increase in every stitch. (16 sc)
Round 4: Work 16 sc around. (16 sc)
Round 5: Alternate 1 sc and 1 inc, repeat 8 times. (24 sc)
Rounds 6–7: Work 24 sc per round. (24 sc)
Round 8, Finishing Round: In the next stitch work hdc, dc, hdc all in the same stitch, in the following stitch work a sl st, repeat this sequence for a total of 12 sections.
Larger Yellow Base Component B
Rounds 1–5 (yellow): Repeat the pattern for Component A up to Round 5. (24 sc at Round 5)
Round 6: Repeat (2 sc, 1 inc) 8 times. (32 sc)
Rounds 7–8: Work 32 sc per round. (32 sc)
Round 9: Repeat (3 sc, 1 inc) 8 times. (40 sc)
Rounds 10–11: Work 40 sc per round. (40 sc)
Round 12, Finishing Round: Use the same finishing stitch as Component A — hdc, dc, hdc in one stitch, sl st in the next — repeated around the 40-stitch round.
Chains and Stars
Gold chains (2.0 mm hook): Make one 30-chain gold loop and one longer 55-chain loop, cut and secure the threads leaving tails for attachment.
Small Star (yellow, 2.0 mm hook): Make a magic ring and repeat (ch 1, sc, dc, ch, dc) five times inside the ring, cut the yarn and secure, close the ring tightly and weave in ends.
Make three stars in total.
Finishing & Assembly
Thread the 30-chain gold piece through the centre of Component A, secure with a simple knot and allow the ends to hang.
Thread the 55-chain piece through the centre of Component B and align for stability.
Use glue to attach the components together uniformly, with the gold chains acting as support.
Glue the stars to the bottom tips of Component B, evenly spaced, then glue beads across both bases and attach the decorative bow at the top.
Tips
Keep your tension even for consistent shaping, especially in the final rounds of each component.
Use good-quality glue and let each joined piece set before adding the next embellishment.
Try traditional holiday colours or your own palette to match your tree.
Festive Crochet Christmas Tree Pattern To Brighten Your Home
Materials
Steps
- Crochet green Component A to 24 stitches with scalloped edge
- Crochet yellow Component B to 40 stitches with scalloped edge
- Make 30-chain and 55-chain gold loops
- Crochet three small yellow stars
- Thread chains through centres and glue tiers together
- Add stars, beads and bow
- Check stitch counts every round
- Keep tension even in the final rounds
- Let glue set between assembly steps


