Crochet Christmas Snowflake Pattern
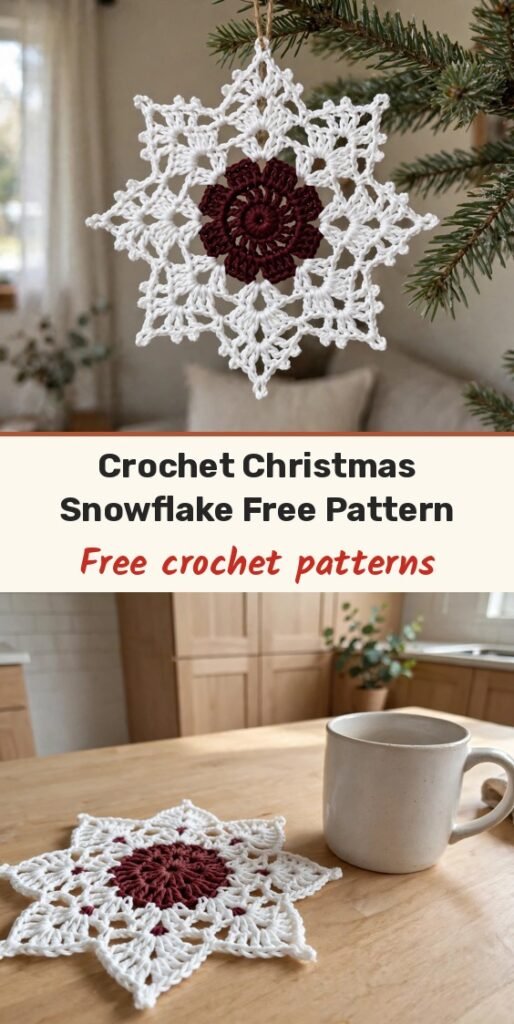
Table of Contents
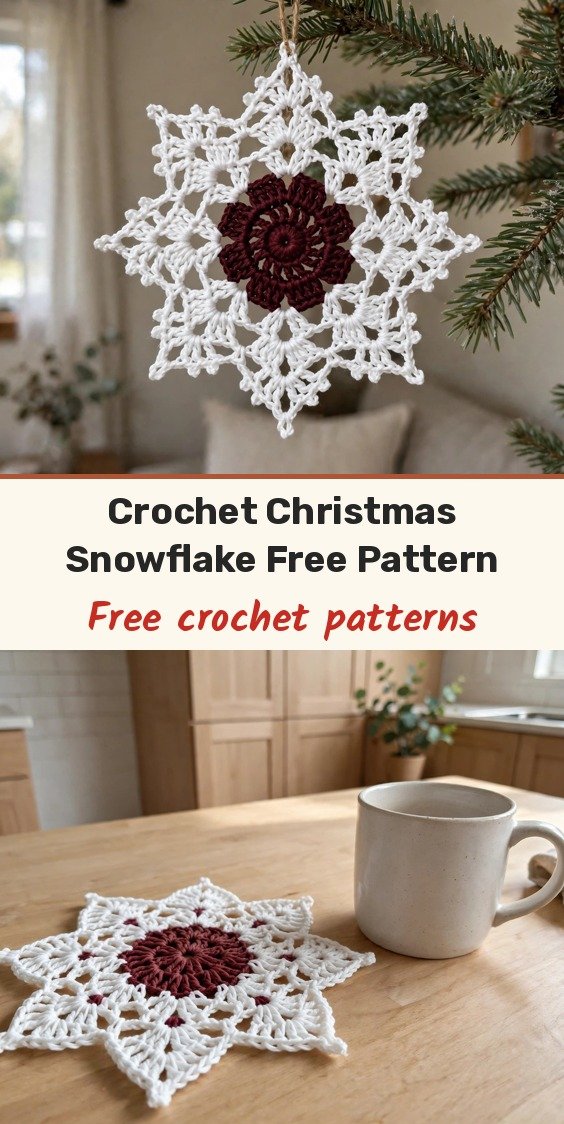
Hi, I am Amy, and I never get tired of a good snowflake! This pretty two-colour design builds six neat points out from a tiny centre, and it works up in just a few minutes once you have made your first one.
I love these all over the holidays: hang them on the tree, string them into a garland, tie one onto a gift, or use them as sweet little charms. A white snowflake with a deep maroon centre looks especially lovely against green branches.
Keep your tension even and count those chain spaces carefully, because they are the foundation for every point. A gentle stretch and a light block at the end will help your snowflake lie flat and symmetrical.
Materials
- White yarn, small amount
- Maroon yarn, small amount
- Crochet hook suitable for your yarn
- Scissors
- Yarn needle
- Small amount of craft or fabric glue, optional
Abbreviations
- MR: magic ring
- CH: chain
- DC: double crochet
- SL ST: slip stitch
- ST: stitch
- SP: space
- RND: round
Gauge & Size
- Finished size: approximately 8 to 12 cm (3 to 4.75 in) across, depending on yarn, hook and tension
- The finished snowflake has 6 evenly spaced points
- Gauge is not essential for this project; consistent tension matters most
Snowflake Pattern
Round 1: Begin with the first colour. Make a magic ring. CH 5; this counts as the first DC plus a CH-2 space. Work 1 DC into the magic ring, CH 2, then 1 DC into the magic ring. Continue around the ring, repeating CH 2, 1 DC, until you have worked 6 DC total, each DC separated by a CH-2 space. Pull the magic ring closed. Join with a SL ST into the 3rd chain of the beginning CH-5. (6 DC and 6 CH-2 spaces)
Round 2: Change to the second colour if you are following the two-colour arrangement. SL ST across to the next CH-2 space. CH 3. Work 3 DC into the same CH-2 space. CH 2. Work 4 DC into the same CH-2 space. CH 2. Repeat this construction in each of the 6 CH-2 spaces around the centre. Join with a SL ST to close the round. (6 repeating sections)
First point: CH 3. SL ST into the next gap. CH 5. SL ST into the same gap. CH 7. SL ST into the same gap. CH 5. SL ST into the same gap. CH 3. SL ST into the first DC of the next group.
Move to the next point: SL ST across the remaining stitches of the group until you reach the next gap, then repeat the complete point sequence.
Continue around the snowflake until 6 points have been formed.
Finishing the points: For each point, work CH 5, SL ST, CH 7, SL ST, CH 5, SL ST. Repeat this sequence for all six points. At the end of the round, join with a SL ST. Fasten off and secure the yarn.
Finishing & Assembly
Fasten off all yarn ends and weave the loose ends securely into the back of the work with your yarn needle.
Gently stretch the snowflake into shape, arranging all 6 points evenly, and flatten it with your fingers.
If needed, lightly block the snowflake so it lies flat. Apply a very small amount of fabric glue to the back only if you want extra stiffness, and let it dry completely before handling.
Tips
Read through the complete pattern before you begin, and maintain even tension so all six points stay symmetrical.
Count the chain spaces carefully; they form the foundation of the snowflake points.
Swap in any two contrasting colours you like; the colour change happens at Round 2.
A slight natural curl is normal and is fixed with gentle blocking or shaping.
Crochet Christmas Snowflake Pattern
Materials
Steps
- Work Round 1 to 6 DC and 6 CH-2 spaces
- Work Round 2 clusters in each CH-2 space
- Form the first point with CH 3, CH 5, CH 7, CH 5, CH 3
- Repeat points around for 6 points total
- Finish points with CH 5, CH 7, CH 5 sequence
- Weave in ends and block flat
- Keep tension even for symmetrical points
- Count chain spaces carefully
- Block lightly so the snowflake lies flat
- Use a tiny amount of glue on the back for stiffness if wanted


