Crochet Christmas Glove Mini Bag Pattern
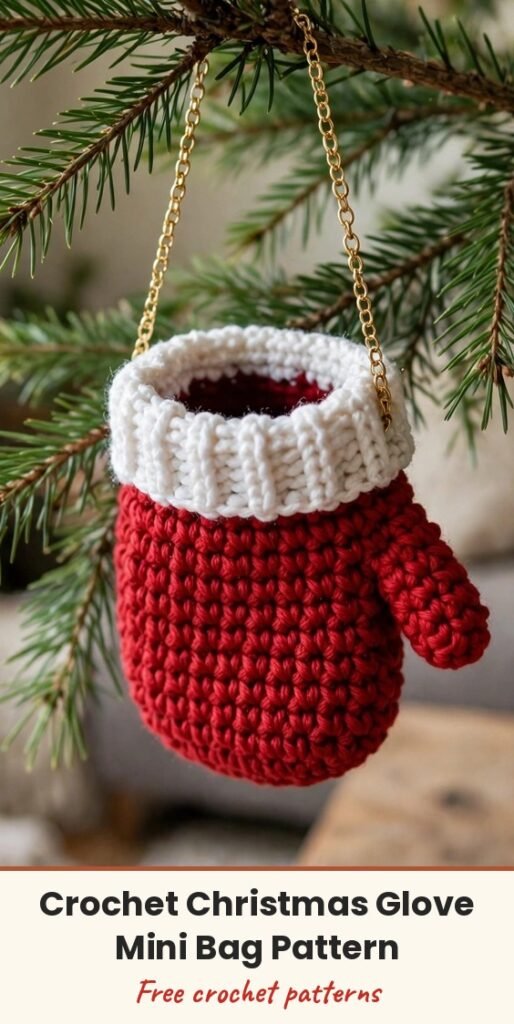
Table of Contents
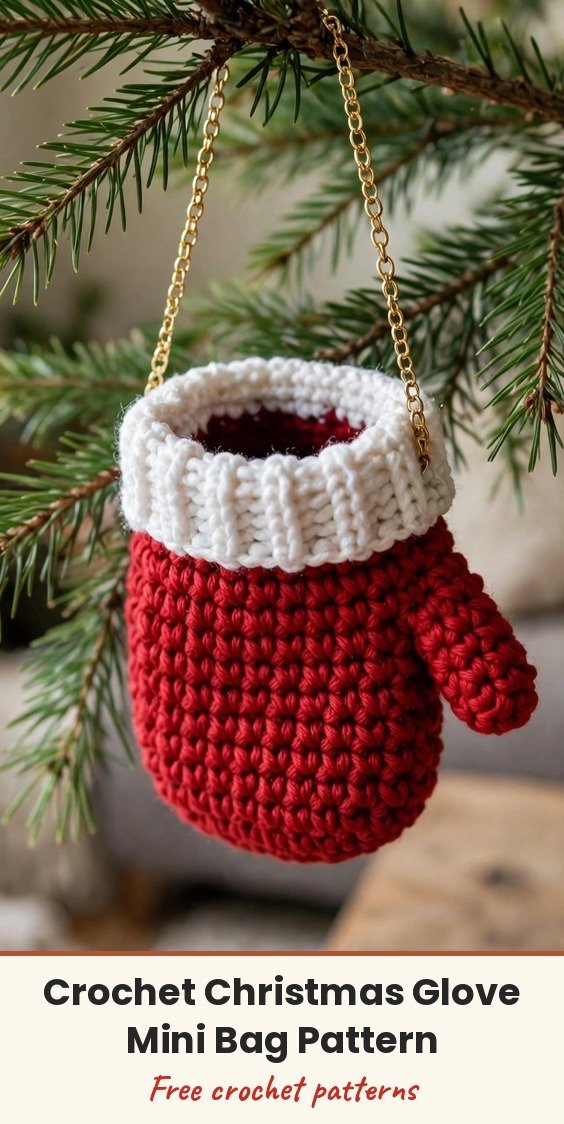
This little mitten-shaped mini bag makes me so happy, because it looks like a sweet Christmas glove but works just like a tiny pouch! I love it for holding a few treats, a gift card, lip balm, or a small surprise gift, and it is just as cute hanging on the tree.
We will make it in a really clever order. First I crochet the small finger piece on its own and set it aside, then I work the round bag body, and in Round 13 we join the two pieces together so that lovely glove shape appears. Every round is worked in single crochet and joined with a slip stitch, and we chain 1 at the beginning of each new round.
It is a quick, friendly make, and the cuff is my favourite part. Work the body in red or green, switch to white for the cuff rounds if you like, and finish with a long chain strap or a short hanging loop.
Materials
- 2 strands of 2.5mm Sport / Fine weight yarn held together, in red or green for the body and white for the cuff if you want the festive colour change
- 5.0mm crochet hook
- Stitch markers
- Scissors
- Yarn needle, for weaving in ends and attaching the strap
Abbreviations
- MR: magic ring
- ch: chain
- sc: single crochet
- inc: increase, 2 sc in the same stitch
- dec: decrease, single crochet two together
- sl st: slip stitch
- FLO: front loop only
- st/sts: stitch / stitches
Gauge & Size
- Finished size: a small mitten-shaped mini bag, made with two strands of yarn held together and a 5.0mm hook
- Construction: finger worked separately, main body worked in joined single crochet rounds, pieces joined in Round 13, then shaped, cuffed and finished with a chain strap
- Skill level: Easy
Finger Pattern
Make the finger first and set it aside. We will bring it back for the joining round, so keep it nearby once your body is ready.
Round 1: 6 sc in a MR, join with sl st. (6 sts)
Round 2: Ch 1, 6 inc, join with sl st. (12 sts)
Round 3: Ch 1, 12 sc, join with sl st. (12 sts)
Fasten off the finger and set it aside while you crochet the main body.
Bag Body Pattern
The body starts with the same 6-stitch centre and grows steadily to 36 stitches, then we work straight rounds to give the little bag its height.
Round 1: 6 sc in a MR, join with sl st. (6 sts)
Round 2: Ch 1, 6 inc, join with sl st. (12 sts)
Round 3: Ch 1, (1 sc, inc) x 6, join with sl st. (18 sts)
Round 4: Ch 1, (1 sc, inc, 1 sc) x 6, join with sl st. (24 sts)
Round 5: Ch 1, (3 sc, inc) x 6, join with sl st. (30 sts)
Round 6: Ch 1, (2 sc, inc, 2 sc) x 6, join with sl st. (36 sts)
Round 7: Ch 1, 36 sc, join with sl st. (36 sts)
Round 8: Ch 1, 36 sc, join with sl st. (36 sts)
Round 9: Ch 1, 36 sc, join with sl st. (36 sts)
Round 10: Ch 1, 36 sc, join with sl st. (36 sts)
Round 11: Ch 1, 36 sc, join with sl st. (36 sts)
Round 12: Ch 1, 36 sc, join with sl st. (36 sts)
Joining & Shaping
Now bring your finished finger back to your work. In Round 13 we work partway around the bag, crochet across the finger, use a decrease to bring the join inward, and then return to the bag body. Take this round slowly and keep track of which stitches belong to the bag and which belong to the finger.
Round 13: Ch 1, 18 sc on the bag body, 5 sc on the finger, dec, 5 sc, 18 sc back on the bag body, join with sl st. (47 sts)
Round 14: Ch 1, 17 sc, dec, 3 sc, dec, 4 sc, dec, 17 sc, join with sl st. (44 sts)
Round 15: Ch 1, 16 sc, dec, 3 sc, dec, 4 sc, dec, 17 sc, join with sl st.
Round 16: Ch 1, 20 sc, dec, 19 sc, join with sl st. (40 sts)
Round 17: Ch 1, 19 sc, dec, 19 sc, join with sl st. (39 sts)
Cuff & Strap
With the mitten shape in place, we stop decreasing and carry the 39-stitch circumference straight up. Round 24 is worked in the front loops only, and that is what gives the cuff its pretty raised ridge. If you are changing to white for the cuff, this is a lovely place to do it.
Round 18: Ch 1, 39 sc, join with sl st. (39 sts)
Round 19: Ch 1, 39 sc, join with sl st. (39 sts)
Round 20: Ch 1, 39 sc, join with sl st. (39 sts)
Round 21: Ch 1, 39 sc, join with sl st. (39 sts)
Round 22: Ch 1, 39 sc, join with sl st. (39 sts)
Round 23: Ch 1, 39 sc, join with sl st. (39 sts)
Round 24: Ch 1, 39 sc in FLO, join with sl st. (39 sts)
Round 25: Ch 1, 39 sc, join with sl st. (39 sts)
Round 26: Ch 1, 39 sc, join with sl st. (39 sts)
Round 27: Ch 1, 39 sc, join with sl st. (39 sts)
Round 28: Ch 1, 39 sc, join with sl st. (39 sts)
Fasten off. For the strap, make a chain measuring approximately 85 to 90 cm for a longer crossbody-style strap.
Finishing & Assembly
Weave in all loose ends neatly with your yarn needle, keeping the inside of the bag as tidy as you can so small gifts slide in and out easily.
Attach both ends of the chain strap securely to the inner opposite sides of the cuff, sewing each end firmly in place with your yarn needle. Give each join a gentle tug to check it is secure before you use the bag.
Tips
My favourite festive finish is a red or green body with a clean white cuff. That simple colour change makes the mitten shape stand out beautifully.
For a tree decoration instead of a carry bag, make the chain strap much shorter so it becomes a hanging loop, and pop a tiny treat or note inside before you hang it up.
Keep your finished finger piece nearby before you start Round 13. Having it right beside the body makes the joining round so much calmer and easier to follow.
A stitch marker at the start of each joined round helps a lot here, especially through the shaping rounds where the decreases need to land in the right places.
Crochet Christmas Glove Mini Bag Pattern
Materials
Steps
- Crochet the finger piece in 3 rounds and set it aside
- Work the bag body in joined sc rounds up to 36 sts, then work straight to Round 12
- Join the finger to the body in Round 13
- Shape the upper bag in Rounds 14 to 17
- Work the cuff rounds to Round 28, with Round 24 in FLO
- Make a chain strap of about 85 to 90 cm and attach both ends inside the cuff
- Use red or green for the body and switch to white for the cuff for a classic Christmas look
- Make the strap shorter to use the bag as a tree hanging loop
- Keep the finished finger nearby before starting the joining Round 13
- Use a stitch marker at the start of each joined round


