Crochet Candy 5-Minute Ornaments & Garland Pattern
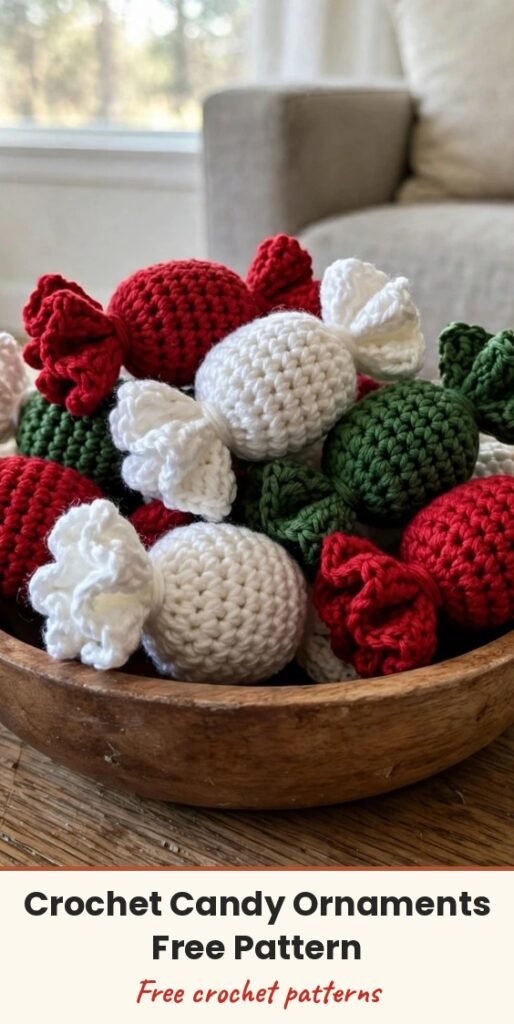
Table of Contents
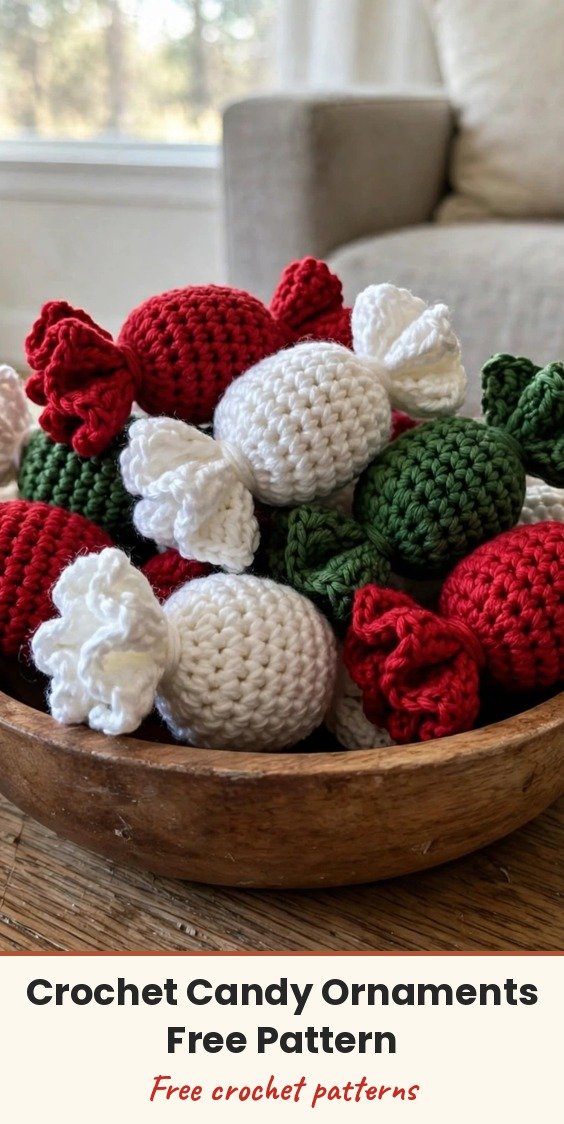
These tiny crochet candies are the sweetest little make! Each wrapped candy works up in about 5 to 10 minutes with a seamless, no-sew construction, and they are perfect as tree ornaments, strung together into a garland, popped onto gift packages, or piled into a festive bowl.
We will crochet a small stuffed ball in single crochet, cinch it closed, and then add the ruffled wrapper twists on both sides so it looks just like a wrapped sweet. You can make each candy a solid color or alternate colors every round for that striped mint candy effect.
This is a lovely beginner project and a brilliant scrap yarn user, too. Make a handful in red, green, white and gold and your holiday decorating is done!
Materials
- Fine weight yarn (Level 2 or 3) in red, green, white, and gold/brown
- 2.0mm crochet hook (small, to keep stitches tight so the stuffing does not show)
- Small amount of polyester fiberfill stuffing
- Yarn needle
- Scissors
- Stitch markers
Abbreviations
- MR: magic ring
- ch: chain
- sc: single crochet
- inc: increase (2 sc in the same stitch)
- dec: decrease (sc 2 together)
- dc: double crochet
- sl st: slip stitch
- BLO: back loop only
- FLO: front loop only
- st/sts: stitch / stitches
Gauge & Size
- Finished size: one small wrapped candy ornament, worked in about 5 to 10 minutes each
- Construction: ball body worked in joined single crochet rounds, stuffed and cinched closed, with a 6-petal ruffle worked into the front loops on each side
- Skill level: Beginner
Candy Body Pattern
This ball-shaped section forms the center of the candy. Work it in a solid color, or alternate colors every round for stripes. If you are changing colors, finish the last sc of Round 2 with the new color.
Round 1: Start with a MR. Work 6 sc into the ring. Pull tight. Sl st to the first sc to join. (6 sts)
Round 2: Ch 1. Work in BLO for this round. Work 1 sc inc in each stitch around. (12 sts)
Round 3: Ch 1. Work in both loops now. (1 sc, 1 sc inc) repeat 6 times total. (18 sts)
Round 4: Work 1 sc in each stitch around. (18 sts)
Round 5: Work 1 sc in each stitch around. (18 sts)
Round 6: Work 1 sc in each stitch around. (18 sts)
Round 7: Work 1 sc in each stitch around. (18 sts)
Round 8: (1 sc, 1 sc dec) repeat 6 times total. (12 sts)
Finishing the ball: Sl st to the first st. Cut the yarn, leaving a long tail of about 8 to 10 inches.
Stuffing & Closing
Fill the ball firmly with polyester fiberfill, using the back of your crochet hook to push the stuffing in.
Thread the yarn tail onto a needle and insert the needle into the BLO of each of the 12 stitches from Round 8. Pull the yarn firmly to cinch the hole closed, then weave the end through a few more stitches to secure it and hide the tail inside the body.
Wrapper Ends Pattern
Now we add the ruffled edges on both sides of the candy to make it look like a wrapped sweet. The same ruffle is worked on Side A (the top, where you cinched the candy closed) and Side B (the bottom, the magic ring side).
Side A: Locate the top of the candy where you just cinched it closed. Pick up 6 stitches around the center point using only the FLO. Join your yarn (usually white or red).
Ruffle Pattern (repeat 6 times, once in each front loop): Ch 2, then work 2 dc in the same stitch. Ch 3, and sl st into the two top loops of the dc you just made (this creates a decorative point). Work 2 dc in the same stitch. Ch 3, and sl st back into the same stitch to finish the petal. Move to the next front loop and repeat.
Once all 6 petals are done, fasten off and weave in the ends.
Side B: Turn the candy over. Locate the leftover front loops from Round 1 (the magic ring area) and repeat the exact same Ruffle Pattern from Side A in these 6 loops. Fasten off and weave in all remaining ends.
Finishing & Assembly
For a hanging loop, ch 15 to 20 and sl st to the top of the candy before you weave in your final tail, and your ornament is ready for the tree.
For a garland, make a batch of candies and thread or join them along a long chain or ribbon, spacing them evenly. They also make cheerful gift package toppers and bowl fillers just as they are.
Tips
For seamless stripes, always change to the new color during the yarn over and pull through step of the very last stitch of the previous round.
Keep your tension tight. If your candy looks holey or see-through, try a slightly smaller hook or pull your yarn a little tighter as you work.
These are wonderful for using up leftover fine yarn. A small basket of mixed colors looks adorable and every candy is a little different.
Crochet Candy 5-Minute Ornaments & Garland Pattern
Materials
Steps
- Work the candy body in sc rounds from 6 sts up to 18 sts and back to 12 sts
- Stuff the ball firmly with fiberfill
- Cinch the opening closed through the back loops of Round 8
- Work the 6-petal ruffle into the front loops on the top side
- Repeat the ruffle on the bottom side in the Round 1 front loops
- Add an optional chain hanging loop or join candies into a garland
- Change color on the last yarn over of the final stitch for seamless stripes
- Keep stitches tight so the stuffing does not show through
- Push stuffing in with the back of your hook for a firm, round candy
- Make candies in mixed colors for the prettiest garland


