Crochet A Durable Santa Claus Decoration For Your Holiday
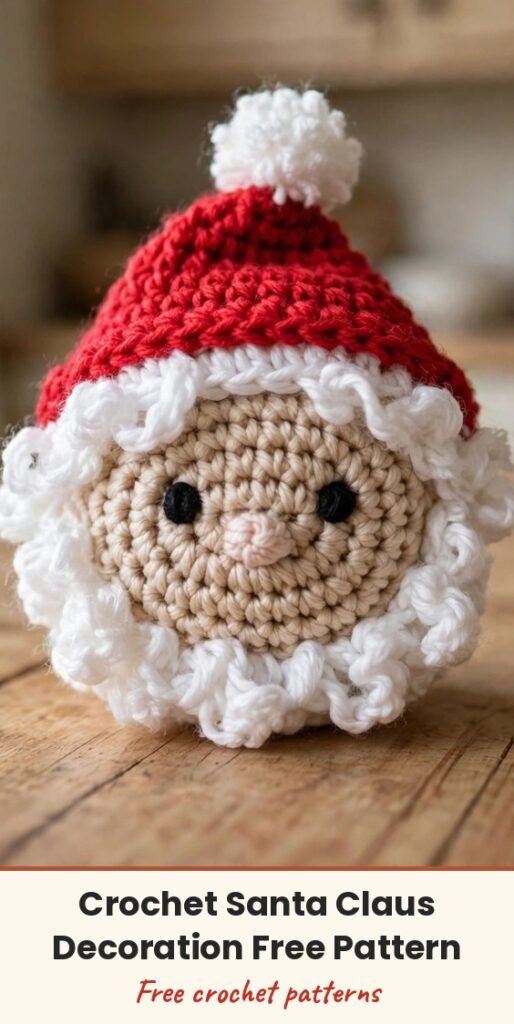
Table of Contents
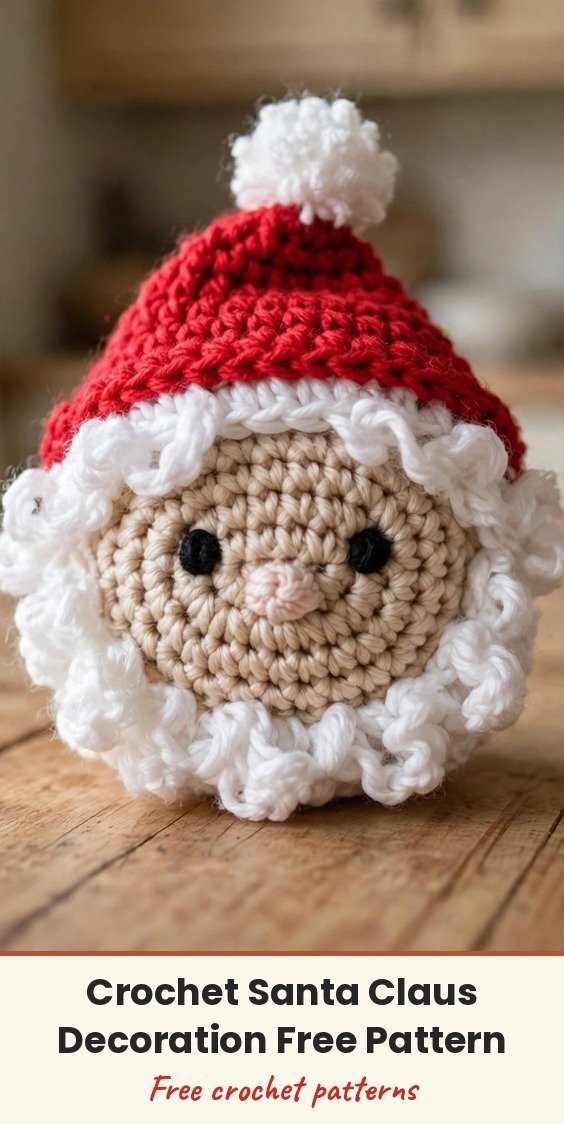
If you love a Santa you can hold right in your hand, this little decoration is such a joy to make. I am Amy, and I reach for this kind of small, cheerful project every December — it works up from a simple circle of double crochet, and the white hair, red hat and tiny pom-pom do all the festive magic.
You can stand him on a mantel, tuck him into a wreath, or gift him as a keepsake. The stitches are familiar, the colour changes are easy, and because he is small, you will finish him in one cosy sitting.
Materials
- 4-ply milk cotton yarn in skin tone, white and red
- 2.5 mm crochet hook
- 2 flat-back eyes
- Glue gun, for attaching the pom-pom and nose
- Stitch marker
- Scissors and yarn needle
Abbreviations
- MR = magic ring
- ch = chain
- sc = single crochet
- dc = double crochet
- hdc = half double crochet
- sl st = slip stitch
- inc = increase (2 stitches in the same stitch)
Gauge & Size
- Gauge: not required for this project
- Finished size: approximately small enough to hold in your hand, perfect as an ornament or decoration
- Work tightly so the face stays neat and round
- Place a stitch marker in the first stitch of each round
Santa Pattern
Head
Round 1: With skin-tone yarn, start with a magic ring. Insert your hook through the ring, ch 2, then work 12 dc into the ring. Place a stitch marker at the first stitch. Tighten the magic ring, remove the stitch marker, and join with a sl st to the first stitch.
Round 2: Ch 2, switch to white yarn, and make 12 dc inc (2 dc in each stitch). (24 dc) Place a stitch marker at the first stitch, then remove it after completing the round. Join with a sl st.
Round 3: Ch 3 and work 6 groups of stitches as follows: at each group, ch 3, join with a sl st to the stitch placement indicated (repeat this for all 6 groups). Turn the work.
Hair
Round 4: With white yarn, for each group work 1 sc, 3 dc, 1 sc into the designated stitches. Repeat for the 6 groups, complete the round, and ch 1.
Hat
Round 1: Switch to red yarn. Insert into the second stitch, ch 3, then work 3 dc, 3 hdc, 2 sc, and end with a sl st. Ch 1 and turn.
Round 2: Work 3 sc, 2 hdc, 2 dc, 1 hdc, 1 sc. Ch 1 and turn.
Round 3 (Pom-pom): Ch 1, make 6 sc into a magic ring. Tighten the circle and join with a sl st to close.
Nose
Round 1: With skin-tone yarn, start with a magic ring, make 6 sc.
Rounds 2 and 3: Make 6 sc per round. Join with a sl st at the end and sew the yarn tail into the ball.
Finishing & Assembly
Attach the flat-back eyes to the face.
Use a glue gun to attach the pom-pom to the top of the hat.
Sew or glue the nose in place in the centre of the face.
Weave in all ends neatly on the back.
Tips
Read through the pattern once before you start, so the colour changes and the hair groups feel familiar.
Tighten the magic ring firmly after the first round for a neat centre.
Milk cotton holds its stitches beautifully, which helps this little Santa keep his shape season after season.
Crochet A Durable Santa Claus Decoration For Your Holiday
Materials
Steps
- Work the head in skin tone and white
- Add the white hair groups
- Crochet the red hat and pom-pom
- Make the small nose ball
- Attach eyes, pom-pom and nose
- Use a stitch marker in the first stitch of each round
- Tighten the magic ring firmly for a neat centre
- Read the pattern through once before starting


