How to Make a Festive and Functional Crochet Christmas Basket
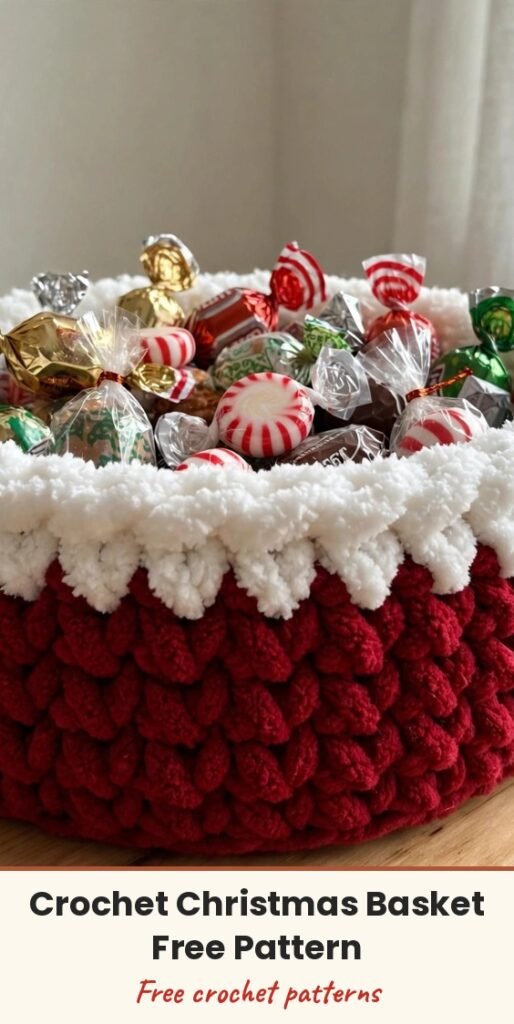
Table of Contents
Hi, I am Amy, and this little basket is one of those Christmas makes I reach for again and again. It is festive, it is useful, and it works up fast in chunky yarn: fill it with wrapped candy, small gifts, or a few ornaments and suddenly a plain table looks ready for the holidays.
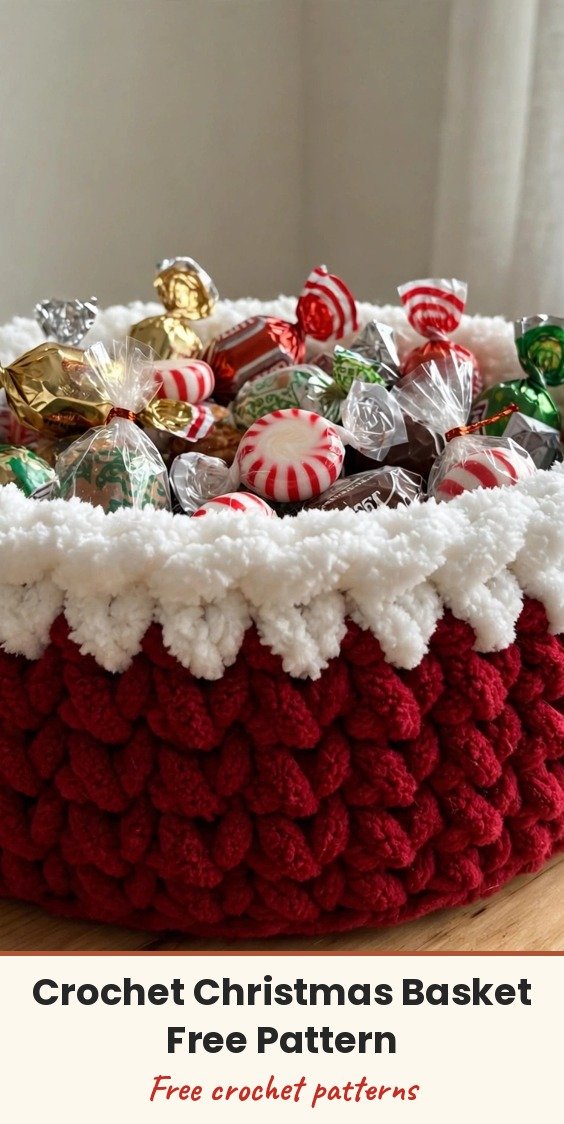
The basket is worked in the round from a flat magic-ring base. Increases grow the bottom, one back-loop round turns the corner, and then you simply build the walls as tall as you like. A fluffy white trim at the top gives it that snowy, Santa-suit finish I love so much.
Because the sizing is built into the increase pattern, you can stop the base small for a treat basket or keep going for a bigger storage basket. I will walk you through the standard size below.
Materials
- Bulky weight yarn, such as Flutterby Chunky, in red or green for the basket
- White bulky yarn for the top trim
- 5 mm crochet hook
- Stitch marker, optional but helpful
- Scissors
- Darning needle for weaving in ends
Abbreviations
- MR: magic ring
- SC: single crochet (called UK double crochet in the original wording)
- SL ST: slip stitch
- BLO: back loop only
- CH: chain
Gauge & Size
- Gauge is not critical for this basket
- Standard base: 36 stitches around before the walls begin
- Finished size varies with how wide you make the base and how tall you build the walls
- Keep stitches tight and even so the sides stand up nicely
Basket Base
Step 1: Form a magic ring and secure it with a chain. Work 6 SC into the ring. Gently pull the tail to tighten the ring slightly, leaving a small opening you can adjust later.
Round 1: Work 2 SC in every stitch around. Join to the first stitch with a SL ST and CH 1. (12 sts)
Round 2: Work 2 SC in the first stitch, then 1 SC in the next stitch, repeating around. Join with a SL ST and CH 1. (18 sts)
Round 3: Work 2 SC in the first stitch, then 1 SC in each of the next 2 stitches, repeating around. Join with a SL ST. (24 sts)
Round 4: Work 2 SC in the first stitch, then 1 SC in each of the next 3 stitches, repeating around. (30 sts)
Continue in this same manner, adding one extra single SC between increases in each new round, until the base reaches the standard size of 36 stitches, or your own desired diameter.
Walls and Trim
Transition round: CH 1. Work 1 SC in the BLO of each stitch around. This creates the sharp crease that forms the bottom edge of the basket. Join with a SL ST and CH 1.
Walls: Begin working in continuous rounds, without joining at the end of each round. Place a stitch marker in the first stitch to track your place.
Work 1 SC in each stitch around, round after round, until the basket reaches your desired height.
White trim: SL ST to join the final wall round. Attach the white yarn at the start of the round with a slip knot.
Work 1 SC in each stitch around for the trim. For a fluffy, decorative look, make the trim 2 to 3 rounds tall, depending on your preference.
Finishing & Assembly
SL ST to complete the final round of the trim. CH 1, cut the yarn, and pull the tail through the loop to secure it.
Use the darning needle to weave in all loose ends. For extra security, tie small knots before trimming the excess yarn.
Tips
If the magic ring keeps loosening, take a moment to practise it and pull the yarn gently while keeping your stitches even; a tidy ring makes a much neater base.
Keep your tension steady in the continuous wall rounds, because uneven stitches can make the sides wobble. Marking the first stitch of every round really helps.
Try silver and gold, or soft gray and cream, instead of red and green if you want baskets you can use all year round.
Small baskets are lovely for jewellery and trinkets, and larger ones work beautifully for yarn storage or as plant pot covers.
How to Make a Festive and Functional Crochet Christmas Basket
Materials
Steps
- Make a magic ring with 6 single crochet
- Increase the base rounds to 12, 18, and 24 stitches
- Keep increasing in pattern to a 36-stitch base
- Work one back-loop-only round to turn the corner
- Work single crochet walls in continuous rounds to your height
- Add 2 to 3 rounds of white trim
- Fasten off and weave in all ends
- Keep tension even so the walls do not wobble
- Use a stitch marker in continuous rounds
- Make the trim 2 to 3 rounds tall for a fluffy look
- Change colours to use the basket all year round


