Crochet Rooster Christmas Ornament Pattern Free
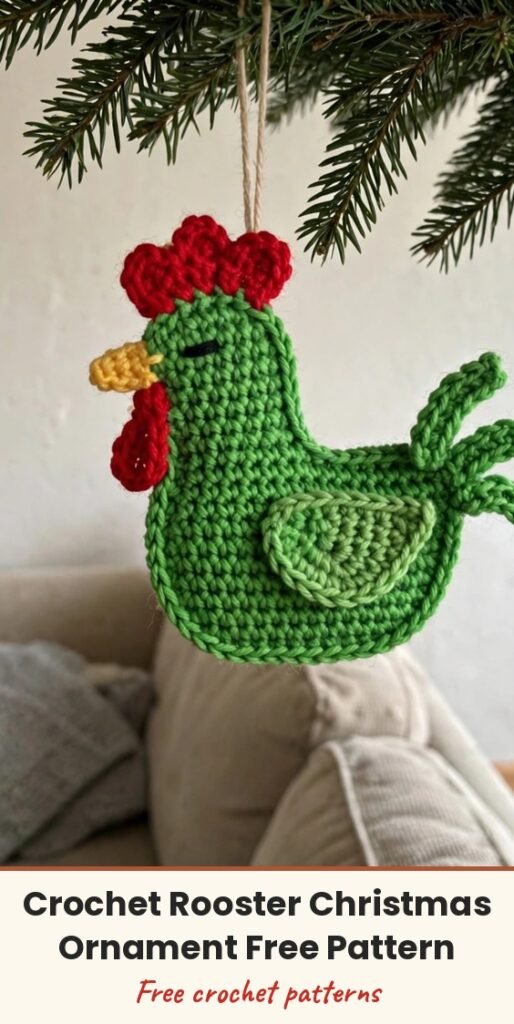
Table of Contents
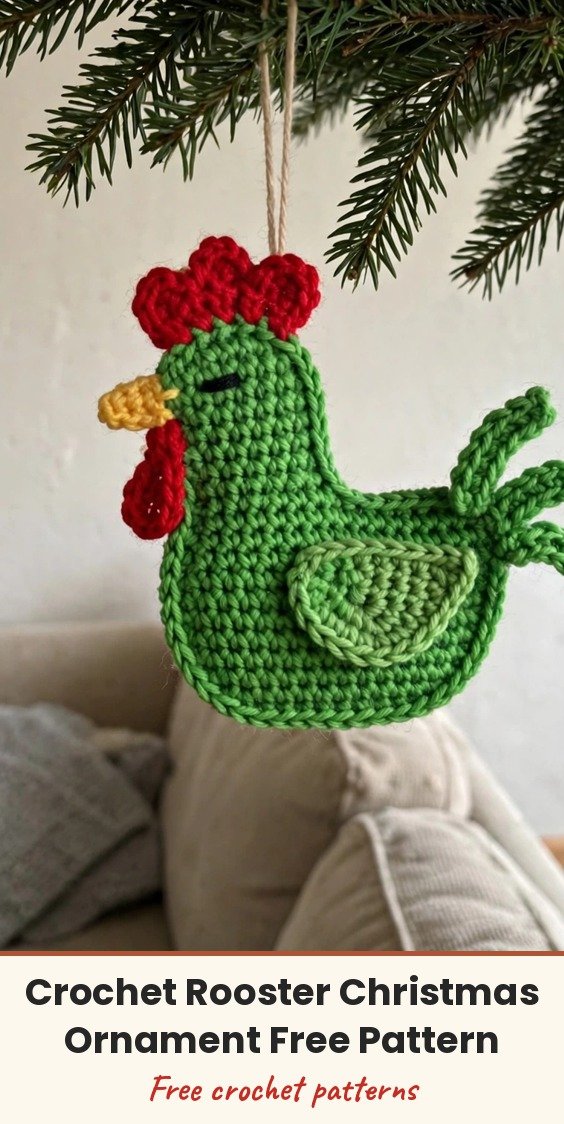
If your Christmas tree could use a little more personality this year, this cheerful rooster is just the ticket. He is worked flat in bright green, with a red comb and wattle and a sunny yellow beak, and he comes together surprisingly quickly once you see how the shaping works.
I love this one because the silhouette is built right into the stitching. A few deliberately unworked stitches and one big fan of double crochets do all the shaping for you, so there is no separate tail piece to sew on. Take those turning points slowly and he will look like a rooster before you even add the face.
Materials
- 3-ply yarn in green for the main body
- 3-ply yarn in red for the comb and wattle
- 3-ply yarn in yellow for the beak
- 3.0 mm crochet hook
- 2 googly eyes, one for each side of the head, or black embroidery floss instead
- Yarn needle
- Scissors
- Extra green and red yarn strands for the hanging loop
Abbreviations
- ch: chain
- st/sts: stitch/stitches
- sl st: slip stitch
- dc: double crochet
- tr: treble crochet
- inc: increase; work 2 stitches into the same stitch
- sk: skip
- rep: repeat
Gauge & Size
- Gauge: not critical for this flat ornament; keep your stitches even so the shape reads clearly
- Worked in 3-ply yarn with a 3.0 mm hook for a small, flat tree ornament
- Round 2 deliberately leaves 3 stitches unworked, and Row 3 leaves the last 5 stitches unworked; keep those turning points exactly as written
Rooster Pattern
Main Body (Green Yarn)
Round 1: Start with a magic ring, work 2 ch, then work 11 dc into the ring; join with a sl st to close the round. (11 dc)
Round 2: Work 2 ch, 1 dc in the same stitch, then 2 dc in each of the next 8 sts; leave the remaining 3 sts unworked and turn. (18 dc)
Row 3: Ch 2 and turn; work 1 dc in the first stitch, then [1 dc, 1 dc inc] across the row, leaving the last 5 sts unworked; turn.
Row 4: Sk 2 sts, work 9 dc into the next single stitch, then secure with a sl st in the last stitch.
Back Edge: Work 8 sl sts along the back edge to define the spine and prepare the area for the red comb; fasten off the green yarn.
Wing and Neck Accent
Attach yarn to form the side curve, then work 4 ch, sk 1 st, sl st in the 2nd chain, and dc in the same stitch.
Accent Row: [1 ch, sl st in the next dc, dc in the next st] 4 times.
Accent Finish: Work 2 ch, then sl st in the same last stitch; fasten off.
Comb (Red Yarn)
Attach the red yarn to the top section of the head.
First Comb Segment: Ch 2, work 2 dc in the same stitch, then sl st in the next stitch.
Second Comb Segment: Work 3 dc in the same stitch, then sl st in the next stitch.
Third Comb Segment: Work 3 dc in the same stitch, then sl st in the next stitch; fasten off the red yarn.
Beak and Wattle (Yellow Yarn)
Attach the yellow yarn to the front face area.
Beak and Top Wattle: Ch 2, work 1 dc in the same stitch, 1 tr, 1 ch, picot (3 ch), then sl st in the same stitch.
Lower Beak Details: Work 3 ch, 1 dc in the same stitch, 2 dc in the next stitch, 1 dc, 3 ch, then sl st in the same stitch; fasten off the yellow yarn.
Finishing & Assembly
Glue or sew one small googly eye onto each side of the head, positioning the eyes just above the beak. If the ornament may be handled by very young children, embroidered eyes made with black floss are a safer alternative.
Create a twisted or braided cord using green and red yarn strands for the hanging loop. Attach the cord firmly to the back or neck area, securing it through a strong part of the body rather than only catching a loose edge, so the ornament hangs with its front facing outward.
Weave in all yarn ends securely and check that the body still lies in its intended shape.
Tips
- Before adding the face, check the silhouette: the comb should have three distinct red sections and the tail fan should extend from the opposite side of the head.
- Position the beak at the front of the head and let the lower wattle detail fall naturally beneath it before securing the ends.
- Try orange instead of yellow for a warmer beak, or make a whole flock in different greens for a playful tree.
- Store the ornament flat or in a box so the comb and facial details do not get crushed.
Crochet Rooster Christmas Ornament Pattern Free
Materials
Steps
- Work the green body in rounds 1-2, leaving stitches unworked as written
- Shape rows 3-4 to form the tail fan
- Work the back edge and the wing/neck accent
- Add the three red comb segments
- Add the yellow beak and wattle
- Attach the eyes on both sides of the head
- Make and attach a braided hanging loop
- Keep the unworked stitches exactly as written; they create the rooster silhouette
- Embroider the eyes instead of using googly eyes if small children will handle it
- Check both eyes sit at a similar height before securing them


