Crochet Christmas Star Amigurumi Three Variations
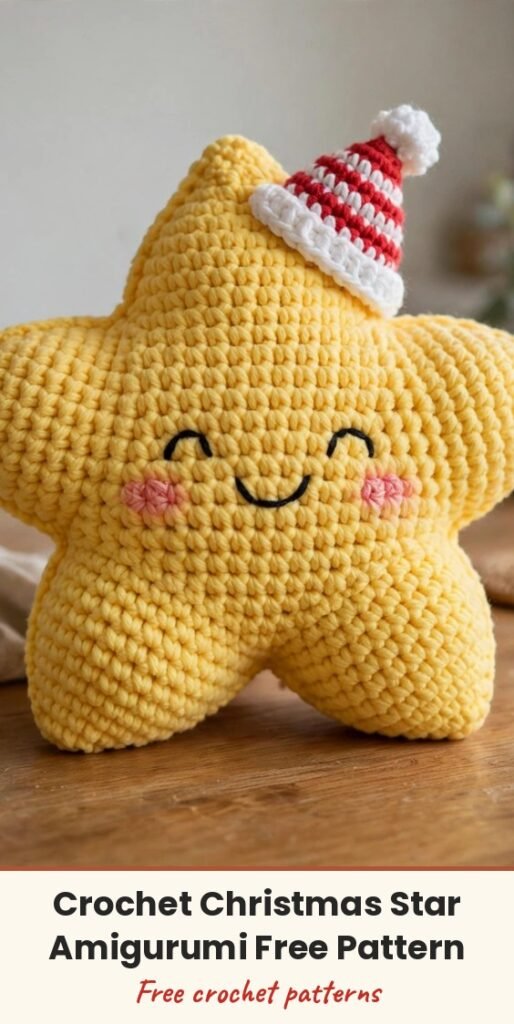
Table of Contents
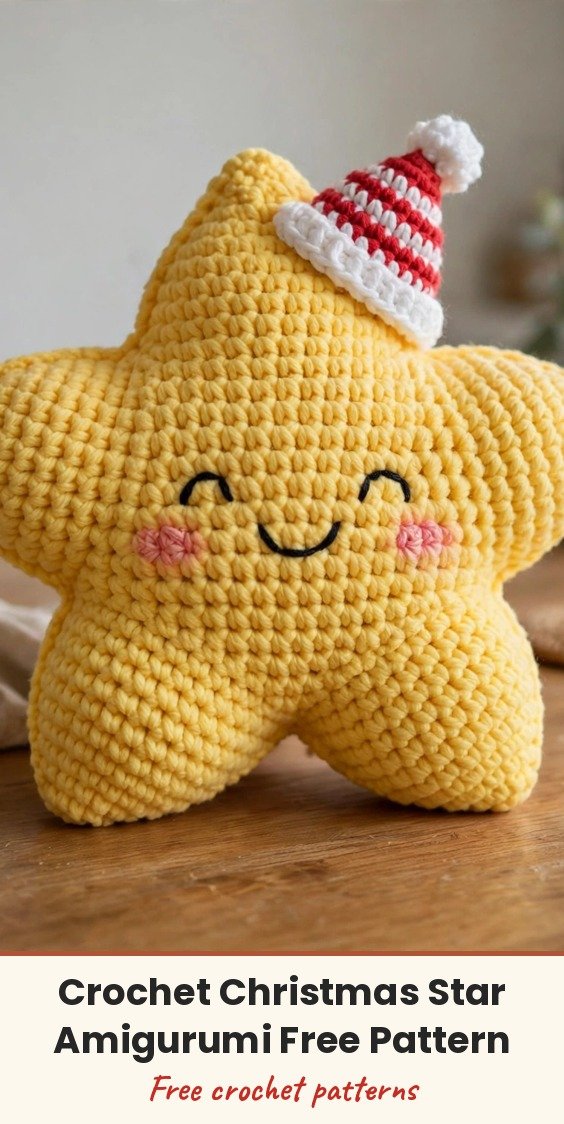
These plump little lucky stars are pure Christmas cheer — soft, smiley, and just begging to become bag charms, tree ornaments or gift toppers. I am Amy, and I love that you make the star from two simple flat panels, join them around a little stuffing, and then dress your star up however you like.
The pattern below gives you the full star body, plus the sweet finishing variations from the original design: a standing Santa hat, a second Santa hat style, and a tiny Christmas tree accent. Pick one finish per star, or make a whole set and mix them.
Materials
- Yarn in yellow/gold (star body)
- Yarn in red and white (Santa hat)
- Yarn in green (Christmas tree accent, optional)
- 2.0 mm crochet hook
- Polyfill stuffing
- Tapestry needle and scissors
- Craft glue
- Black safety eyes or small beads
- Dark brown embroidery floss, for the mouth
- Pink blush or light pink yarn, for cheeks (optional)
- Gold clasp or ribbon, if making a bag charm or ornament (optional)
Abbreviations
- MR = magic ring
- ch = chain
- sl st = slip stitch
- sc = single crochet
- hdc = half double crochet
- dc = double crochet
- tr = treble (triple) crochet
- dtr = double treble crochet
- inc = increase (2 stitches in the same space)
- dec = decrease
- BLO = back loop only
Gauge & Size
- Gauge: not critical; work tightly for a neat amigurumi finish
- Finished size: small plush star, sized by your yarn and 2.0 mm hook
- Make 2 matching star panels for each plushie
Star Pattern
Star Body (Make 2, Yellow Yarn)
Round 1: Start with a magic ring. Chain 2, work 10 dc into the ring. Slip stitch to the first dc to join, and place a stitch marker. (10 sts)
Round 2: Chain 2, work 2 dc in every stitch around. Slip stitch to join. (20 sts)
Round 3: Chain 2, work [1 dc, then 1 dc increase] repeated around. Slip stitch to join. (30 sts)
Round 4 (Shaping the 5 Star Points): Per point sequence: [1 sc, 1 hdc and 1 dc in the next st, 1 tr and 1 dtr in the next st, 1 tr and 1 dc in the next st, 1 hdc in the next st]. Repeat this 5-point sequence around the entire perimeter. Slip stitch to join, fasten off, and leave a long yarn tail on one of the two star pieces for assembly.
Santa Hat — Standing Style
R1: Magic ring, 6 single crochet.
R2: Repeat 2 times: 2 single crochet, 1 increase.
R3: Repeat 2 times: 3 single crochet, 1 increase.
R4: Repeat 2 times: 2 single crochet, 1 increase, 2 single crochet.
R5: Repeat 4 times: 2 single crochet, 1 increase.
Change colour.
R6: Repeat 3 times: 4 single crochet, 1 increase, then 2 single crochet.
R7: 19 single crochet.
Santa Hat — Alternative Style
R1 to R2: 4 single crochet.
R3: Repeat 2 times: 1 single crochet, 1 increase.
R4: 6 single crochet.
R5: Repeat 2 times: 2 single crochet, 1 increase.
R6: 8 single crochet.
R7: Repeat 2 times: 3 single crochet, 1 increase.
R8: 10 single crochet.
R9: Repeat 2 times: 4 single crochet, 1 increase.
R10: Repeat 3 times: 3 single crochet, 1 increase.
R11: Repeat 3 times: 4 single crochet, 1 increase.
R12 to R14: 18 single crochet.
Change colour.
R15: Repeat 3 times: 5 single crochet, 1 increase.
R16 to R20: 21 single crochet.
Christmas Tree Accent
R1: 6 single crochet.
R2: Repeat 3 times: 2 single crochet, 1 increase.
R3: Back loop only, repeat 3 times: 1 single crochet, 1 increase.
R4: 12 single crochet.
R5: Back loop only, repeat 3 times: 3 single crochet, 1 increase.
R6: 15 single crochet.
R7: Repeat 3 times: 4 single crochet, 1 increase.
In R3 and R5: work into the remaining front loops with 3 chain stitches and 1 slip stitch.
Finishing & Assembly
Place the two star pieces back-to-back, matching up the points.
Use the long yarn tail and a tapestry needle to whip-stitch or mattress-stitch the edges together through the loops.
Before closing the final seam completely, stuff the star lightly with polyfill stuffing to give it a soft, puffy shape.
Finish sewing closed, secure the knot, and hide the yarn tail inside the body.
Glue two small black safety eyes or beads onto the centre front of the star.
Dab on rosy cheeks under the eyes with pink blush or light pink yarn. Using dark brown embroidery thread, stitch a small smiling V or curved mouth right between the eyes.
Attach your chosen Santa hat or Christmas tree accent securely, and add a gold clasp or ribbon loop if you want a bag charm or ornament.
Tips
Stuff the points lightly and evenly — a pencil or chopstick helps push a tiny bit of filling into each corner.
Line up the five points carefully before you start sewing, so the star keeps its crisp shape.
Make the plain star first, then try the hat and tree finishes on your next ones.
Crochet Christmas Star Amigurumi Three Variations
Materials
Steps
- Crochet 2 star panels
- Join panels and stuff lightly
- Add eyes, cheeks and mouth
- Make a Santa hat or tree accent
- Attach accent and hanging loop if desired
- Push a little stuffing into each star point
- Match the points carefully before sewing
- Work tightly for crisp star points


