Beautiful Crochet Christmas Ornaments
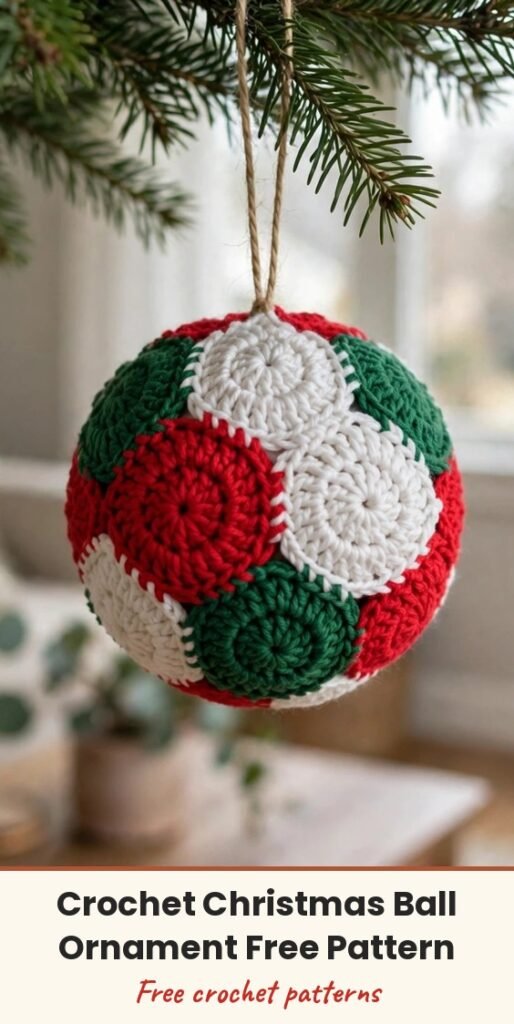
Table of Contents
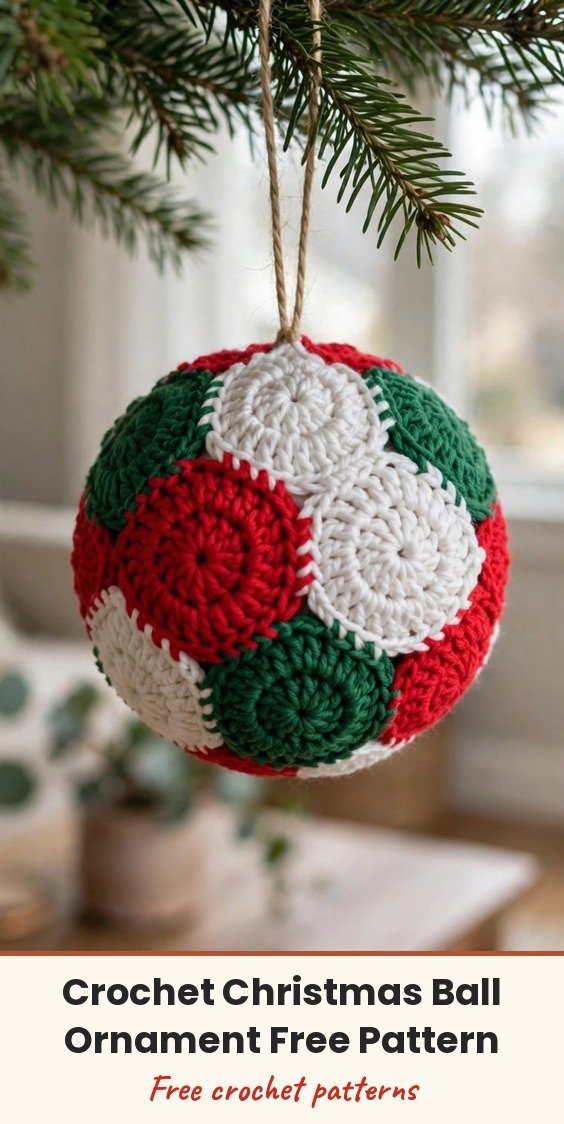
Hi, I am Amy, and this is one of my favourite kinds of Christmas magic: eight simple flat circles that turn into a plump, dimensional ball ornament. If you can make a neat little circle, you can absolutely make this, and I will walk you through the joining step by step.
The circles themselves are quick and relaxing to crochet. The real transformation happens when you join them edge to edge with the wrong sides tucked inside, and the flat pieces start curving into a sphere all on their own.
Make yours soft and squishy, or slip in the optional cardboard semi-circles for a firmer, sharper shape. Red, green and white is classic, but a sparkly yarn makes a whole set feel extra festive.
Materials
- Medium-weight (size 4) yarn in the colour or colours of your choice, Christmas colours such as red, green and white
- Optional cardboard or semi-circles for added firmness
- 3 mm crochet hook
- Yarn needle
- Scissors
Abbreviations
- CH: chain
- ST: stitch
- SL ST: slip stitch
- DC: double crochet
- SC: single crochet
- MR: magic ring
Gauge & Size
- Finished size: approximately 3 to 4 inches in diameter, depending on yarn and tension
- Gauge: keeping all 8 circles the same size matters more than an exact gauge
- Use the same yarn and similar tension for every circle
Circle Pattern
Make 8 identical circles. Begin with a magic ring.
Round 1: CH 3, which counts as the first DC, then work 13 DC into the magic ring. (14 sts total, including the CH-3) Join the round with a SL ST into the top of the CH-3.
Checkpoint: Pull the magic ring tail gently to close the centre before you continue.
Round 2: CH 3, which counts as the first DC, then work 2 DC into each stitch starting from the second stitch; skip the base of the chain. (25 DC) Join the round with a SL ST into the top of the CH-3.
Round 3: CH 3, which counts as the first DC, then work 1 DC into the next stitch, followed by 2 DC into the next stitch. Repeat 1 DC, 2 DC around until the end of the round. (38 DC) Join the round with a SL ST into the top of the CH-3.
Repeat Rounds 1 to 3 until you have 8 identical circles. Stack them and compare their diameters before you start joining; they should look visibly alike.
Joining and Assembly
Take 2 circles and place them together with the wrong sides (back sides) facing inward.
Using your yarn and hook, work 19 SC through both layers along the edge, then CH 1, fasten off, and hide the yarn tails.
Checkpoint: Make sure you catch both circle edges with every joining stitch, and check that the first pair meets evenly.
Take the next circle and join it to the existing pair the same way, working 19 SC through the edges to connect the new circle to the joined section.
Repeat until all 8 circles have been incorporated. The flat pieces will begin curving around one another as you go.
Final joining: Work a final 19 SC to close the last edge and complete the sphere.
Optional firmness: Cut semi-circles to match the diameter of your crocheted circles and insert them into one side of each pair of joined circles before fully closing the ball with the final 19 SC.
Reinforce the finished sphere by running your yarn along the edges of the sphere twice. Pull tightly enough to gather the structure evenly, then knot the yarn securely.
Finishing & Assembly
Gently adjust the sides of the ornament until the sphere looks as round and balanced as possible.
Turn the ornament in your hands and check for evenly joined sections, no noticeably flattened side, and no exposed loose yarn ends. Weave in all loose ends.
Tips
Consistency beats speed here: use your first circle as a visual reference for the other seven.
If a circle looks uneven after Round 2, fix it then; it is much easier than correcting it after assembly.
Add beads or sequins after the main shape is finished for extra sparkle.
Make some ornaments soft and others firm with cardboard for a varied handmade set.
Beautiful Crochet Christmas Ornaments
Materials
Steps
- Work Round 1 of the circle to 14 sts
- Work Round 2 to 25 DC and Round 3 to 38 DC
- Repeat to make 8 identical circles
- Join first 2 circles with 19 SC through both layers
- Join remaining circles the same way
- Close the sphere with a final 19 SC
- Add optional cardboard inserts before closing
- Reinforce edges twice, shape and weave in ends
- Keep all 8 circles the same size and tension
- Use the first circle as your size reference
- Catch both edges on every joining stitch
- Add beads or sequins after shaping for sparkle


