Free Crochet Christmas Bubble Ornament for Festive Holiday Decor
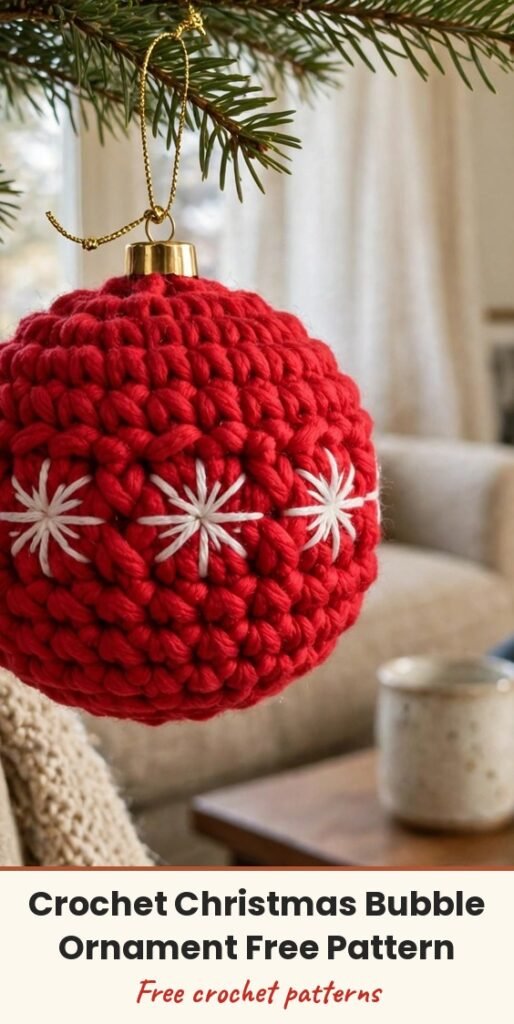
Table of Contents
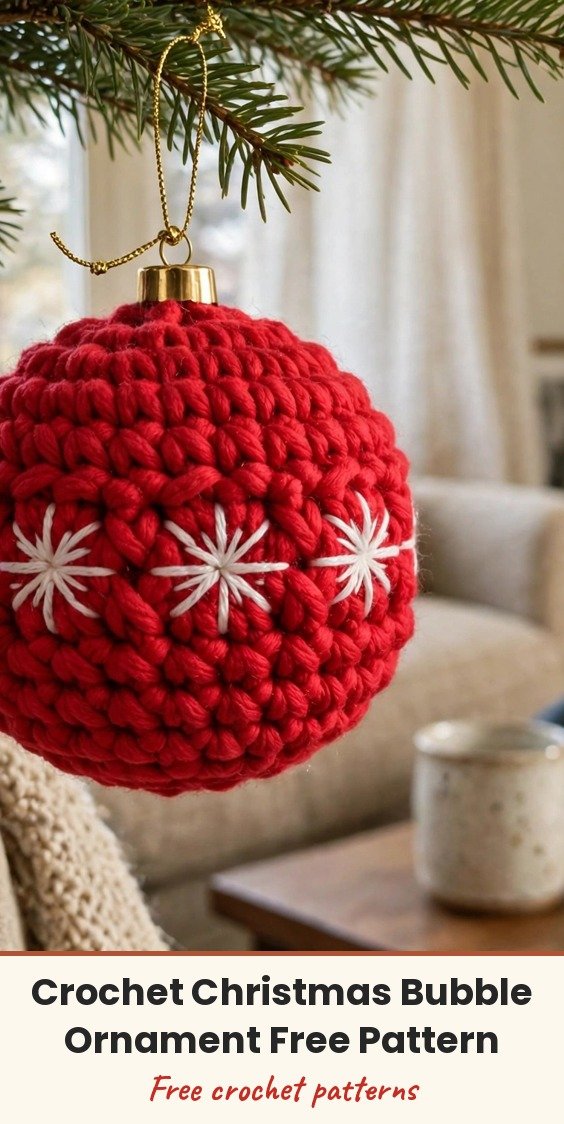
Hi, I am Amy, and this plump little bubble ornament makes me smile every time I hang one up. It has a softly stuffed red body, a tiny golden cap, white embroidered starbursts, and a light hanging loop, so it looks polished without weighing down the branches.
The shape is beautifully simple: the bubble grows for seven rounds, stays at its full width for five straight rounds, then decreases gently closed. Those five straight rounds at 42 stitches are also your guide for placing the stars evenly around the middle.
Keep the stuffing light, check your stitch count at the end of every joined round, and this will come together calmly and neatly.
Materials
- Medium weight (Size 4 / Worsted) yarn in red, or your colour choice, for the bubble
- Light / DK weight (Size 3) yarn in yellow or gold, for the cap and hanger
- Thin / lightweight (Size 2 or 3) white yarn, for the star embroidery
- 4.5 mm crochet hook, for the bubble
- 3.5 mm crochet hook, for the cap when using thinner accent yarn
- Yarn needles: one large-eye needle for thicker yarn and one smaller needle for thin yarn
- Stitch marker
- Scissors
- Polyfill stuffing, kept light
- Fabric glue or a hot glue gun
- Tiny golden beads, for the centres of the embroidered stars
- Decorative miniature bead chain, optional, for wrapping around the cap base
Abbreviations
- MR: magic ring or magic circle
- ch: chain
- sc: single crochet
- inc: increase, 2 sc in the same stitch
- dec: invisible decrease, insert hook through the front loops only of the next 2 stitches and sc together
- BLO: back loop only
- sl st: slip stitch
- st(s): stitch(es)
Gauge & Size
- Gauge: not critical; follow the stitch counts for the rounded shape
- Size: tutorial size in worsted-weight yarn; use Size 2 yarn and a smaller hook for a miniature, or hold two strands of worsted together with a larger hook for a jumbo version
- Widest point: 42 stitches, held for Rounds 8-12
- Keep stuffing light so the ornament does not weigh down tree branches
Bubble Pattern
Round 1: Make a MR. Ch 1, work 6 sc into the ring. Pull the tail to close the ring tightly. Sl st to the first sc to join. (6 sts)
Round 2: Ch 1. Inc (2 sc) in the same st as the join. Inc in each remaining st around. Sl st to the first sc to join. (12 sts)
Round 3: Ch 1. 1 sc in the first st, Inc in the next st. Repeat [1 sc in next st, Inc in next st] around. Sl st to the first sc to join. (18 sts)
Round 4: Ch 1. 1 sc in the first 2 sts, Inc in the next st. Repeat [1 sc in next 2 sts, Inc in next st] around. Sl st to the first sc to join. (24 sts)
Round 5: Ch 1. 1 sc in the first 3 sts, Inc in the next st. Repeat [1 sc in next 3 sts, Inc in next st] around. Sl st to the first sc to join. (30 sts)
Round 6: Ch 1. 1 sc in the first 4 sts, Inc in the next st. Repeat [1 sc in next 4 sts, Inc in next st] around. Sl st to the first sc to join. (36 sts)
Round 7: Ch 1. 1 sc in the first 5 sts, Inc in the next st. Repeat [1 sc in next 5 sts, Inc in next st] around. Sl st to the first sc to join. (42 sts)
Rounds 8-12 (5 rounds total): Place a stitch marker here to keep track. Work 1 sc in each st around continuously for 5 rounds. Do not increase. (42 sts per round)
Round 13: Ch 1. 1 sc in the first 5 sts, Dec using the front loops only. Repeat [1 sc in next 5 sts, Dec] around. Sl st to join. (36 sts)
Round 14: Ch 1. 1 sc in the first 4 sts, Dec. Repeat [1 sc in next 4 sts, Dec] around. Sl st to join. (30 sts)
Round 15: Ch 1. 1 sc in the first 3 sts, Dec. Repeat [1 sc in next 3 sts, Dec] around. Sl st to join. (24 sts)
Round 16: Ch 1. 1 sc in the first 2 sts, Dec. Repeat [1 sc in next 2 sts, Dec] around. Sl st to join. (18 sts)
Round 17: Ch 1. 1 sc in the next st, Dec. Repeat [1 sc in next st, Dec] around. Sl st to join. (12 sts)
Pause at 12 stitches and lightly stuff the bubble. Aim for a plump shape without making the ornament heavy or forcing the stitches apart.
Round 18: Ch 1. Dec across every 2 sts around. Sl st to join. (6 sts)
Finishing the bubble: Ch 1, pull the yarn tight, and cut the yarn leaving a 6-inch tail. Thread the tail onto your larger yarn needle. Weave the needle through the front loops only of all 6 remaining stitches. Pull tight to completely cinch the hole closed. Insert the needle into the centre hole, push it out through the side of the bubble, pull tight, and snip the excess yarn.
Cap Pattern
Round 1: Make a MR. Ch 1, work 6 sc into the ring. Pull to close. Sl st to the first sc to join. (6 sts)
Round 2: Ch 1. Inc (2 sc) in every st around. Sl st to join. (12 sts)
Round 3: Ch 1. Working in the Back Loops Only (BLO) for this round, work 1 sc in each st around. Sl st to join. (12 sts)
Rounds 4-5 (2 rounds total): Ch 1. Working in both loops normally, work 1 sc in each st around. Sl st to join. (12 sts per round)
Finishing the cap: Cut the yarn, leaving a very long tail for sewing and creating the hanging loop. Tuck the short beginning tail inside the cap to act as a tiny bit of stuffing.
Finishing & Assembly
Thread the long yellow tail onto your smaller yarn needle. Place the cap exactly over the top centre of the red bubble, covering the spot where the magic ring from Round 1 is located. Whipstitch the cap directly to the top of the bubble securely, going through both the edge of the cap and a stitch on the bubble.
Create the hanging loop: Once the cap is sewn on, do not cut the yellow yarn. Insert the needle through the bubble and push it straight up so it exits precisely out of the top-centre of the yellow cap. Determine how long you want your hanging loop to be. Tie a slip knot with the yarn as close to the top base of the cap as possible to secure the loop. Weave the remaining tail end back down through the cap and into the bubble a few times to hide it, then snip the excess.
Embroider the white starbursts: Thread a long strand of white yarn onto your needle. Locate the exact centre band of the bubble, around the 3rd round of the 5 straight sc rounds; this is the centre point for your star motifs. Stitch straight lines radiating out from a single centre point: create four long points, spanning roughly 2 rounds out, and four shorter diagonal points, spanning roughly 1 round out, to form the classic 8-point starburst shape. Travel your yarn inside the bauble to the centre of your next star, skipping a few stitches so they are evenly spaced. When finished, route your needle back out of the exact same hole where your starting tail is hanging, tie a knot with the two ends, push the knot inside the bubble to hide it, and snip the excess.
Optional details: Using fabric glue or a hot glue gun, place a tiny dot of glue in the exact centre of each white embroidered star and attach a tiny golden bead. For the cap trim, measure a piece of decorative miniature bead chain that wraps perfectly around the base of the yellow cap, apply a thin line of glue around the seam where the cap meets the bubble, then press the bead chain into place. Allow glued embellishments to set securely before handling the ornament.
Tips
Keep your magic ring tight at the beginning, and make the slip-stitch join carefully at the end of each round.
Check the stated stitch count before moving forward; the numbers show whether the increases or decreases are progressing correctly.
Attach the cap and hanging loop before embroidering the stars, so you have a clear top centre for spacing the decoration.
Let all eight rays of each star meet at the same centre point, alternating longer and shorter rays for the starburst look.
Free Crochet Christmas Bubble Ornament for Festive Holiday Decor
Materials
Steps
- Work the bubble Rounds 1 to 7, increasing to 42 sts
- Work Rounds 8 to 12 even at 42 sts
- Decrease Rounds 13 to 18, stuffing lightly at 12 sts
- Cinch the bubble closed
- Work the golden cap for 5 rounds to 12 sts
- Sew on the cap and form the hanging loop
- Embroider white 8-point starbursts around the middle
- Glue a tiny golden bead in each star centre, optional
- Check the stitch count at the end of every joined round
- Keep stuffing light so branches do not sag
- Use the 5 straight rounds as your guide for star placement
- Sew the cap centred over the magic ring spot


