Crochet Christmas Granny Square For Holiday Theme Designs – DIY Crafts
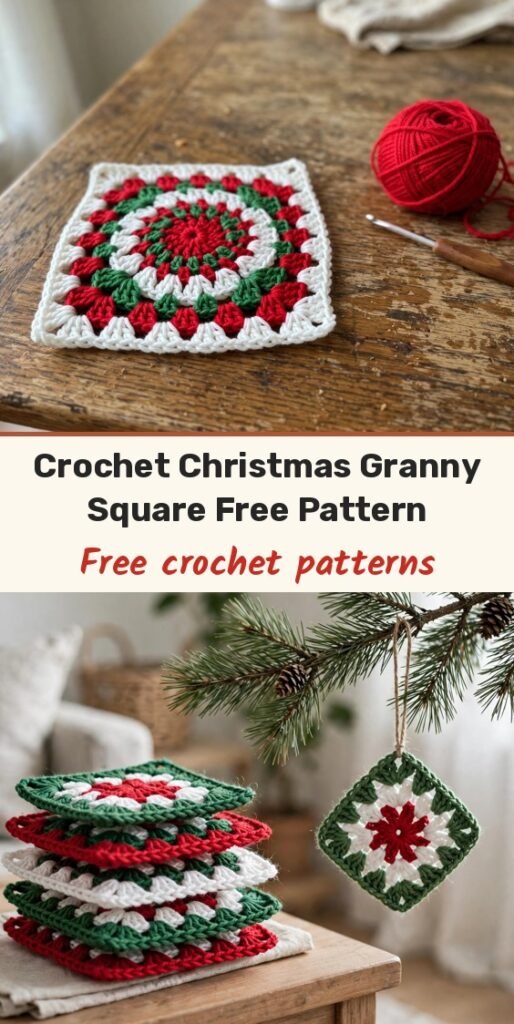
Table of Contents
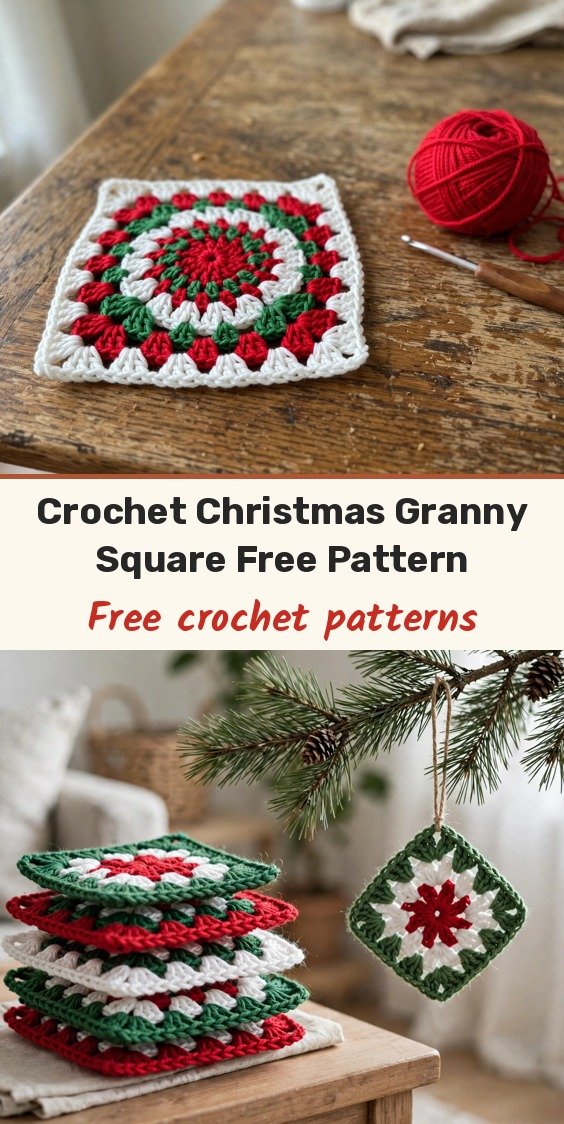
There is something so satisfying about a Christmas granny square. One little block in white, red, and green can become almost anything: join a stack of them into a blanket or table runner, or add a loop to a single square and hang it on the tree as an ornament.
I love how this square grows. It starts as a soft white circle, bursts into red and green rounds, and then, in the very last round, those chain spaces turn into corners and it squares off like magic. Pour something warm, pick your three favourite holiday colours, and let’s make one together.
Materials
- Yarn in 3 colours: white, red, and green
- 4.0 mm crochet hook
- Scissors
- Yarn needle, for weaving in ends
Abbreviations
- MR: magic ring
- ch: chain
- sc: single crochet
- hdc: half double crochet
- dc: double crochet
- tc: treble crochet
- st/sts: stitch/stitches
- sl st: slip stitch
Special Stitches
- Elongated hdc: a half double crochet worked down into the row below, used in Round 4 to create the spike accent stitches.
Gauge & Size
- Finished squares measure approximately 5 to 6 inches with medium-weight yarn and a 4.0 mm hook
- Gauge: not critical; keep tension consistent so all your squares come out the same size
- Blocking the finished square gives sharper lines and edges
Christmas Granny Square Pattern
Round 1 (White): Start with a magic ring and ch 3. Work 11 hdc into the ring. Sl st into the 2nd chain to join.
Round 2 (White): Sl st into the middle of the first hdc. Ch 3, and work 1 dc into the same stitch. Work 2 dc into every middle hdc around. Sl st into the 3rd chain to join. Cut the yarn.
Round 3 (Red): Join red yarn into a space between stitch groupings. Work 3 dc into the same space, skip 2 dc, then repeat this sequence around. Sl st into the first dc to join. Cut the yarn.
Round 4 (Green): Join green yarn. Work 1 hdc in the middle of the dc, 1 elongated hdc into the row below, and 1 hdc in the middle of the dc. Continue this sequence of 1 middle hdc, 1 elongated hdc, 1 middle hdc all the way around. Sl st into the first hdc. Cut the yarn.
Round 5 (White): Join white yarn into any middle hdc. Work 1 hdc into every middle part of every stitch around. Sl st into the first hdc to join. Cut the yarn.
Round 6 (Red): Join red yarn in a space between stitches. Work 2 dc into the same space, 1 dc into the middle of the next hdc, 1 dc into the next middle of the hdc, and 2 dc into the next grouping. Repeat this sequence around. Sl st into the first dc to join. Cut the yarn.
Round 7 (Green): Join green yarn. Work 1 sc, ch 3, skip 3 dc, 1 sc into the middle dc, ch 3. Repeat this sequence to form spaces all around. Sl st into the first sc to join. Cut the yarn.
Round 8 (White): Join white yarn in any chain space. For the corners, work 4 tc, ch 3, 4 tc into the same space. For the sides, work 4 dc into each of the next three chain spaces. Repeat the corner, then side sequence around. Sl st into the first tc to join. Fasten off and cut the yarn.
Finishing & Assembly
Weave in all ends neatly with your yarn needle. If you wove in the ends after each colour round as you worked, this step takes just a moment.
Block the finished square lightly so the corners sit crisp and square, especially if you plan to join several squares together.
To use a single square as an ornament, add a small hanging loop at one corner. To make a blanket, throw, or table runner, crochet as many squares as you need and join them edge to edge.
Tips
- Keep your tension consistent from square to square so joined pieces line up evenly.
- Weave in ends after each round for a cleaner finish and less work at the end.
- Try a different palette, such as soft winter pastels, for a completely different mood from the same pattern.
- Block finished squares for sharper lines and edges before joining or hanging.
Crochet Christmas Granny Square For Holiday Theme Designs – DIY Crafts
Materials
Steps
- Work Round 1 in white to form the base ring
- Work Round 2 in white to expand the circle
- Work Round 3 in red for the first colour burst
- Work Round 4 in green with elongated spike stitches
- Work Round 5 in white to stabilise the circle
- Work Round 6 in red for the outer flare
- Work Round 7 in green to frame chain spaces
- Work Round 8 in white to square the circle with corners
- Keep tension consistent for uniform squares
- Weave in ends after each round for a cleaner finish
- Block finished squares for sharper lines and edges


