Crochet Baby Jellyfish Amigurumi with Curly Tentacles and Ruffle Details
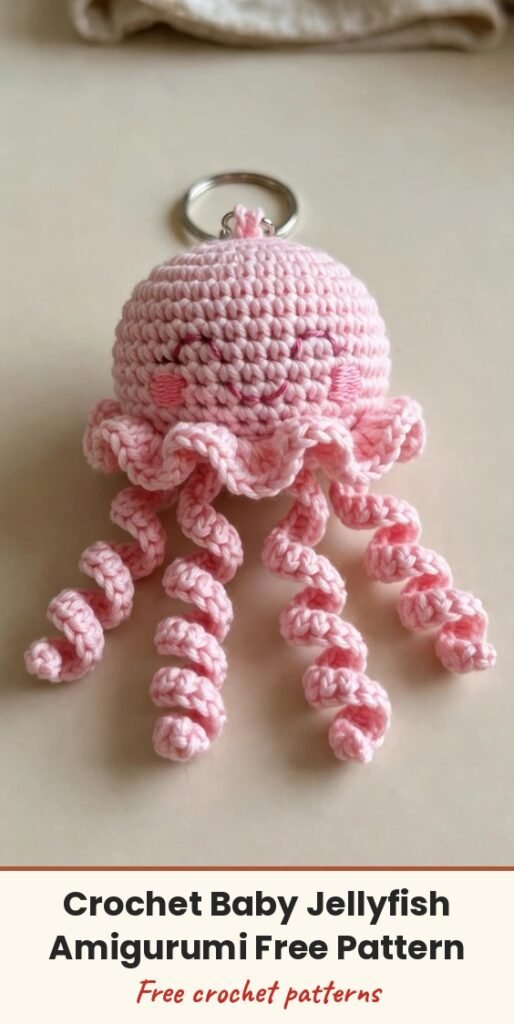
Table of Contents
This tiny jellyfish makes me happy every time I finish one! It has a sweet rounded head with a ruffle border, embroidered smile and blush cheeks, and the bounciest curly tentacles — and the best part is that it is a no-sew project, worked in continuous rounds from the top down.
At only about 2 to 3 inches, it is the perfect size for a keychain, a nursery shelf, or a little pocket toy. We will use simple stitches — single crochet, increases, and invisible decreases — and I will show you exactly where the safety eyes go and how to get those tentacles to curl.
This is a lovely beginner-friendly amigurumi if you keep your stitches nice and tight so the stuffing stays hidden. Let us grab a small hook and make a jellyfish!
Materials
- 4-ply yarn in a light and a dark version of the same colour, for the head
- Small amount of pink yarn, for the blush embellishments
- Small amount of black yarn, for facial embroidery
- Optional: dark green yarn, for straight tentacles
- 3.0 mm crochet hook (a smaller hook than the yarn recommends, for tight stitches)
- Yarn needle
- Stitch marker (a paper clip or scrap yarn works too)
- Scissors
- 4 mm safety eyes
- Stuffing for the jellyfish body
- Optional: keychain components
Abbreviations
- sc: single crochet
- inc: increase, two sc in the same stitch
- dec: decrease, combining two stitches into one
- sl st: slip stitch
- ch: chain
- st/sts: stitch / stitches
Special Stitches
- Invisible Decrease: Work the decrease through the front loops only of the next two stitches. This keeps the surface of your amigurumi neat and polished, with no visible bump.
Gauge & Size
- Gauge: not critical for this project, but keep your stitches consistently tight so no stuffing shows through
- Finished size: the jellyfish body measures about 2 to 3 inches, perfect for a keychain accessory
- Construction: worked in continuous rounds with no joining; use a stitch marker to track the last stitch of each round
- Skill level: Beginner friendly
Jellyfish Body Pattern
Start with a magic circle: wrap the yarn around your finger to form a loop, insert the hook under the loop, pull through the yarn, chain 1, and begin working into the circle.
Round 1: Work 6 sc into the magic circle. Pull the yarn tail to cinch the circle tightly closed. Mark the last stitch of the round. (6 sts)
Round 2: Inc in every stitch around. (12 sts)
Round 3: (Sc 1, inc) repeat all the way around. (18 sts)
Round 4: Start with sc 1, inc, then stagger the increases: (sc 2, inc) repeat 5 times. (24 sts)
Rounds 5 to 9: Sc into each stitch around to keep the stitch count constant. (24 sts)
After Round 9, it is time to add the face. Count down six rounds from the top and place the safety eyes between Rounds 6 and 7, leaving three stitches between them. Attach the safety eye backings to secure them. Then stuff the body lightly — avoid over-stuffing, so the jellyfish keeps its soft shape.
Round 10: (Sc 1, invisible dec) repeat this sequence 8 times. (16 sts)
Round 11: Invisible dec into every stitch, working through the back loops. (8 sts)
Do not fasten off just yet — we work the tentacles straight onto the body, which is why this little cutie is no-sew!
Tentacles Pattern
For the curly tentacles: sl st into the front loop of the next stitch. Ch 12. Skip the first chain, then work 2 sc into each remaining chain. Sl st into the front loop of the following two stitches. Repeat these steps three more times, for four curly tentacles in total.
For the optional straight tentacles: use dark green yarn and sl st into a slip stitch between two curly tentacles. Ch 12 and fasten off, leaving a tight knot at the chain’s end. Repeat until you have four straight tentacles, evenly spaced between the curly tentacles.
Finishing & Assembly
For the ruffle border, locate the front loops of Round 10. In the first loop, sl st to attach the head yarn. Work 3 sc in the next front loop, then sl st in the following loop. Repeat around.
For the face, use black yarn to embroider a simple smile between the eyes, spanning two stitches wide, and tack down the centre to create a curve. Use pink yarn to add blush below each eye with small stitches.
To make it a keychain, use the yarn tail from closing the top of the head: sew on the keychain ring by looping the yarn through the jump ring multiple times, tie a knot, and hide the excess yarn inside the body with your needle. Make sure all tails are secured and hidden inside the body, and adjust the tentacle curls as needed to give them a defined look.
Frequently Asked Questions
How can I ensure the tentacles curl properly? Use two single crochets in each chain while creating the tentacles — this technique naturally forms defined curls. You can also twist them slightly afterwards to enhance their shape.
My biggest tip is to keep your stitches tight throughout. With amigurumi, tight stitches are what keep the stuffing from peeking through, and they give your jellyfish that smooth, durable finish.
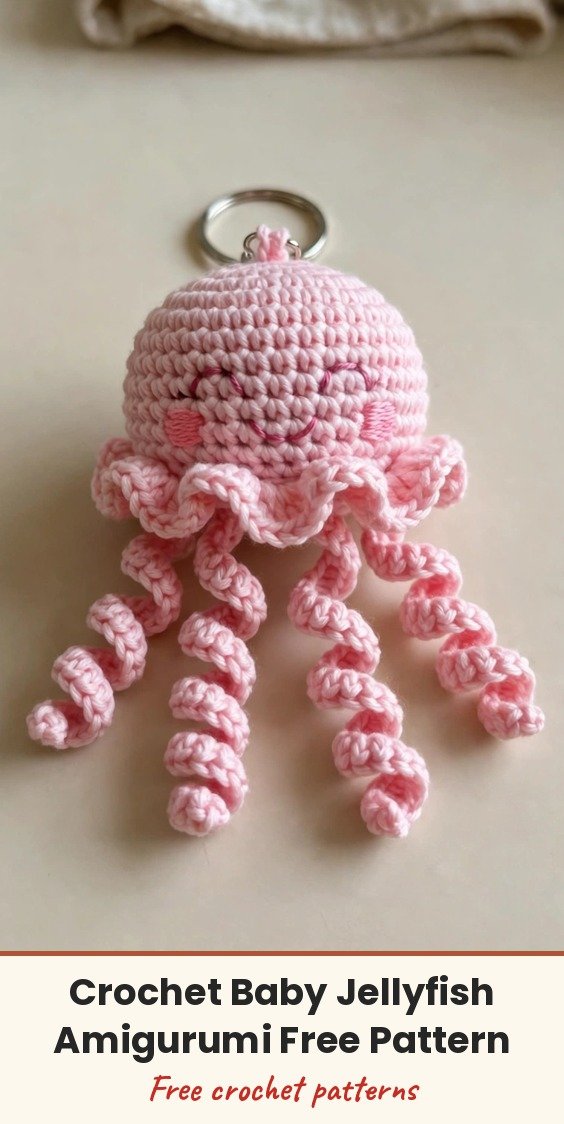
Crochet Baby Jellyfish Amigurumi with Curly Tentacles and Ruffle Details
Materials
Steps
- Work the head in continuous sc rounds from 6 sts up to 24 sts
- Insert the safety eyes between Rounds 6 and 7 and stuff lightly
- Decrease down to 8 sts to close the body
- Work four curly tentacles directly onto the body
- Add the optional straight tentacles in dark green
- Work the ruffle border in the front loops of Round 10
- Embroider the smile and blush, then attach a keychain ring if using
- Keep stitches tight so the stuffing never shows through
- Use invisible decreases for a smooth, polished finish
- Two sc in each chain is what makes the tentacles curl
- Place the eyes before stuffing, with three stitches between them


