Crochet Taiyaki Fish Pouch Pattern
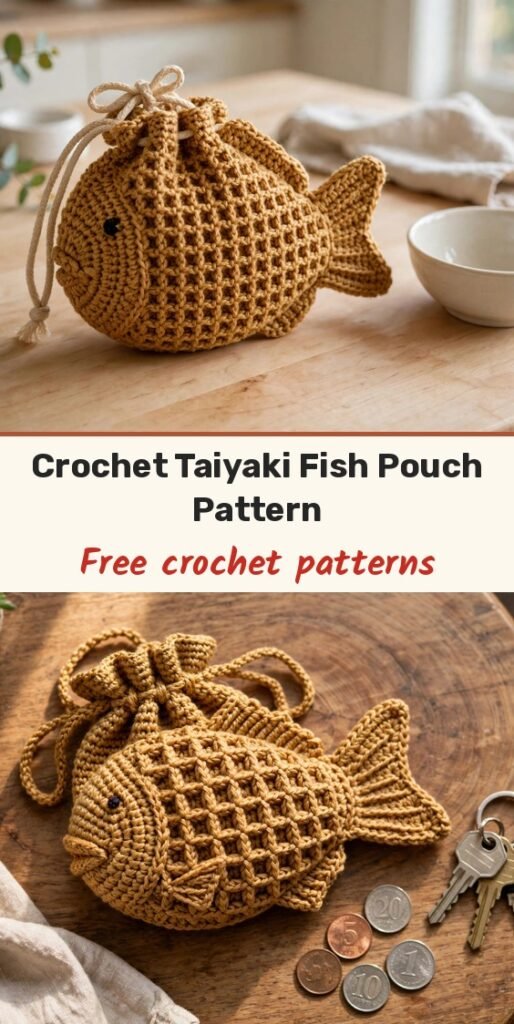
Table of Contents
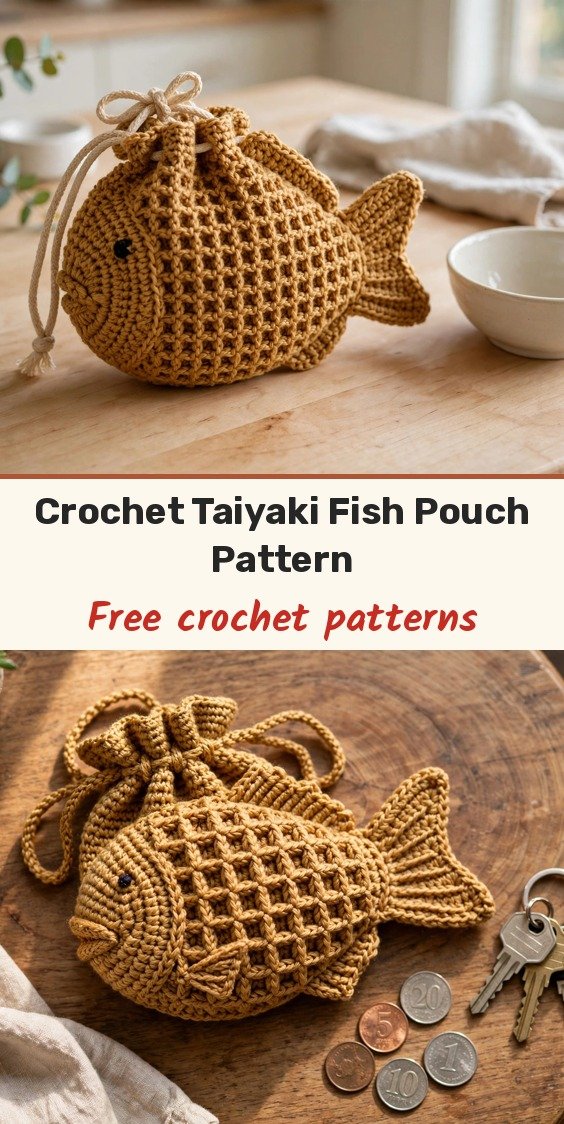
This crochet taiyaki fish pouch makes me smile every time I see it! Inspired by the classic Japanese fish-shaped pastry, it has that lovely waffle-like texture, a handy drawstring opening, and just enough room for coins, lip balm, earbuds, or other small essentials.
We will work the pouch body in joined double crochet rounds, starting from a magic ring. A special hole round partway up creates the openings we thread the drawstring through, so the pouch cinches closed all by itself. A tiny crocheted eye and some embroidered scales are optional, but they really bring the little fish to life.
It is a quick, playful make with simple stitches, and it is a wonderful gift for anyone who loves cute accessories.
Materials
- 1 ball 5 ply milk cotton yarn (2 mm thickness), in your favourite taiyaki colour, plus a small amount in a contrasting colour for the optional eye and scales
- 3.0 mm crochet hook
- Scissors
- Yarn needle
- Stitch marker
Abbreviations
- MR: magic ring
- ch: chain
- dc: double crochet
- sc: single crochet
- sl st: slip stitch
- st/sts: stitch / stitches
Gauge & Size
- Finished size: a small fish-shaped drawstring pouch for coins and little essentials (source does not state exact measurements)
- Construction: body worked in joined double crochet rounds from a magic ring, with a hole round for the drawstring, a chained string threaded through, and optional sewn details
- Skill level: Easy
Pouch Body Pattern
Start with a magic ring: wrap the yarn around your fingers to create two loops, insert your hook under the first loop, hook the second loop and pull through, then secure the ring with a chain stitch.
Round 1: Chain 3 (counts as the first double crochet), then make 9 more dc into the magic ring. Pull the yarn to close the ring, then sl st into the first dc. (10 dc)
Round 2: Chain 3, work 1 dc in the same stitch as the chain 3, then make 2 dc in each stitch around (this doubles the stitch count). Sl st into the first dc to complete the round.
Round 3: Chain 3, work 1 dc in the same stitch as the chain, crochet 1 dc in the next 4 stitches, then work 2 dc in the next stitch (increase). Repeat this pattern (4 dc + 1 increase) all around, then sl st into the first dc.
Round 4: Chain 3, work 1 dc in the same stitch as the chain, crochet 1 dc in the next stitch, followed by 2 dc in the next stitch (increase). Repeat this pattern (2 dc + 1 increase) all around, then sl st into the first dc.
Rounds 5 to 10: Chain 3, work 1 dc in each stitch around, and sl st into the first dc at the end of each round.
Round 11 (hole round): Chain 3, then work 2 dc. Chain 3 and skip 2 stitches, then work 2 dc into the next 2 stitches. Repeat the pattern (chain 3, skip 2 stitches, 2 dc) until the end of the round, then sl st into the first dc.
Round 12: Chain 3 and work 2 dc. In the chain 3 gaps from the previous round, work 2 dc. Continue alternating (2 dc in stitches + 2 dc in chain gap) until you reach the end, then sl st into the first dc.
Round 13 (final round): Chain 3, then work 1 dc in every stitch. After completing the round, sl st into the first dc. Chain 1, cut the yarn, and weave in the end.
Drawstring
Start with a slip knot: wrap the yarn around your fingers, then pull the loop through. Chain your desired length (about 60 chains is a good starting point).
Thread the string evenly through the holes created in Round 11, weaving it in and out all the way around the pouch. Once threaded, tie the two ends of the string together securely.
Finishing & Assembly
For the optional eye, create a small circle using the magic ring technique with 5 to 6 single crochets inside the ring, then sew the finished eye onto the taiyaki pouch.
For optional decorative scales, use a contrasting thread or additional crochet stitching to embroider scale patterns onto the fish body.
Weave in any remaining ends, give the pouch a gentle shape with your fingers, and your taiyaki fish pouch is ready to use.
Tips
Pull the drawstring closed and check the holes line up evenly before tying the knot. If one section gaps, re-thread that part so the gathers spread out all the way around.
Make the string a little longer than you think you need. You can always trim the ends after tying, but a too-short string is fiddly to use.
Try a golden brown yarn for a true baked taiyaki look, or have fun with pastel colours for a kawaii-style pouch.
Crochet Taiyaki Fish Pouch Pattern
Materials
Steps
- Make a magic ring and work Round 1 with 10 dc
- Increase through Rounds 2 to 4 to shape the fish body
- Work Rounds 5 to 10 even in double crochet
- Work the Round 11 hole round with chain 3 gaps for the drawstring
- Fill the gaps in Round 12 and finish with an even Round 13
- Chain a drawstring of about 60 chains and thread it through the Round 11 holes
- Add the optional crocheted eye and embroidered scales
- Keep a stitch marker in the first stitch of each round so the increases stay evenly spaced
- Thread the drawstring in and out of every hole so the pouch cinches evenly
- Golden brown yarn gives the classic baked taiyaki look


