Easy Crochet Christmas Balls Free Pattern
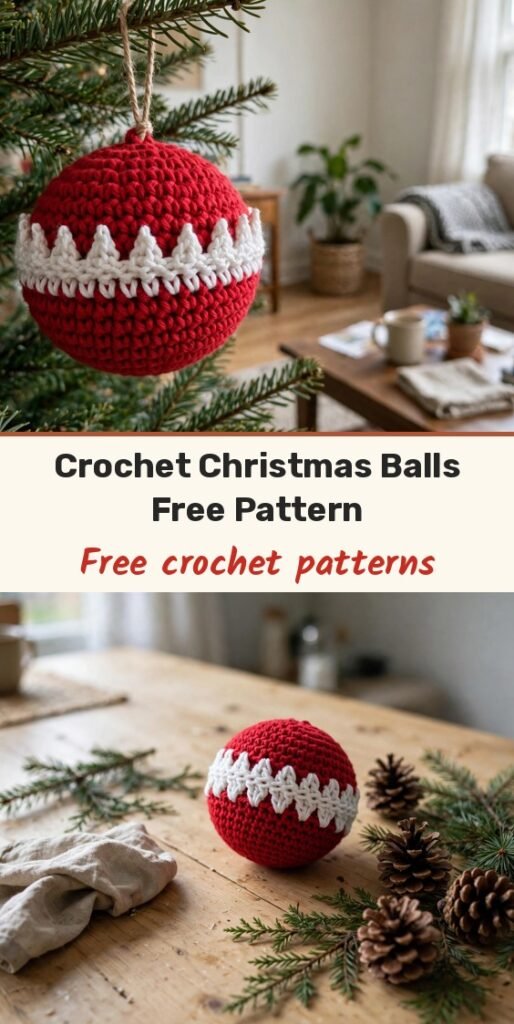
Table of Contents
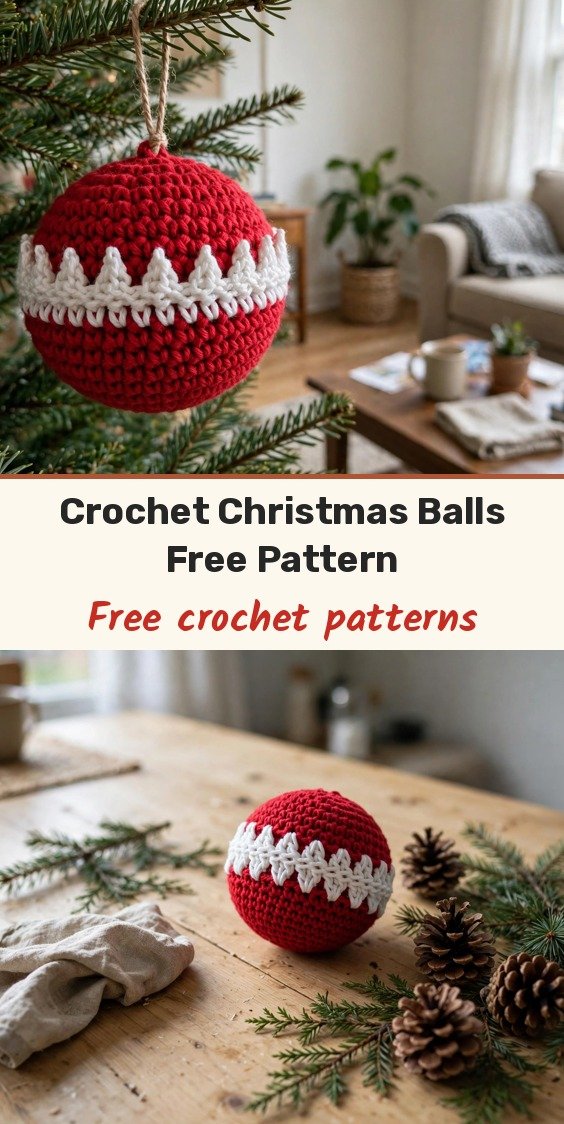
Hi, I am Amy, and these crochet Christmas balls are such a satisfying make. You crochet two neat red hemispheres, give them a pretty white spike border, and sew them together around a firm ball so the finished ornament looks crisp, round, and ready for the tree.
Each finished ball measures about 7 cm across, which is that perfect in-between size: big enough to catch the light and the eye, light enough to hang happily on real branches. I love them with pinecones and evergreen for a classic look, or mixed with metallic ornaments when I want a little sparkle.
The pattern is worked in joined rounds with six increases per round, so the shaping is wonderfully predictable. If you are comfortable working in the round and following a short motif, you can absolutely make these.
Materials
- 4 mm thick viscose and cotton blend yarn in red and white
- 3 mm crochet hook
- 7 cm diameter polystyrene ball, or equivalent stuffing
- 20 cm thick thread or cord, for the hanging loop
- Tapestry needle, for sewing the parts together
- Scissors
Abbreviations
- sc: single crochet
- sl st: slip stitch
- ch: chain
- inc: increase, 2 sc in the same stitch
- st(s): stitch(es)
- MR: magic ring
Special Stitches
- Spike / V-drop stitch motif: Pull up five extended loops across successive stitches with varying heights, then yarn over and pull through all loops on the hook, securing with ch 1. The completed motif is anchored with an additional sc.
Gauge & Size
- Finished ball: 7 cm diameter, 21 cm circumference
- Hanging cord: 20 cm, forms a secure loop
- Gauge is not critical, but the finished diameter should closely match the 7 cm core for a tidy fit
- Work with a tension that produces a firm fabric, preventing stuffing from showing
- Skill level: Adventurous Beginner to Early Intermediate
Hemisphere Pattern – Make 2
All rounds are worked in joined rounds. Each round begins with ch 1 in the same stitch as the joining slip stitch, and each initial single crochet goes into that same stitch.
Make a magic ring. Pull up a loop and ch 1.
Round 1: Work 6 sc inside the magic ring. Pull the ring tightly closed. Join with sl st to the first st. (6 sts)
Round 2: Ch 1. Work 2 sc in each sc around, inc in each st. Join with sl st. (12 sts)
Round 3: Ch 1. Repeat [1 sc, 1 inc] around, 6 repeats. Join with sl st. (18 sts)
Round 4: Ch 1. Repeat [2 sc, 1 inc] around, 6 repeats. Join with sl st. (24 sts)
Round 5: Ch 1. Repeat [3 sc, 1 inc] around, 6 repeats. Join with sl st. (30 sts)
Round 6: Ch 1. Repeat [4 sc, 1 inc] around, 6 repeats. Join with sl st. (36 sts)
Round 7: Ch 1. Repeat [5 sc, 1 inc] around. Join with sl st. (42 sts)
Round 8: Ch 1. Repeat [6 sc, 1 inc] around. Join with sl st. (48 sts)
Round 9: Ch 1. Repeat [7 sc, 1 inc] around. Join with sl st. (54 sts)
Round 10: Ch 1. Repeat [8 sc, 1 inc] around. Join with sl st. (60 sts)
Rounds 11-14: Ch 1. Work 1 sc in each st around. Join with sl st. (60 sts per round)
At the last stitch of Round 14, join white yarn and fasten off red yarn, knotting on the inside for a tidy colour change.
Spike Border Pattern
Round 15, with white yarn: Ch 1. Work 2 sc, then begin the spike / V-drop stitch motif.
- Insert hook under the first st below the current row, pull up a loop to row height
- Insert hook in the next st, 1 row lower, pull up a loop
- Insert in the next st, 2 rows lower, pull up a loop
- Insert in the next st, 1 row higher (depth as 2nd loop), pull up a loop
- Insert in the next st, 1 row higher (depth as 1st loop), pull up a loop
- Yarn over and pull through all 6 loops on the hook
- Ch 1 to secure the cluster
- Work 1 sc directly over the top of the last loop to complete the motif
Repeat 2 sc, spike motif around the round. Join with sl st at the end of the round.
For the first piece, fasten off with a short tail to tuck inwards. For the second piece, fasten off leaving a long tail for sewing.
Finishing & Assembly
Fold a 20 cm cord in half and tie a secure, large knot at the loose ends. Insert the loop through the magic ring of one hemisphere so the knot sits firmly inside, and re-tighten the ring if needed.
Using the long tail from one white border, thread your tapestry needle. Match the open edges of the two hemispheres, aligning stitch for stitch, and sew around with whipstitch or mattress stitch, closing about halfway.
Gently insert your 7 cm polystyrene ball, or fill with stuffing, into the ball cavity. Ensure the cord loop is positioned at the top.
Continue stitching around until the sphere is fully enclosed. Secure the yarn and weave in the tail on the inside. Tuck all remaining ends inside both pieces for a neat finish.
Tips
Keep count on every round to ensure round symmetry, as increases always occur in the sequence described.
Maintain consistent tension throughout for uniform hemispheres and smooth assembly.
Fasten off one colour and add the next at the final stitch for a crisp, seamless colour change.
Customise the colours to match your tree; the red and white version is classic, but the shape works in any festive palette.
Easy Crochet Christmas Balls Free Pattern
Materials
Steps
- Make a magic ring and work Round 1 with 6 sc
- Increase 6 sts per round to 60 sts by Round 10
- Work Rounds 11 to 14 even at 60 sts
- Add the white spike border in Round 15
- Repeat to make a second hemisphere
- Add the hanging cord and sew the halves around the core
- Insert the first sc of each round in the same st as the join
- Keep count so each increase round stays symmetrical
- Keep tension firm so stuffing does not show
- Change colour at the final stitch for a crisp edge


