How to Crochet Christmas Bauble Ornaments
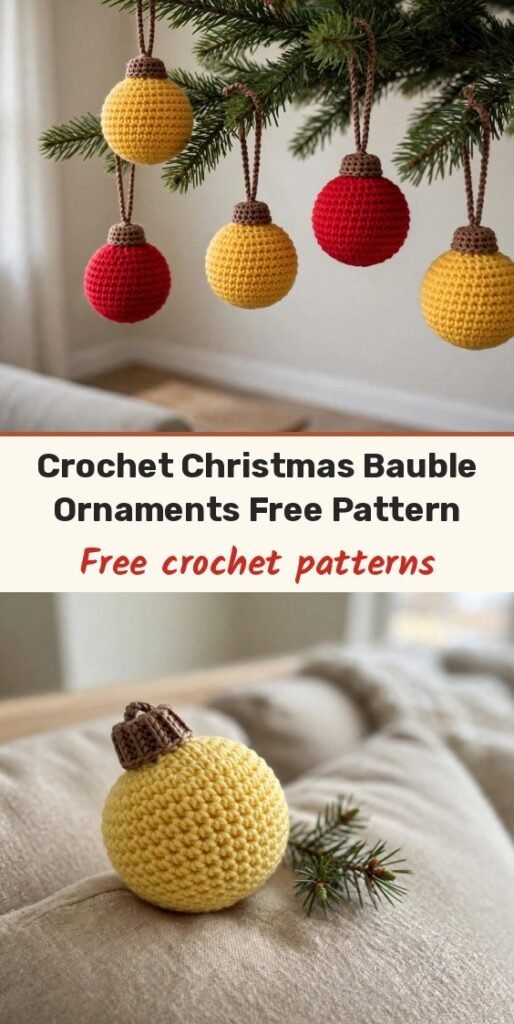
Table of Contents
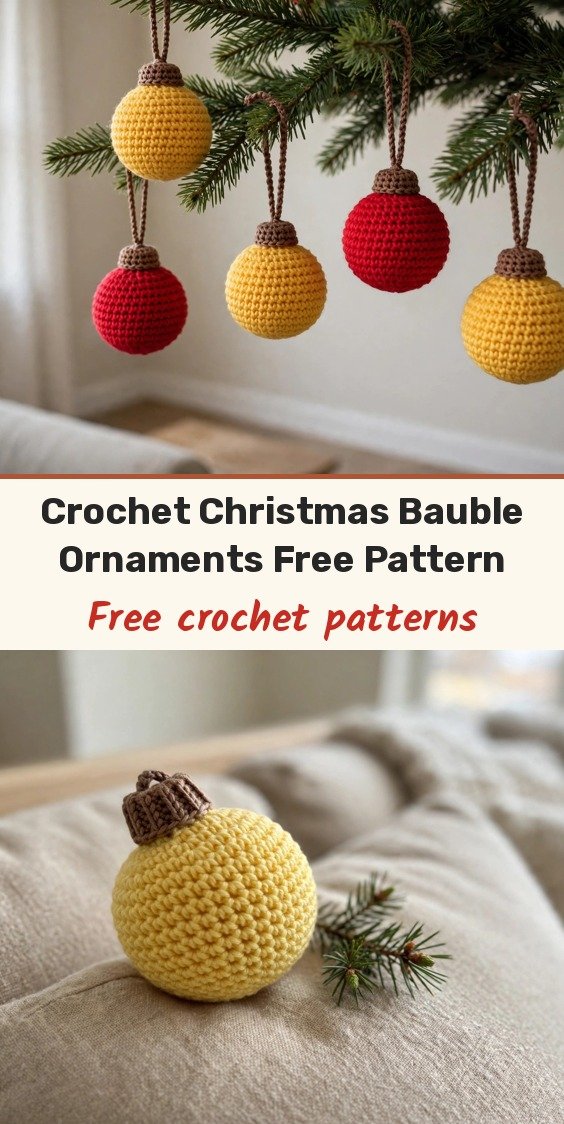
Hi, I am Amy, and this is my favourite kind of ornament trick: two simple flat circles that turn into a plump little 3D bauble once you join them. No complicated shaping at all — just five easy rounds, a tiny brown cap, a whisper of stuffing, and you are done.
The finished bauble is about 7 cm high, so it sits nicely on the tree, and it is endlessly repeatable. I make them in yellow, red and green, embroider a snowflake or a star on the front circle before joining if I am feeling fancy, and string a whole run of them into a garland.
Materials
- Cotton yarn, size 2 mm, in your chosen bauble colour such as yellow, red or green
- Brown cotton yarn, for the cap
- 3.00 mm crochet hook (Tulip size 5/0)
- Polyester fiberfill, for light stuffing
- Scissors
- Yarn needle, for weaving in ends
Abbreviations
- mr: magic ring
- ch: chain
- sc: single crochet
- inc: single crochet increase — work 2 sc into the same stitch
- slst: slip stitch
- (…) * 6: repeat everything inside the parentheses 6 times
Gauge & Size
- Finished size: approximately 7 cm high x 5.5 cm wide
- Construction: two identical flat circles, each with a small brown cap, joined around the edges and lightly stuffed
- Check your stitch count at the end of every round — the counts catch an increase mistake before you reach the cap
Bauble Body
Begin with the main bauble colour. Make 2 identical halves — the full body and cap instructions below are worked twice.
Round 1: Create a magic ring (mr). Work 6 sc into the ring. Sl st into the first sc to join the round. [6 sts] Pull the ring closed so the centre does not leave a large opening.
Round 2: Ch 1. Work 1 inc in every stitch around. Sl st to join. [12 sts]
Round 3: Ch 1. (1 sc, 1 inc) repeat this sequence 6 times. Sl st to join. [18 sts]
Round 4: Ch 1. (1 sc, 1 inc, 1 sc) repeat 6 times. Sl st to join. [24 sts]
Round 5: Ch 1. (3 sc, 1 inc) repeat 6 times. Slst to join. [30 sts] This is the final round of the main circular body. Fasten off the main colour and weave in the centre tail.
Brown Cap
Attach brown yarn to any stitch on the outer edge of Round 5. The cap is worked back and forth over only three stitches.
Row 1: Ch 1, work 3 sc along the edge of the circle. [3 sts]
Row 2: Ch 1, turn your work, work 3 sc. [3 sts]
Row 3: Ch 1, turn your work, work 3 sc. [3 sts] Keep the three-stitch width consistent through both rows. Fasten off the brown yarn and weave in the ends.
Make the second half: Repeat the complete Bauble Body and Brown Cap instructions to create a second, identical piece. Compare the two pieces side by side before joining — the circular edges and brown caps should match.
Finishing & Assembly
Step 1 — Align: Place your two completed bauble pieces together with the wrong sides facing inward. Ensure the brown caps align perfectly at the top.
Step 2 — Join the main-coloured edges: Attach your main colour yarn at the edge where the coloured yarn meets the brown cap. Working through both thicknesses of the front and back pieces, crochet 27 sc completely around the coloured perimeter. The 27 sc join holds most of the two circles together while leaving the cap area open.
Step 3 — Stuff: Pause right before you reach the other side of the cap. Lightly stuff the inside of the bauble with polyester fiberfill to give it a nice 3D puff, making sure the stuffing reaches the outer edges evenly. Fasten off the main colour yarn. Use a light amount — the goal is a gentle puff, not a tightly packed ball.
Step 4 — Join the cap: Attach the brown yarn at the base of the cap to close the remaining gap. Working through both thicknesses of the front and back brown caps, ch 1, and work 7 sc around the outside edge (2 sc up the side, 3 sc across the top edge, and 2 sc down the other side). Slst and fasten off. Weave in all loose ends.
Step 5 — Hanging loop: Cut a length of brown yarn and thread it through a yarn needle. Loop it through the top centre stitch of the brown cap, and tie the ends into a knot to create your hanging string.
Tips
- Embroider snowflakes, stars or horizontal stripes onto the front piece before joining the two halves.
- Replace the brown cap yarn with metallic gold or silver yarn for a more hardware-like finish.
- Crochet several baubles and string them along a long crocheted chain for festive holiday bunting.
How to Crochet Christmas Bauble Ornaments
Materials
Steps
- Work bauble body Rounds 1 to 5 to 30 stitches
- Add the 3-stitch brown cap in 3 rows
- Repeat to make a second identical half
- Align halves wrong sides together, caps at the top
- Join coloured edges with 27 sc through both layers
- Stuff lightly, then join the caps with 7 sc
- Add a brown yarn hanging loop through the top centre stitch
- Count to 30 stitches at Round 5 before adding the cap
- Stuff lightly for a gentle puff, not a tight ball
- Embroider the front circle before joining the halves
- Swap brown for metallic gold or silver for the cap


