Free Crochet Water Lily Granny Square Pattern
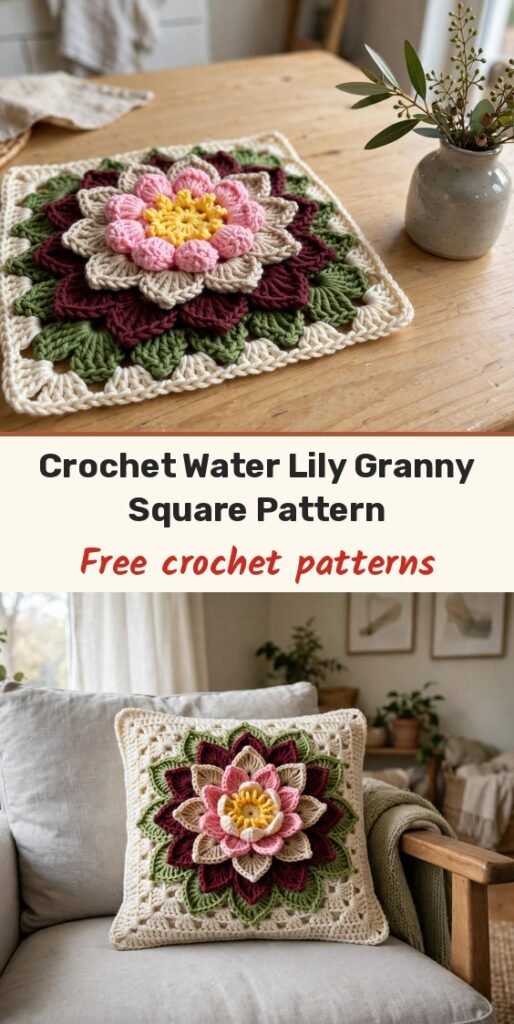
Table of Contents
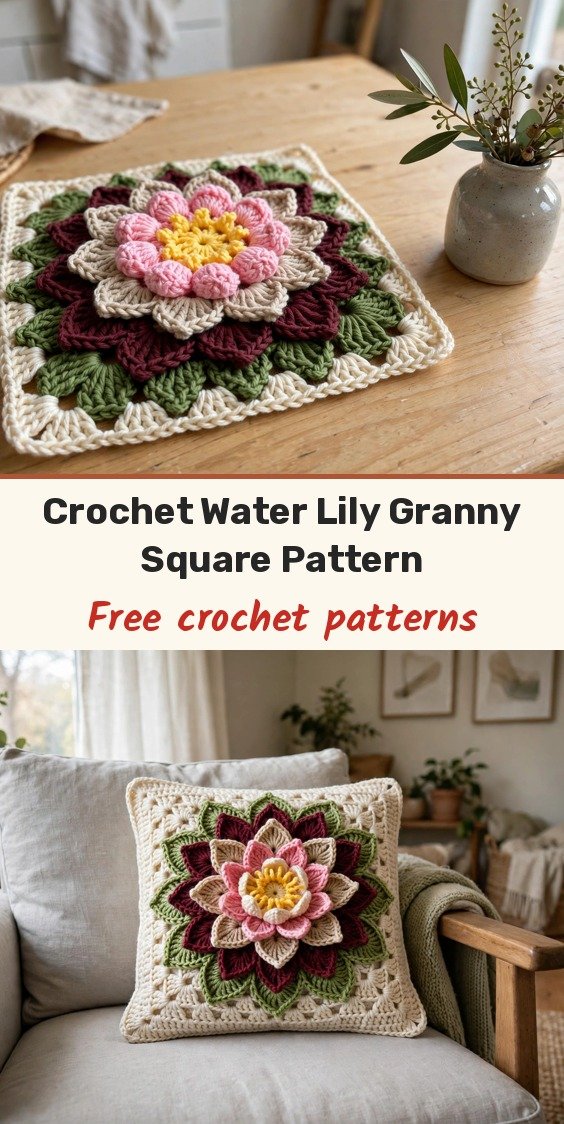
I love a flower square that really looks like a flower, and this water lily is such a beauty! Layers and layers of petals grow out from a sunny yellow centre — pink puff stitches, then beige petals, then maroon, then green — before we square everything off in cream so the finished square drops straight into blankets, cushions, table covers and bags.
We will build the flower round by round in six colours of cotton yarn. Each new petal layer sits on a little chain foundation worked behind the layer before, which is what gives the lily its lovely dimensional look. Take it slowly, enjoy watching the flower open up, and weave in your ends as you go.
Materials
- Cotton yarn in 6 colours: yellow, pink, beige, maroon, green and cream
- 2.75mm crochet hook
- Scissors
- Yarn needle, for weaving in ends
Abbreviations
- ch: chain
- sc: single crochet
- hdc: half double crochet
- dc: double crochet
- tr: treble crochet
- sl st: slip stitch
- FPdc: front-post double crochet
Special Stitches
- Two-double-crochet cluster: yarn over, insert hook and pull up a loop, yarn over and pull through 2 loops (do not finish the stitch). Start a second dc in the same place, yarn over, then pull through all loops on the hook.
- Puff stitch: work 4 dc into the same space, drop the yarn from the hook, insert the hook into the top of the first dc of the group and pull the dropped loop through to close the puff.
Gauge & Size
- Finished size: one flower square, squared off with 15 dc across each side and chain-2 corners, then expanded with extra dc rounds as you wish
- Construction: flower worked in rounds in colour layers, then squared off in cream
- Skill level: Intermediate
Water Lily Pattern
Round 1 (yellow): Make a slip knot and chain 8.
Slip stitch into the first chain to form a ring.
Chain 3, then work 1 dc into the ring.
Chain 1 and make a two-double-crochet cluster in the ring.
Repeat the cluster process to form 8 clusters in total.
Finish with chain 1 and slip stitch into the third chain from the starting point. Cut the yellow yarn.
Round 2 (pink): Make a slip knot and attach the pink yarn to any chain-1 space between two clusters.
Chain 3 (counts as the first dc), then work 3 more dc into the same space.
Drop the yarn from the hook, insert the hook into the third chain of the chain-3, and pull the yarn through to create the puff stitch.
Chain 3 and work a puff stitch into each chain-1 space, making 8 puff stitches in total.
Slip stitch into the first puff stitch to join, and cut the yarn.
Round 3 (beige): Attach the beige yarn to any space between puff stitches.
Start with a single crochet to secure the yarn.
Work 1 hdc, 2 dc, chain 2, 2 dc, 1 hdc, 1 sc in the space to form one petal.
Repeat in each space to make 8 petals.
Slip stitch into the starting chain to complete the round.
Round 4: Insert your hook into the chain-3 space behind the petals and secure the yarn with a slip stitch.
Chain 5 and make a single crochet in the next chain-3 space.
Continue chaining 5 and single crocheting around to make the foundation for the next petal layer. Cut the yarn.
Round 5 (maroon): Work into the chain-5 spaces. In each space, work 1 sc, 1 hdc, 2 dc, 1 tr, chain 2, 1 tr, 2 dc, 1 hdc, 1 sc.
After each petal, work a front-post double crochet into the base of the puff stitches from Round 2.
Repeat around to form 8 large petals.
Round 6: Attach the yarn to a stitch behind the petals. Chain 6 and single crochet in the next foundation space.
Continue chaining 6 and single crocheting around to make the next foundation layer.
Round 7 (green): Work into each chain-6 space: 1 sc, 1 hdc, 2 dc, 2 tr, chain 2, 2 tr, 2 dc, 1 hdc, 1 sc.
After each petal, work a front-post double crochet into the base stitch from the previous row.
Repeat around to complete the final petal layer.
Round 8 (cream): Attach the cream yarn to a petal space, chain 3, then work 7 dc into the same space to form one side.
Work double crochets along each side, making 15 stitches in total across each side with chain-2 corners.
Once the square is formed, finish with extra double crochet rounds to expand the size if you like.
Finishing & Assembly
Weave in all your yarn ends neatly with the yarn needle. I like to weave in the ends after each colour change as I go, so there is no big tangle waiting at the end and the back of the square stays clean.
Join your finished squares with slip stitches or whipstitch for blankets and throws, sew one onto a cushion front, or use a single square as a decorative panel on a bag or table runner.
Tips
Take your time with each petal layer and work methodically — it keeps the yarn from tangling and the petals sitting in the right places.
Choose vibrant, contrasting colours so each petal layer stands out and the flower really reads as a water lily.
Pay close attention to cluster positioning and petal alignment as you go; that little bit of care is what makes the finished square look so polished.
Free Crochet Water Lily Granny Square Pattern
Materials
Steps
- Work the yellow centre ring with 8 clusters
- Work the pink puff stitch round
- Add the beige petal layer
- Work the chain-5 foundation round behind the petals
- Add the maroon petal layer with front-post stitches
- Work the chain-6 foundation round
- Add the final green petal layer
- Square off in cream with 15 dc per side and ch-2 corners
- Weave in ends after each colour change to keep the back tidy
- Choose vibrant contrasting colours so each petal layer stands out
- Keep clusters and petals aligned for a polished finish