Ivory Snowflake Poncho Crochet Pattern
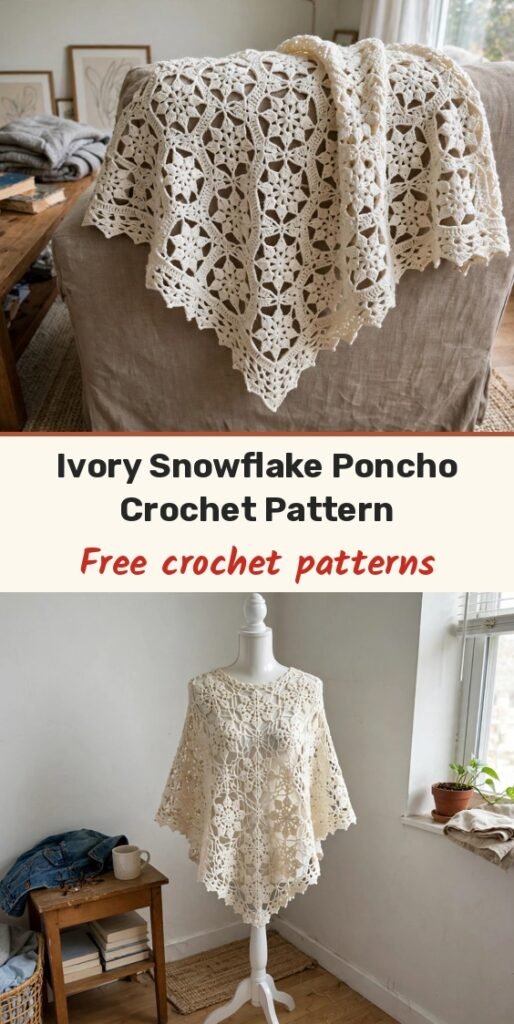
Table of Contents
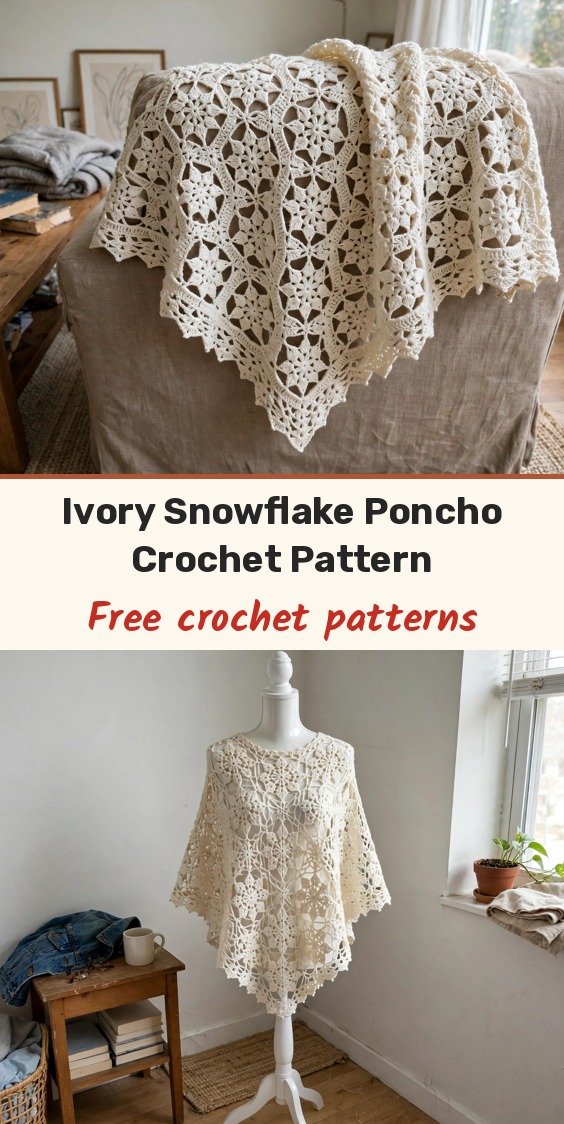
I love a winter layer that feels special without being fussy, and this ivory poncho is exactly that. Instead of crocheting one enormous piece, we make 18 small snowflake motifs, block them until the points are crisp, and join them into a flowing triangular poncho shape.
Motif work is wonderfully portable: one motif at a time, in the car, on your lunch break, in front of the TV. The modular construction gives you real control over the fit too; add motifs for more coverage or use fewer for a smaller poncho. A ribbed neckline edging and a scalloped lace border finish everything off.
The first four motif rounds are written out in full below. Rounds 2 to 5 of the motif are worked as repeats around without a closing stitch total in the original instructions, so I have kept them exactly as written; Round 1 ends at 12 dc, which anchors the whole motif.
Materials
- 900 yards of 4-ply DK weight yarn in ivory
- 4.0mm (US G-6) crochet hook
- Tapestry needle for weaving in ends
- Stitch markers to track rounds
- Blocking mats and pins
Abbreviations
- ch: chain
- sc: single crochet
- hdc: half double crochet
- dc: double crochet
- sl st: slip stitch
- sk: skip
- sp: space
- rep: repeat
- st/sts: stitch / stitches
Special Stitches
- Snowflake Cluster: work (dc, ch 2, dc, ch 2, dc) all into the same stitch or space. The three double crochets separated by ch-2 spaces fan out into the pointed tips of each snowflake arm.
- Front-post hdc: yarn over, insert hook from front to back around the post of the stitch below, and complete the hdc as normal.
- Back-post hdc: yarn over, insert hook from back to front around the post of the stitch below, and complete the hdc as normal.
Gauge & Size
- Finished size: adult medium, about 31.5 inches / 80 cm across the shoulders and 29.5 inches / 75 cm from neckline to point
- Gauge: 20 dc x 10 rows = 4 x 4 inches / 10 x 10 cm after blocking
- Construction: 18 identical motifs, blocked and joined with slip stitch joins; ribbed neckline edging and scalloped bottom border added after assembly
- Skill level: Intermediate
Snowflake Motif (Make 18)
Make one complete motif first to check your gauge and learn the rhythm, then batch the rest.
Round 1: Make a magic ring. Ch 3 (counts as first dc), work 11 dc into the ring. Join with sl st to the top of the beginning ch-3. (12 dc)
Round 2: Ch 3, dc in same stitch, ch 1, skip 1 stitch, 2 dc in next stitch. Repeat around the entire round. Join with sl st.
Round 3: Sl st into the chain space. Ch 3, work (dc, ch 2, 2 dc) in same space. Repeat in each chain space around. Join with sl st.
Round 4: Sl st to centre of next space. Ch 1, sc. In each corner space work (sc, ch 3, sc). Continue around and join with sl st.
Round 5: In each ch-3 space work the Snowflake Cluster (dc, ch 2, dc, ch 2, dc) to create the snowflake points. Continue around. Fasten off.
Repeat the motif 17 more times until you have 18 completed motifs.
Finishing & Assembly
Block all 18 motifs first: pin each one out on your blocking mats, stretching the points gently, mist with water and let them dry completely so the snowflake lace opens up.
Arrange the motifs in the poncho shape: 6 motifs across the shoulder line, 6 motifs forming the front triangle, and 6 motifs forming the back triangle. Lay everything out flat before joining and check that the arrangement looks balanced.
Join the motifs with slip stitch joins through the matching chain spaces, working through both layers and connecting the corresponding spaces on adjacent motifs. Take your time here; neat, consistent joins make the finished piece look polished.
Neckline edging Round 1: Attach yarn around the neckline opening and work sc evenly around the entire opening. Join with sl st.
Neckline edging Round 2: Ch 2, hdc around. Join with sl st.
Neckline edging Round 3: Alternate front-post hdc and back-post hdc around for a soft raised ribbed collar effect.
Bottom border Round 1: Attach yarn at the bottom point and work sc evenly around all edges. Join with sl st.
Bottom border Round 2: (Sc, ch 3, skip 2 stitches) around the entire edge. Join with sl st.
Bottom border Round 3: In every chain space work (sc, hdc, dc, hdc, sc) for a pretty shell scallop along the bottom. Join and fasten off.
Weave in all ends securely, then wet block the finished poncho, pinning the snowflake points carefully, and let it dry completely before wearing.
Tips
If the poncho feels too small, add extra motifs around the shoulder line and lower edges before assembly, and remember to buy a little extra yarn if you plan to size up.
If the fabric curls, give it more blocking time and reshape the points; lace sometimes needs firm blocking to behave. If the neckline stretches, add an extra round of single crochet to reinforce it.
Gradient yarns give a lovely ombre effect, and silver-and-white combinations look especially frosty. Each motif in a different shade works beautifully too.
Care: hand wash in cool water with mild detergent and lay flat to dry on a clean towel. Avoid high heat, which can distort the blocking.
Ivory Snowflake Poncho Crochet Pattern
Materials
Steps
- Crochet one snowflake motif to check gauge, then make 18 in total
- Block all motifs, pinning the points out flat
- Arrange 6 motifs across the shoulders, 6 in the front triangle and 6 in the back triangle
- Join motifs with slip stitch joins through the chain spaces
- Work the 3-round ribbed neckline edging
- Work the 3-round scalloped bottom border
- Weave in ends and wet block the finished poncho
- Make one full motif first before batching the other 17
- Block motifs before joining so the joins sit neatly
- Add motifs around the shoulders and edges for a larger size
- Pin every snowflake point when blocking the finished poncho


