How to Crochet Daisy Hair Tie Pattern That Brightens Any Outfit
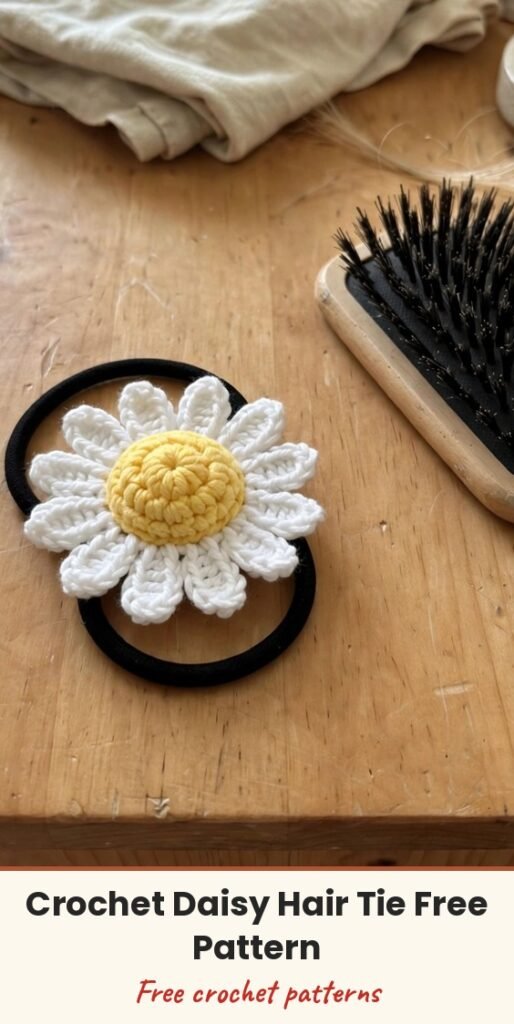
Table of Contents
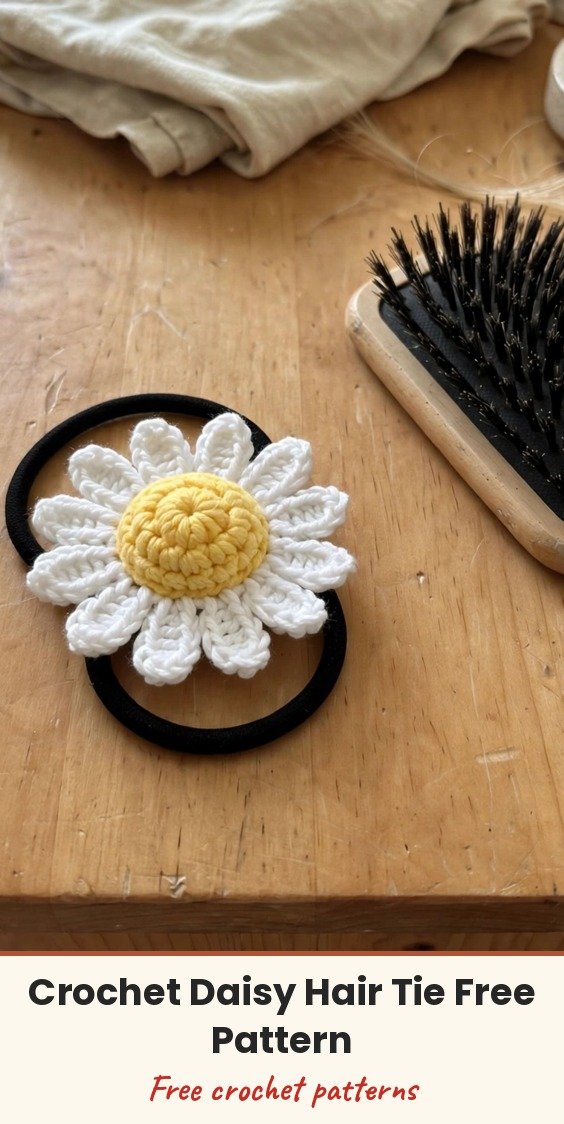
This little daisy hair tie makes me smile every time I see it! It is a sweet white-petalled flower with a soft, raised centre, crocheted right onto a plain elastic band, and it turns the simplest ponytail into something cheerful.
We will build it in a clever order. First we crochet two small round centre pieces, join them around the rubber band with a tiny bit of stuffing inside so the middle puffs up, and then we add a ring of triple crochet petals all the way around.
It is quick, friendly and perfect for using up small leftover bits of yarn. Change the centre and petal colours to match any outfit, and you can finish one in just a few minutes of happy crocheting.
Materials
- 4-ply cotton or acrylic yarn in Colour A for the centre (blue or yellow) and Colour B white for the petals
- 2.5mm crochet hook
- 1 rubber band / hair elastic
- Small amount of cotton or fiberfill for stuffing the flower centre
- Scissors
- Yarn needle, for weaving in ends and joining the petals
Abbreviations
- MR: magic ring
- ch: chain
- sc: single crochet
- inc: increase, 2 sc in the same stitch
- tr: triple crochet
- sl st: slip stitch
- st/sts: stitch / stitches
- rnd: round
Special Stitches
- Triple crochet (tr): yarn over twice, insert hook into stitch, yarn over and pull up a loop (4 loops on hook), yarn over and pull through 2 loops three times.
Gauge & Size
- Finished size: flower diameter about 5 to 6 cm, puffed centre about 3 to 4 cm
- Gauge: not critical for this small accessory; your starting circle should be firm and hold its shape without gaps
- Construction: two centre discs joined around the elastic and lightly stuffed, then a round of petals
- Skill level: Confident Beginner
First Centre Piece Pattern
Work the first centre piece with Colour A. In Round 3 we catch the rubber band into the work, so keep your elastic beside you.
Round 1: Make a MR, secure with 1 ch, work 6 sc into the ring, pull the tail to close, join to first sc with sl st. (6 sts)
Round 2: Ch 1, inc in each st around, join with sl st to first sc. (12 sc)
Round 3: Place the centre piece below the rubber band with the band lying on top. Ch 1, (1 sc in next st, inc in next st) around, working your sc over the band so the band is captured and attached to the piece. Join with sl st. (18 sc)
Fasten off Colour A.
Second Centre Piece Pattern
Work the second centre piece with Colour A in exactly the same way, without the band.
Round 1: Make a MR, work 6 sc into the ring, join with sl st to first sc. (6 sts)
Round 2: Ch 1, inc in each st around, join with sl st. (12 sc)
Round 3: Ch 1, (1 sc in next st, inc in next st) around, join with sl st. (18 sc)
Joining & Stuffing
Place the second centre piece on top of the first, with the rubber band sandwiched between them or attached to the first piece below.
Round 4 (joining round): With Colour A, insert your hook through a stitch on the second piece and the corresponding stitch on the first piece. Ch 1, (2 sc through both layers, inc through both layers) around. Before you complete the full round, pause, remove the hook, and gently stuff the centre with cotton or fiberfill, then reinsert the hook and finish the round. Join with sl st.
Fasten off Colour A.
Petal Pattern
Switch to Colour B (white). Each petal is made over three stitches, and we repeat the petal sequence all the way around the joined centre.
Petal round: Join Colour B with sl st in any st on the outer edge, ch 1 to secure. For each petal: ch 3, 2 tr in next st, 2 tr in next st, ch 3, sl st in next st to close the petal. Repeat for each petal around the flower.
After your last ch 3, sl st into the stitch where you began to finish the round. Fasten off Colour B, leaving a tail for sewing.
Finishing & Assembly
If there is a small gap between your first and last petal, thread your yarn needle with the remaining white tail, pass it through the edge of the first petal and then the last petal, and pull gently to close the gap. Repeat once more if needed.
Tie a small knot inside the white area if necessary, weave the tail into the back of the petals and centre, and trim the excess. Weave in the Colour A ends the same way.
Give the rubber band a light stretch to check it is firmly attached, and your daisy hair tie is ready to wear.
Tips
A yellow centre with white petals gives you the classic daisy, but a blue or pastel centre is just as pretty and matches different outfits.
Keep the stuffing light. Just a pinch of fiberfill gives that lovely raised centre without making the flower bulky.
These make wonderful quick gifts, and they are a great way to use up the last few metres of a ball of yarn.
How to Crochet Daisy Hair Tie Pattern That Brightens Any Outfit
Materials
Steps
- Crochet the first centre piece in 3 rounds, catching the rubber band in Round 3
- Crochet an identical second centre piece
- Join the two pieces through both layers, stuffing the centre before closing
- Work a round of triple crochet petals in white
- Sew the gap between first and last petal closed and weave in ends
- Keep the stuffing light so the centre puffs without going bulky
- Work the joining round through both layers carefully so the discs stay aligned
- Try different centre colours to match different outfits